Greek pita bread. It’s such a wonderful accompaniment to so many Mediterranean dishes. I’m lucky because Diana loves to cook and she especially loves to make Greek food. Maybe it’s because of her Greek heritage and family memories or maybe it’s because she knows I love it and it always puts a smile on my face. Either way, I’m the very happy recipient of warm and delicious pita bread.
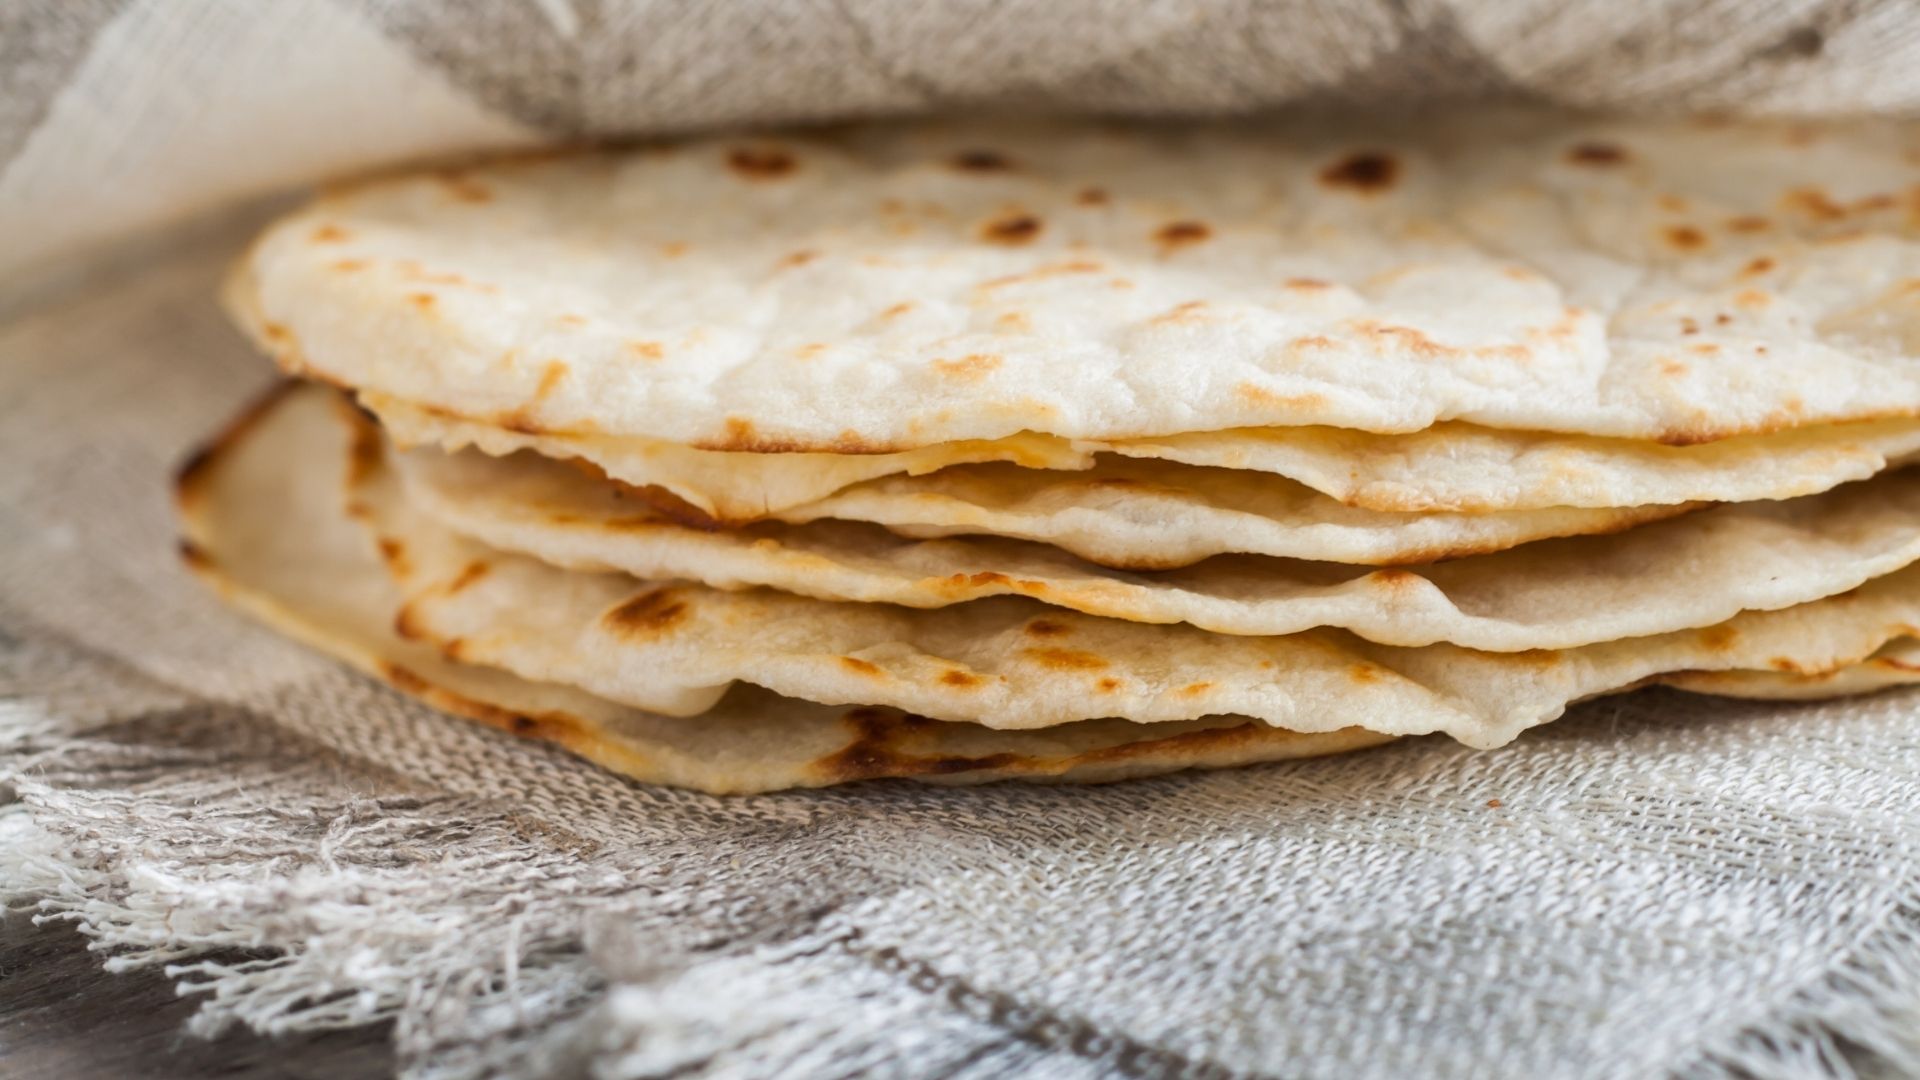
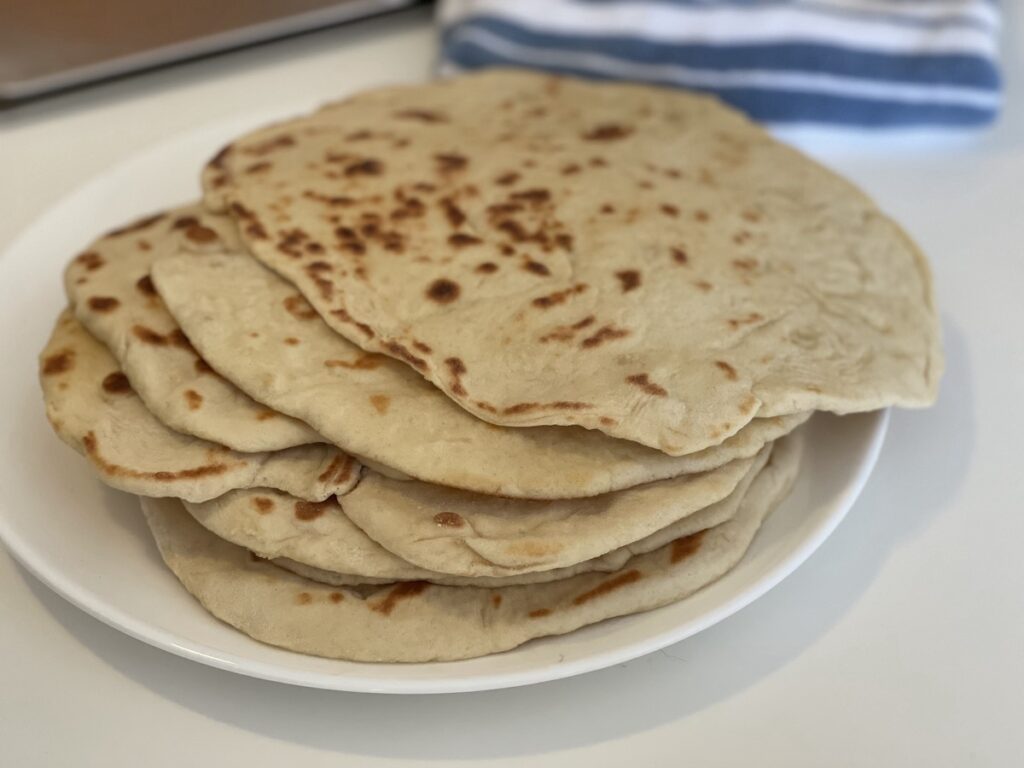
You may buy pita bread at your local grocer but I hope this easy recipe will convince you to make your own pita at home. This is a versatile and unique Mediterranean pita bread recipe. It’s a pocketless pita almost like a Greek flatbread recipe.
History of Pita Bread
Fans of My Big Fat Greek Wedding may remember that Toula’s father Gus thinks that all words have their beginning in Greece and pita is no exception. Pita means pastry in Greek and typically refers to cakes and pastries like spanakopita (that delicious phyllo dough wrapped spinach pie) or portokalopita (Greek orange cake). Which has nothing to do with the pita flatbread we’ve come to know.
Turns out pita has an even longer history in Middle Eastern and other Mediterranean cultures. You may be familiar with the Arabic “fatteh,” or the Turkish “pride,” Albanian “pite,” Bulgarian “pikta.” You see where this is going. Some even say that the Latin word pizza may have evolved from the word pita.
Who knows for sure? As we’ve learned, almost every culture has taken recipes and food ideas from others and made them their own. From dipping pita triangles in hummus to wrapping shawarma, souvlaki, gyros, or my favorite keftedes in whole pita, it’s all delicious.
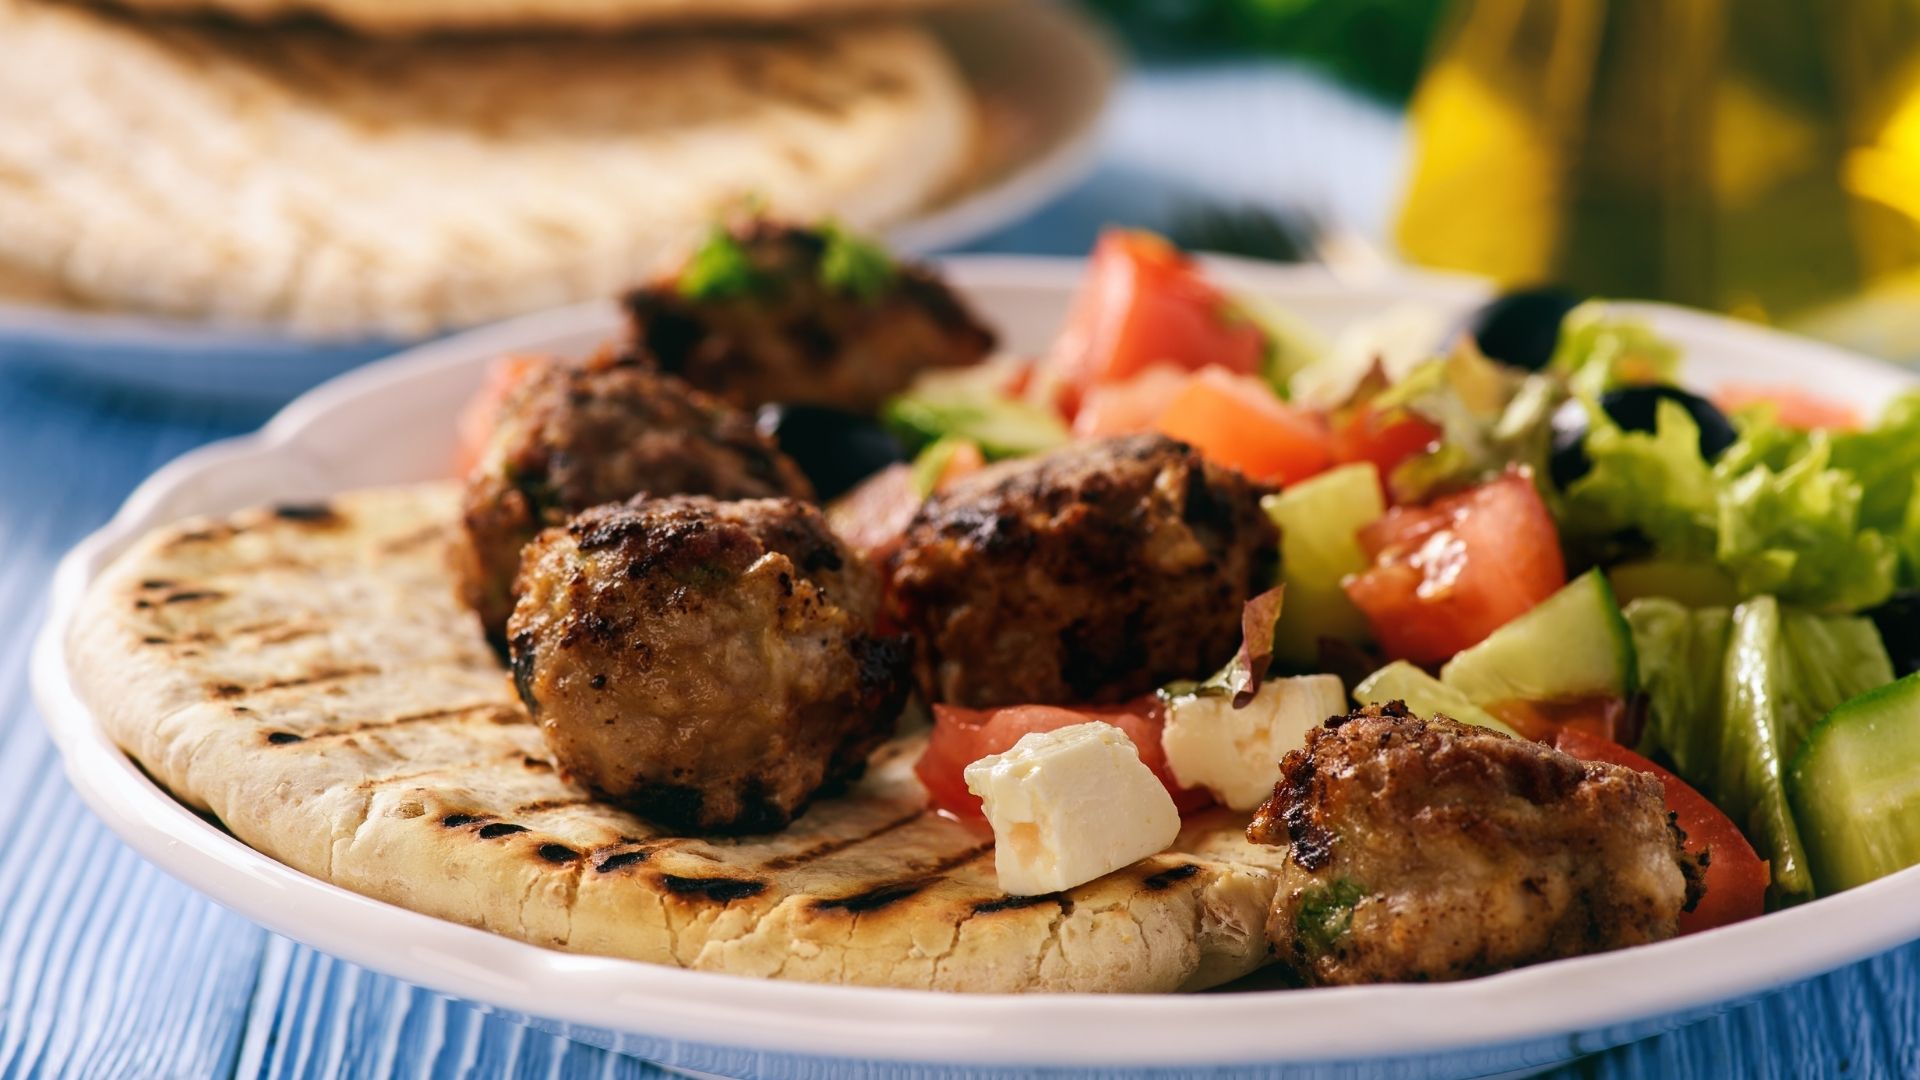
The twist on this recipe is that it’s stovetop pita bread so no baking is required. No need to heat up your kitchen.
Let’s get started!
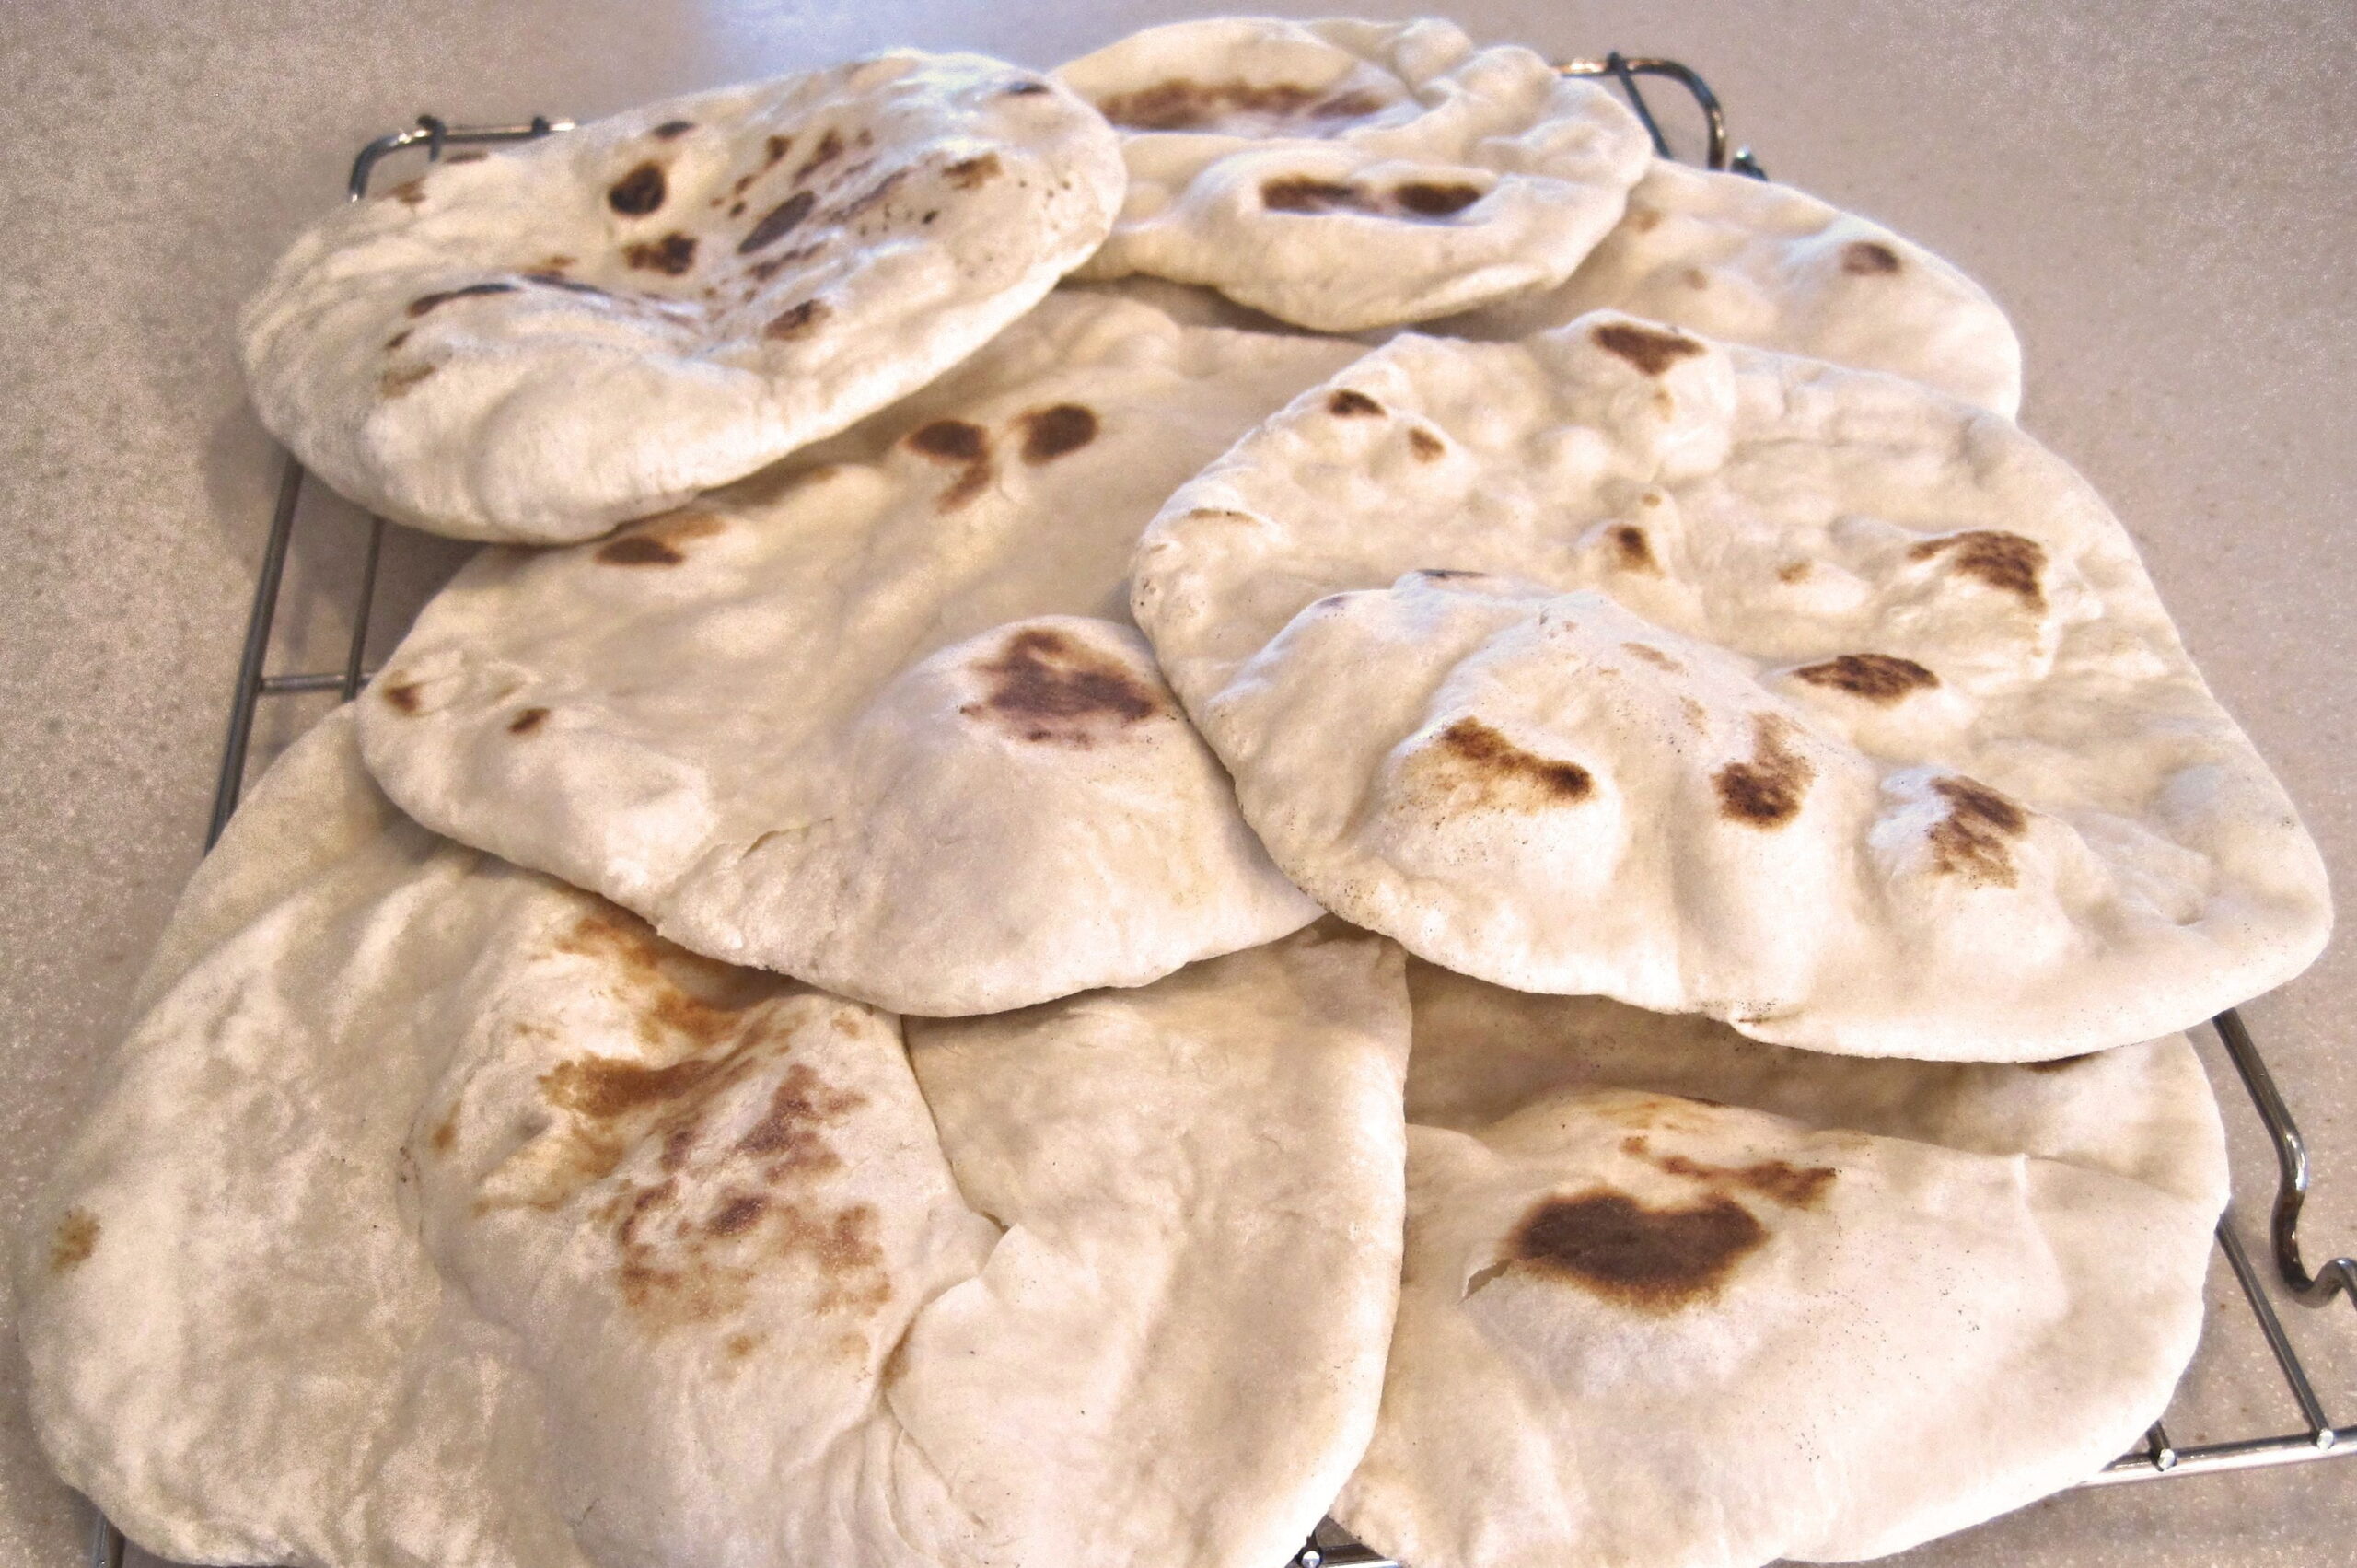
Greek Pita Bread
Makes 8 pitas about 7 inches each.
Ingredients
3/4 cups whole milk, room temperature
1/2 cup water, lukewarm
2 Tbsp butter, melted
2 Tbsp honey
2 tsp instant yeast (SAF, Fleischmanns, Red Star, etc.)
1 tsp salt
About 4 cups of flour
Directions
1. Stir together milk, water, melted butter, and honey in a mixing bowl or bowl of a stand mixer.
2. Add instant yeast to the bowl.
3. Using dough hooks on hand mixer or stand mixer dough hook attachment, mix together for about 10 seconds to combine.
4. Add salt then flour. Start with 3 cups flour, and combine until a soft dough begins to form. Add enough flour so that dough pulls away from the sides of the bowl while mixing.
5. Knead the dough with dough hooks or by hand for 4 minutes or until the dough is soft but smooth.
6. Wipe a large bowl with olive oil, form dough into a ball, and place dough in an oiled bowl. Cover with a cloth or plastic and set aside in a warm place to rise for about 1 hour.
7. When the dough has about doubled in size, deflate and roll into balls. You should get about 8 balls.
8. Heat up a skillet on medium-high with a small amount of olive oil in the skillet.
9. On a lightly floured surface to keep from sticking, flatten each dough ball by hand or by rolling out. If you want thicker smaller pitas, you can flatten with your fingers rotating in circles and stretching gently until the desired thickness and size. If you like thinner, larger pitas, place some flour on a flat surface and roll out with a rolling pin, rotating to keep the generally round shape of each pita.
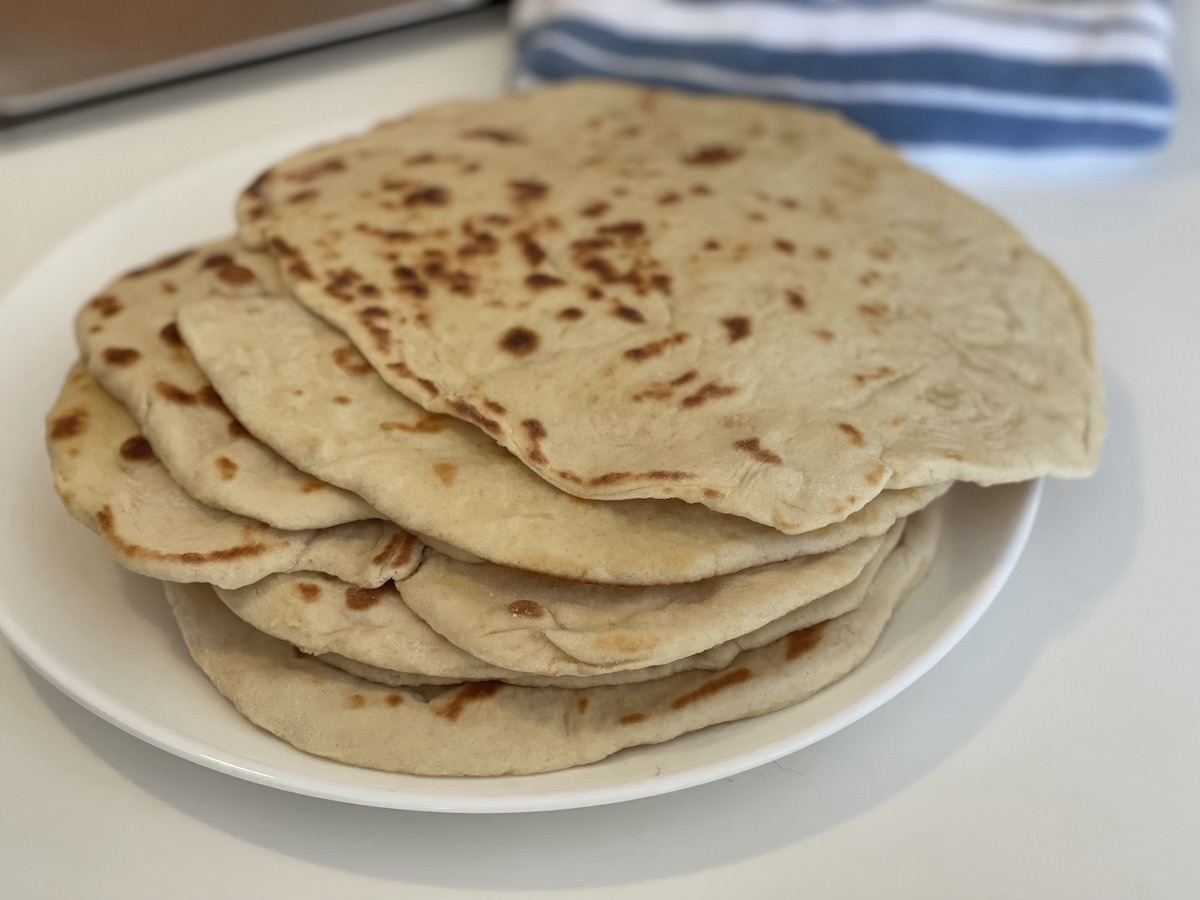
10. Place one pita into the pan and watch carefully. After about 10 seconds use a spatula to check the bottom and see if it is browning. When ready, flip the pita in the skillet and cook the other side. Each side should get some brown spots where the dough makes deeper contact with the pan. But be careful not to let cook too long or pita will dry out and eventually even burn. They take a very short time to cook.
11. Place the finished pita on a plate and then cook the next pita the same way. You can flatten each ball just before cooking. Be sure to keep replenishing the oil as you are using a very small amount that will often be absorbed each round.
12. You can store the pitas in the refrigerator for several days or store them by freezing the pita bread for a few months. Be sure to warm them gently before using them for the best taste.

Pita Pizza
One of our favorite recipes to use our pocketless pita is to create pizza on pita bread. You can switch out half of the flour for whole wheat flour to make whole wheat pita. It’s easy to make and easy to customize with any ingredients that your family likes. Don’t have anything planned for dinner? Throw what’s ever in your fridge on the pita, whip up a salad, and presto – a dinner that will make everyone happy.
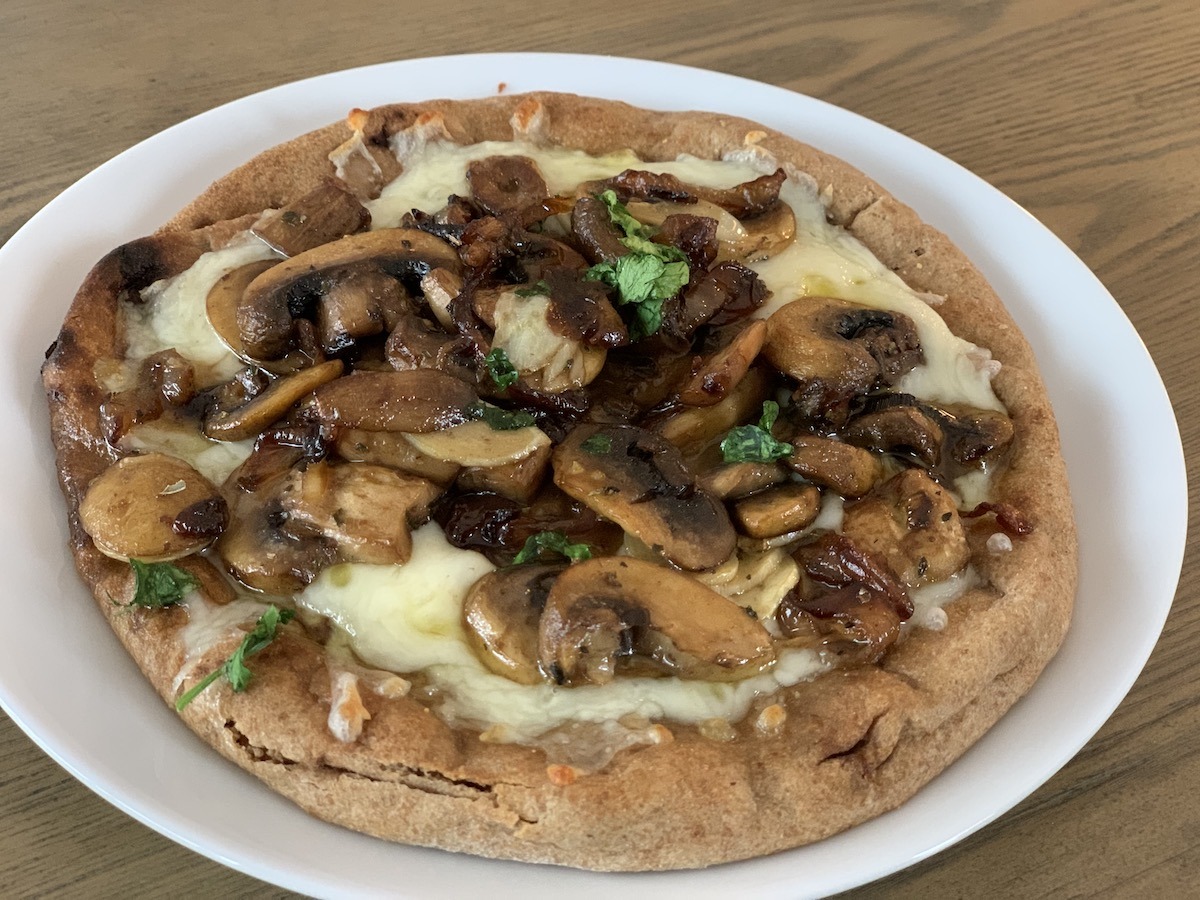
It’s also a quick lunch recipe as well. You can keep it Greek by adding feta, kalamata olives, and your favorite veggies. You’ll be surprised how quickly it will disappear.
We hope you enjoy bringing a little bit of the Mediterranean to your table with this delicious and easy-to-make pita bread.
Pin it for later!
 .
. 


Comments are closed.