The capital Ukrainian city of Kiev (Kyiv) is rightly known for its amazing architecture, high-tech industries, and fabulous museums. But it’s not actually the birthplace of that crispy butter-filled chicken delight, Chicken Kiev.
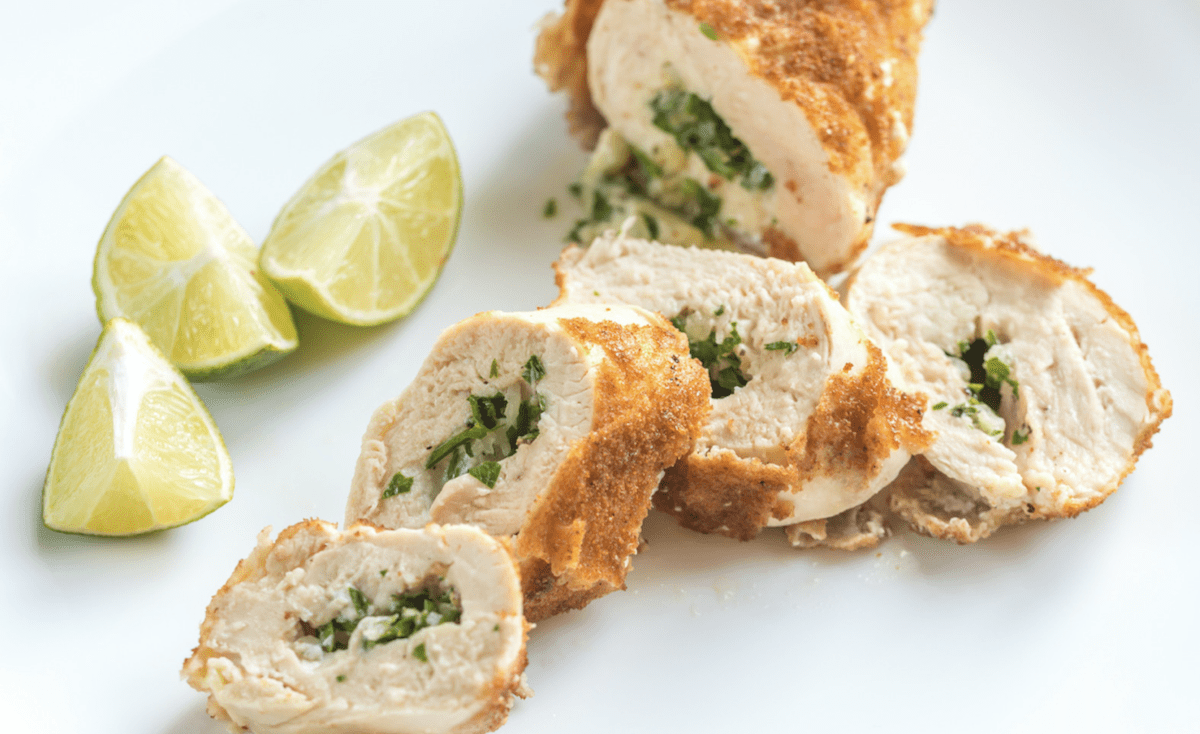
Chicken Kiev Origin
Some stories say recipes for Chicken Kiev originated in 18th Century Russia when French-style cooking was preferred. Others claim the Chicken Kiev origin belongs to Nicolas Appert, French chef to Empress Elizabeth Petrovna who created it. Then there are those who claim the original recipes for Chicken Kiev came in the 20th Century to please the Russian immigrants dining at New York restaurants such as The Russian Tea Room, which has been making a Kiev Chicken recipe for its patrons since the 1940s.
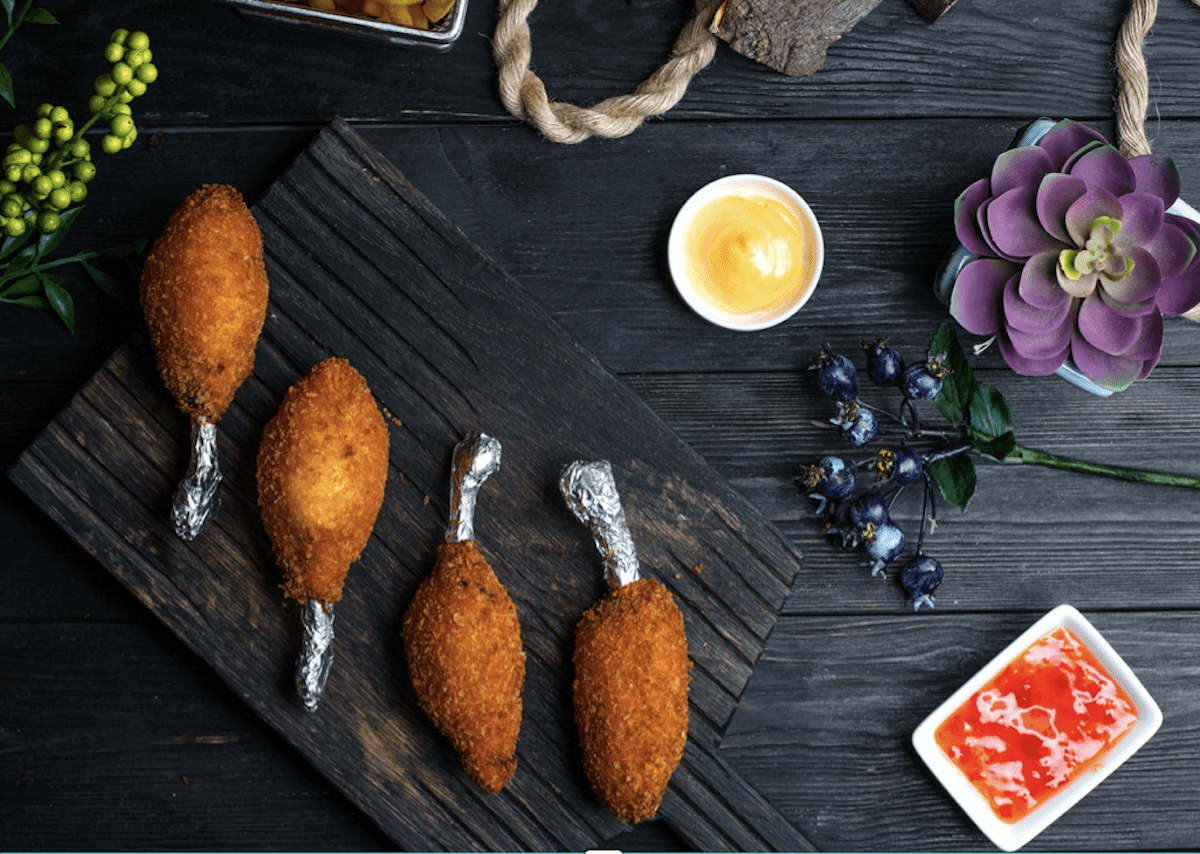
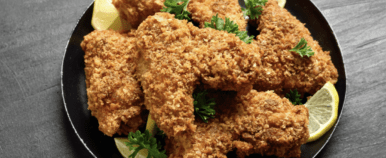
However it came to be, the undeniable deliciousness of a crispy coated crust, and moist chicken breast filled with buttery garlic and herbs is just too wonderful to ignore. And, it’s oddly easy to make.
How To Cook Chicken Kiev
Here’s a quick and easy Chicken Kiev recipe just for you.
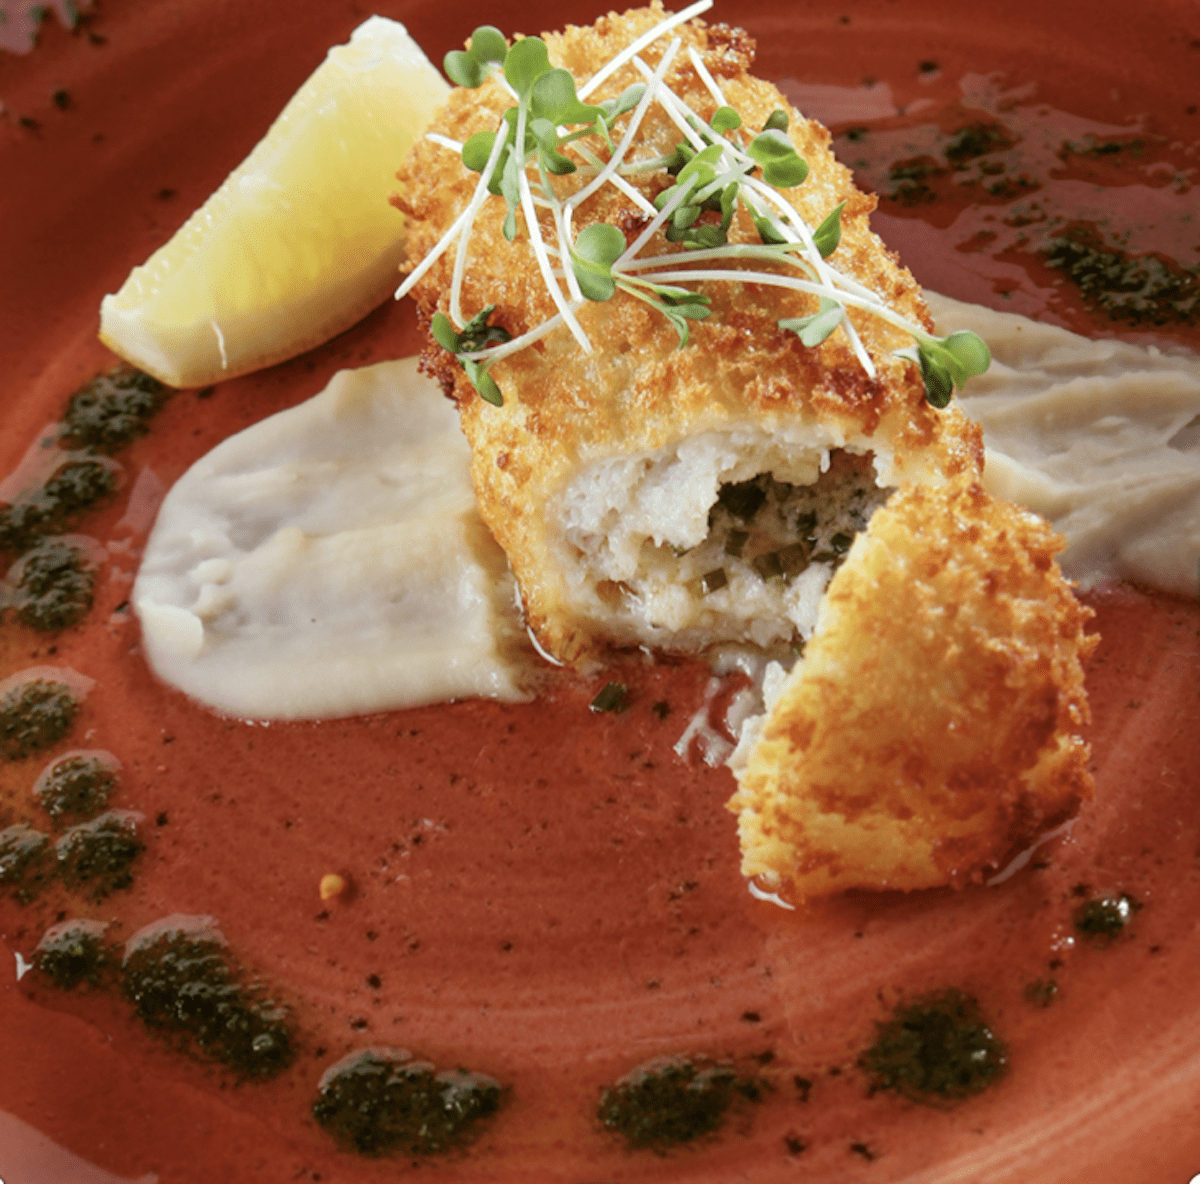
Ingredients
4 skinless, boneless chicken breasts
1/2 cup all-purpose flour
3 large eggs, beaten
2 cup Panko bread crumbs, plus 4 Tablespoons (to include in Chicken Kiev filling)
Canola or safflower oil for frying
Salt & pepper
Parsley, watercress or microgreens, a lemon wedge for garnish
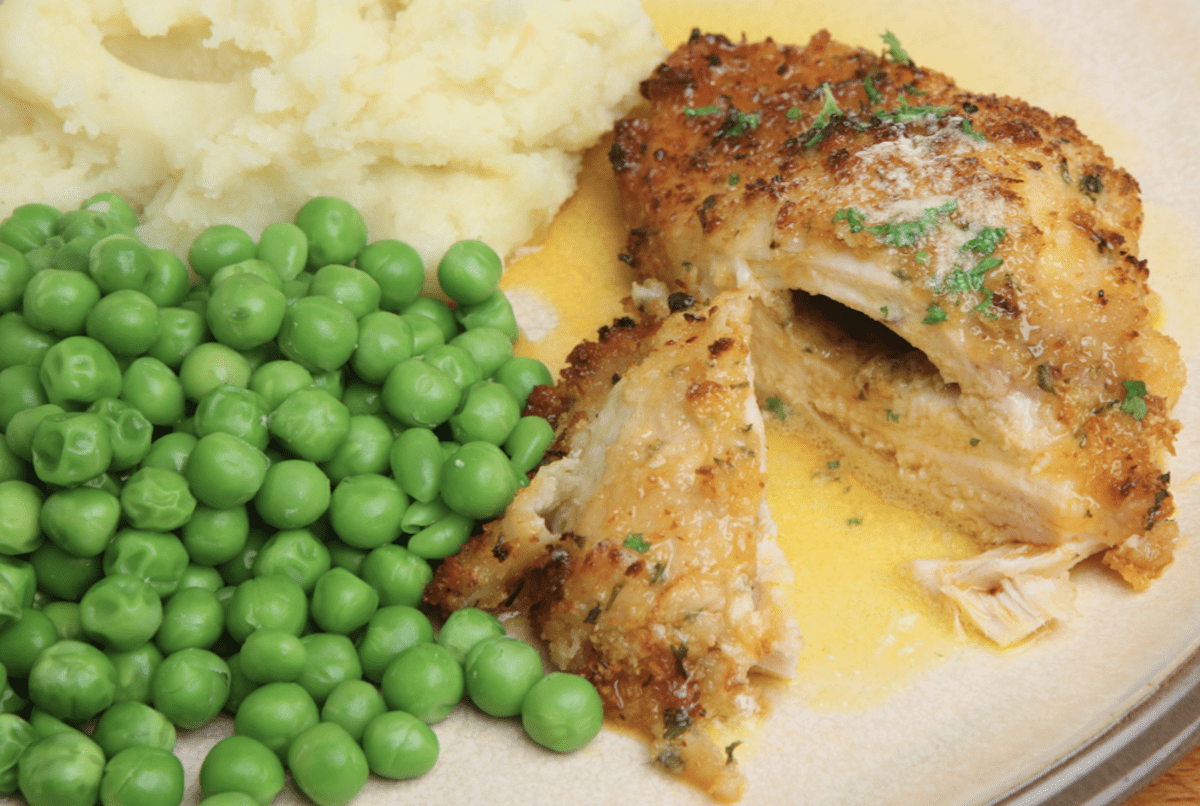
For The Compound Butter
- 1 clove garlic, crushed
- 3 sprigs fresh or 1 teaspoon, leaves finely chopped
- 1 teaspoon dry or 2 sprigs fresh tarragon, leaves finely chopped
- 8 Tablespoons (1 stick) unsalted butter, softened
- 1 teaspoon salt
- 1/4 teaspoon ground black pepper
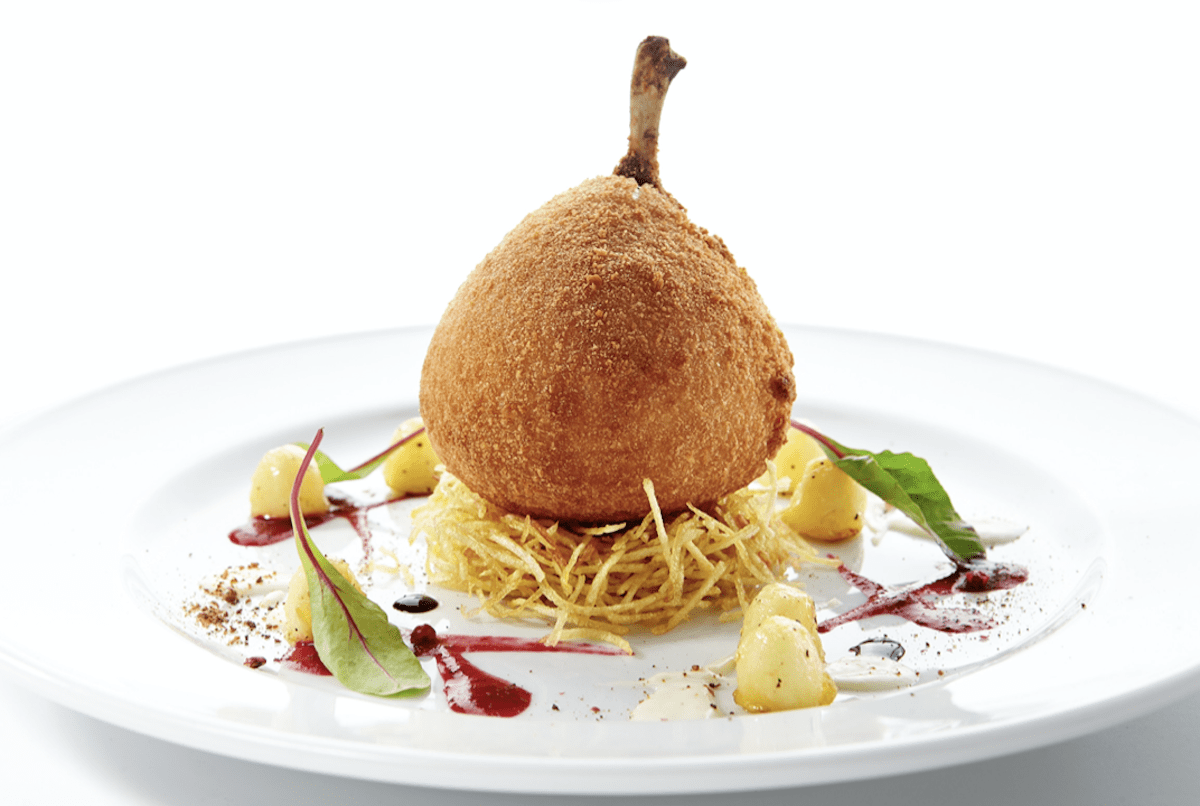
Directions
Kiev Chicken Recipe For Buttery Filling
1. Combine butter, parsley, tarragon 1 teaspoon salt, and 1/4 teaspoon ground black pepper into a bowl or stand mixer. Blend until completely combined then place on a sheet of plastic wrap or waxed paper and roll into a small log. Refrigerate or place in the freezer until hard. It can be made up to 3 days in advance or frozen for up to 1 month.
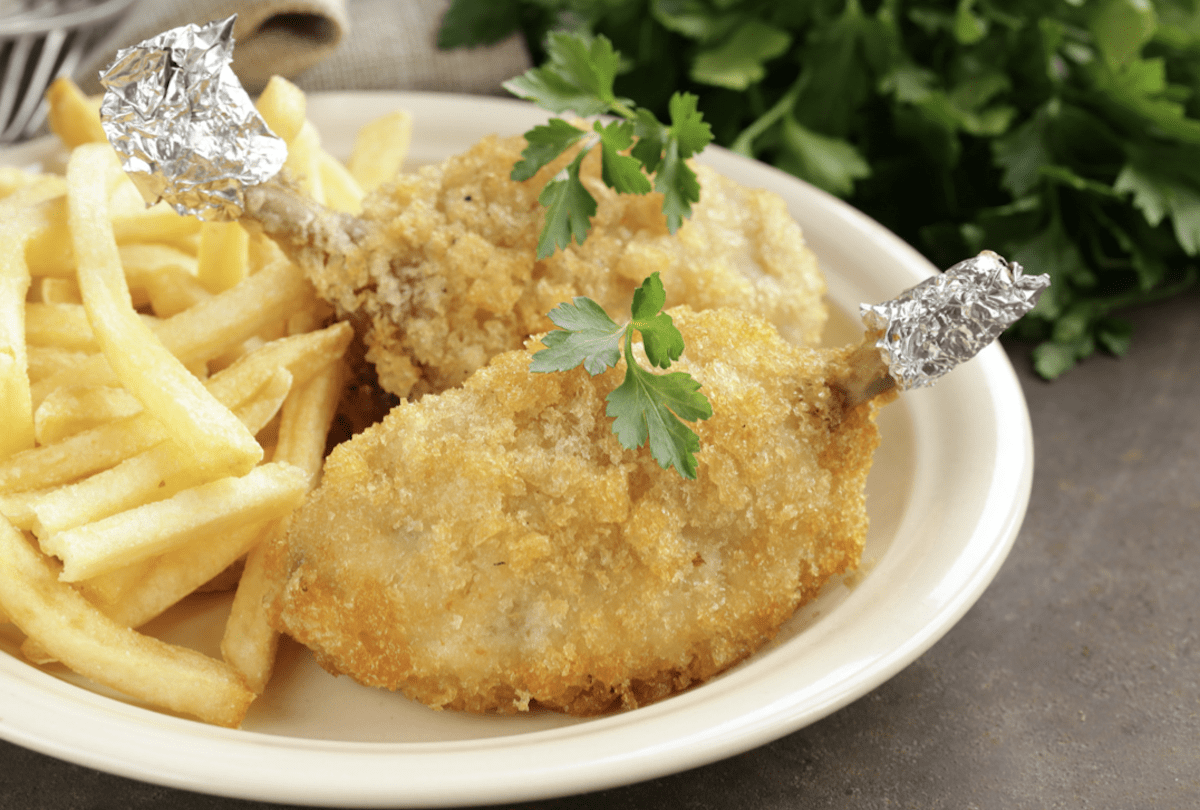
Chicken Ala Kiev Chicken
2. One breast at a time lay them between two pieces of plastic wrap and, using a meat mallet pound to no thinner than 1/8 inch thickness. Season each breast with a sprinkling of salt and pepper.
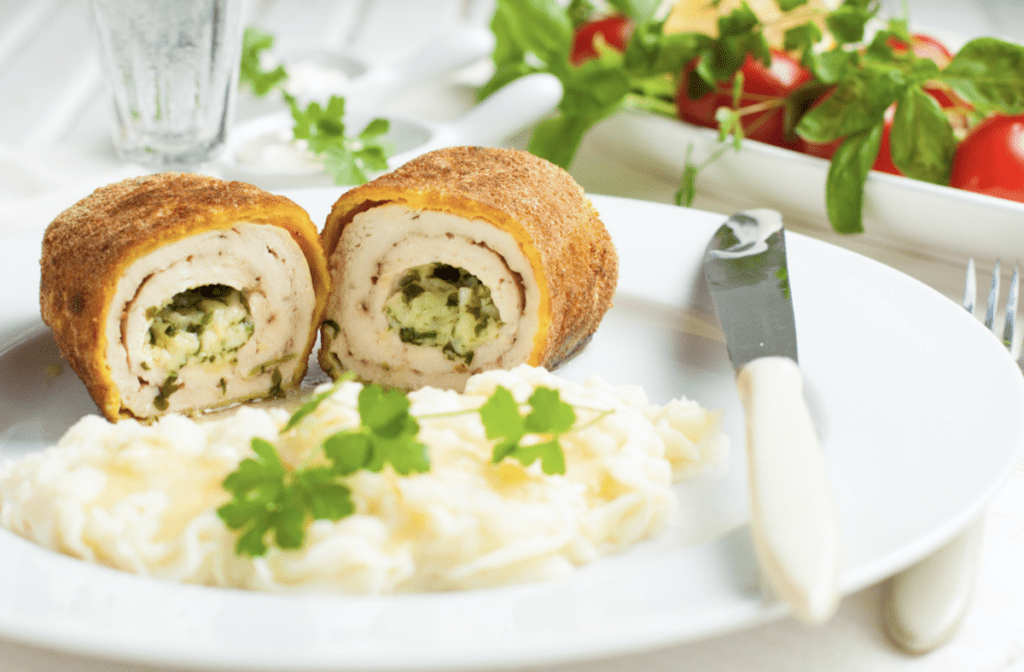
3. Divide the compound butter into four parts. Lay each chicken breast on a new piece of plastic wrap and add 1/4 of the butter and 1 Tablespoon of Panko bread crumbs. Fold in the ends of the chicken breast and use the plastic wrap to help roll the breast into a tight log so that the butter is completely enclosed. Refrigerate up to 2 hours or overnight if the butter has softened in the process.
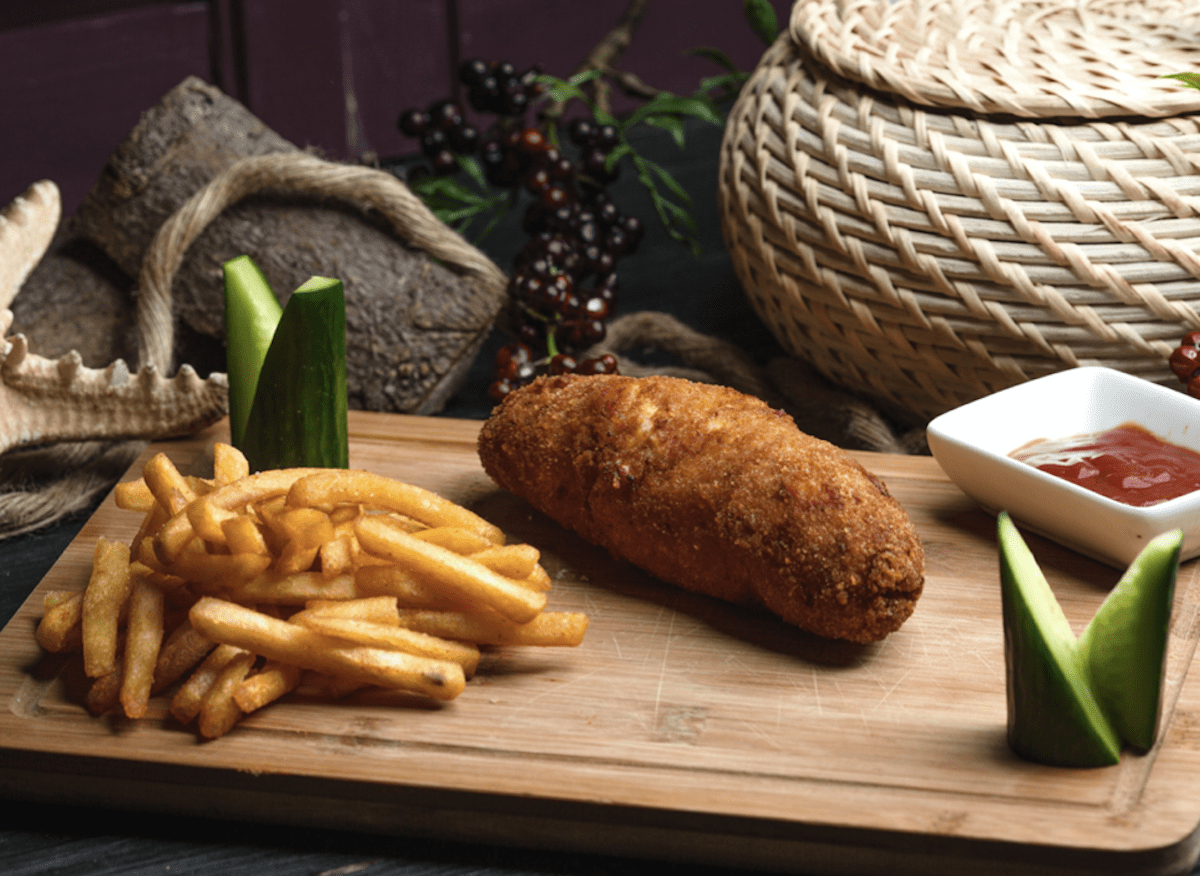
Kiev Chicken Recipe For Crispy Crust
4. Place the flour, beaten eggs and breadcrumbs into three separate shallow containers. Working methodically, completely coat each breast in flour, then egg, then breadcrumbs, then dip back into the egg and finally again in the breadcrumbs. Set aside. The chicken can be prepared the day before and left in the fridge or frozen for up to 1 month – defrost completely before cooking.
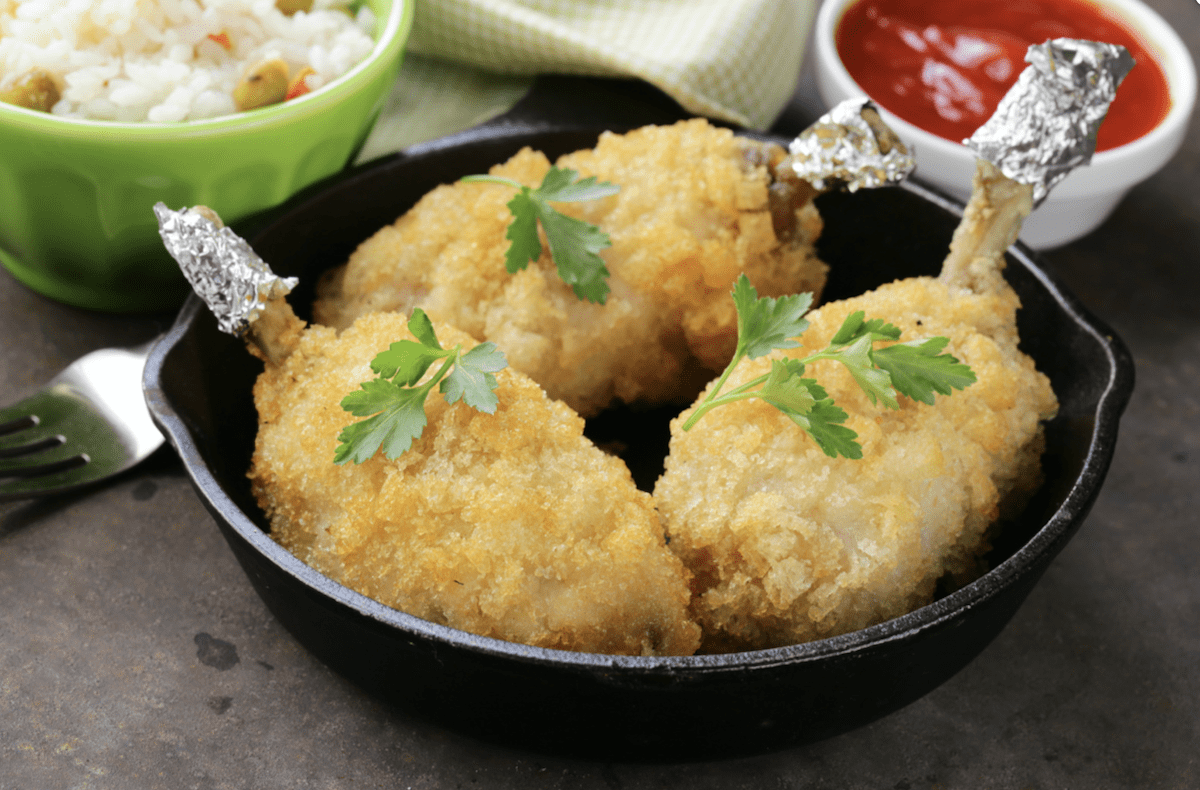
5. Heat 1/2 inch of oil in a large frying pan on medium-high until hot (375 degrees F). Fry the coated breasts, starting sealed-side down, for 4-5 minutes on each side until chicken is cooked and the coating is a dark golden color (internal temperature reaches 165 degrees F). Lift them onto a cooling rack set on a sheet pan or paper towels on a pan to absorb any excess for 5 to 10 minutes. Place on a plate with a garnish of your choice. Great side dishes include rice, potato strings, red cabbage, or beet salad.
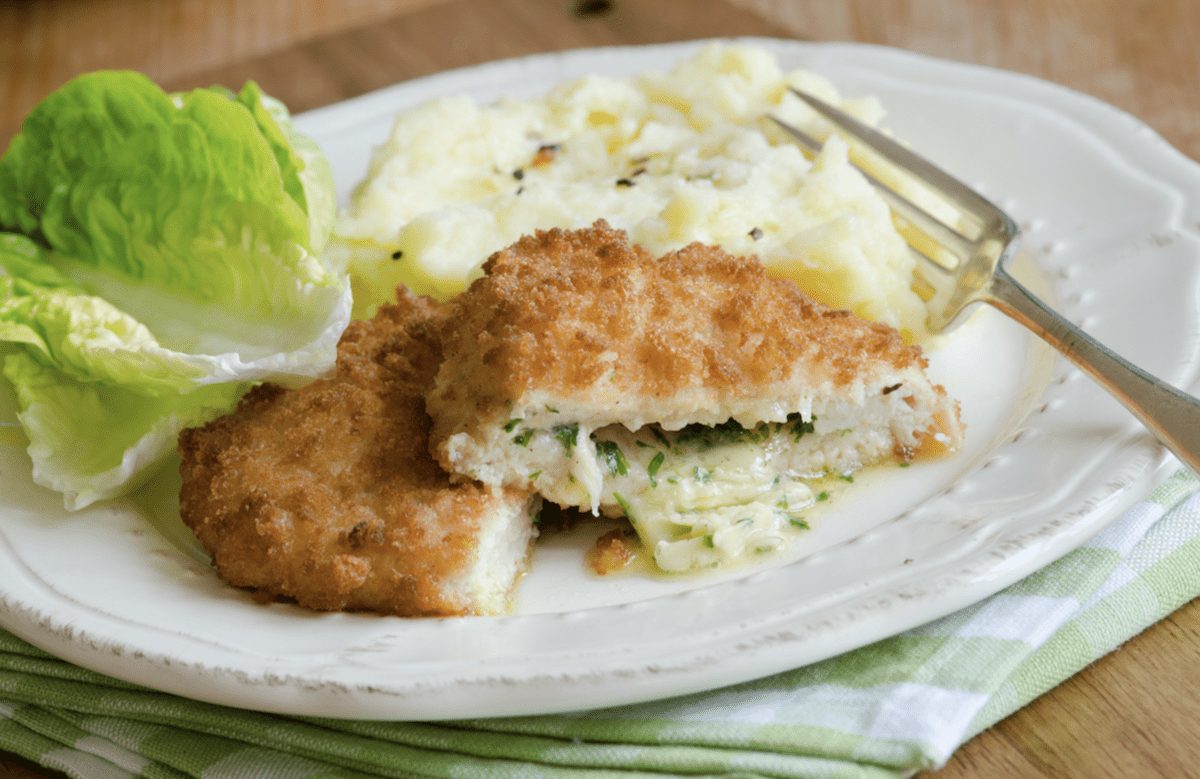
THE QUICK BITE: Although Chicken Kiev most likely doesn’t come from Ukraine, this crispy coated, butter-filled dish delights tastebuds around the world. Here’s an easy recipe to make it at home.
Pin It For Later
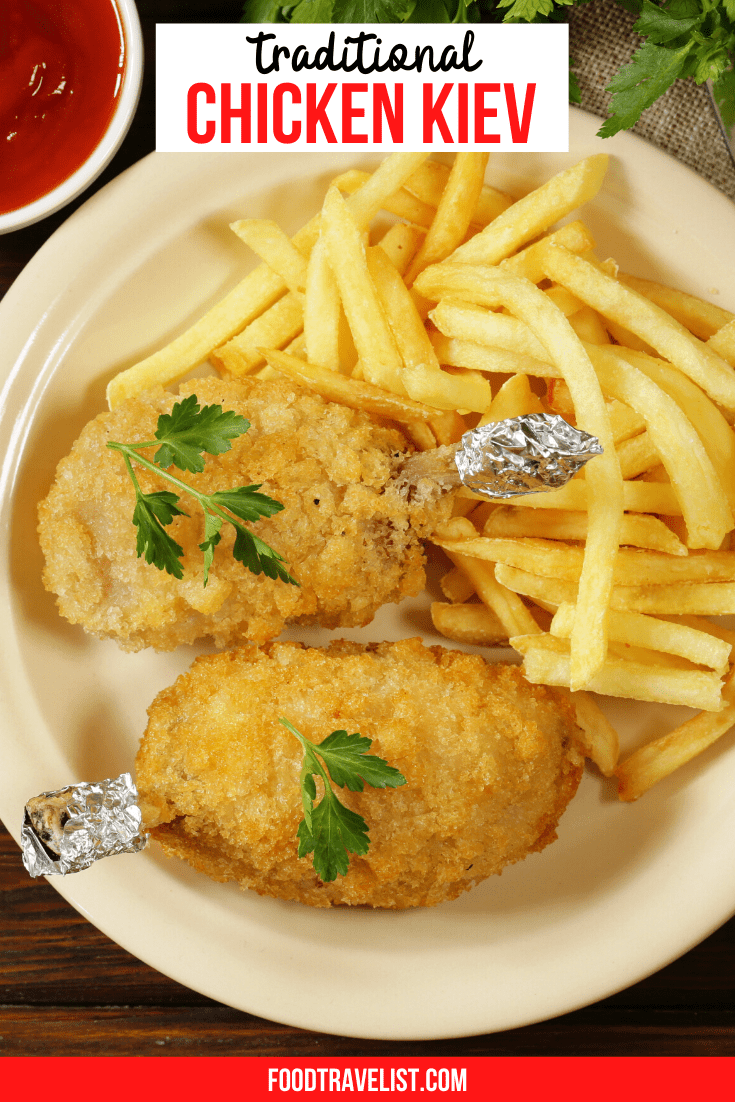 .
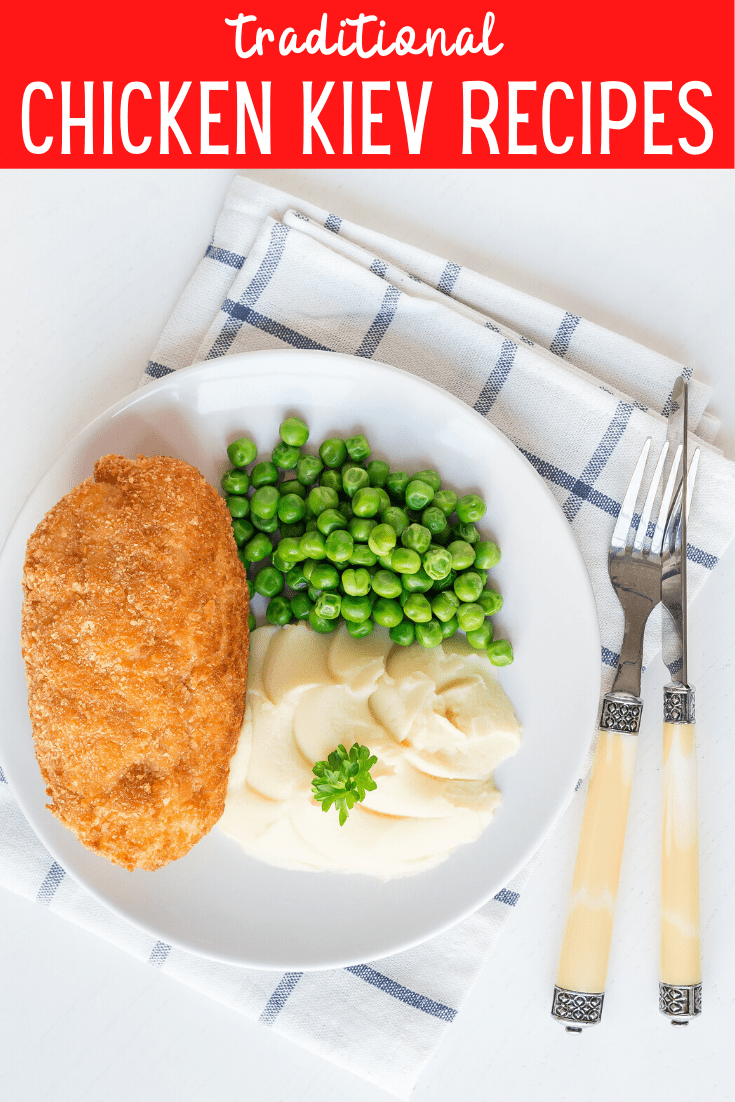
. 


1 Comment
I’d so love to build a dinner around Chicken Kiev. It sounds so tasty. I’d need to try almond flour for the coating but that seems a good option. Thanks for sharing these suggestions!