There’s nothing quite like a homemade bread recipe that makes it easy to create delicious bread without kneading or crazy ingredients. That’s why we love this super easy recipe that’s about as simple as it gets.
A Simple Homemade Bread Recipe
Our homemade bread recipe uses only four ingredients! It is so easy you’ll find yourself making bread all the time. Homemade bread is so delicious and it’s great when you know exactly what is in it.
You Don’t Need A Dutch Oven
We use the term Dutch oven bread, but it’s not necessarily baking bread in a Dutch oven. If you have a Dutch oven, that heavy cast iron pot that so many people love, that’s great. But if you don’t there’s no need to worry. You can make our homemade bread recipe in an enameled pot or any large heavy pot that can go into the oven. That’s part of the fun and flexibility of making our bread at home.
We tested this recipe out a few ways before sharing it with you. We wanted to make it a “foolproof” homemade bread recipe.
So, we made it three different ways. And guess what happened? Our Dutch oven bread came out perfect all three times. That’s what we call a winner, so now we’re ready to share our Dutch oven bread recipes with you.
We made our Dutch oven bread with ingredients we have in our pantry: flour, salt, yeast, and water. We know some ingredients can be hard to get right now. So we’ve made our Dutch oven bread three different ways. it should still make glorious bread for you.
Bread Three Ways
Our three types of Dutch oven bread were made with 1. regular all-purpose flour, 2. bread flour, and 3. with sourdough starter rather than yeast. If you like sourdough, you’ll love our Dutch oven sourdough bread too. Each time, the bread came out great but a little different.
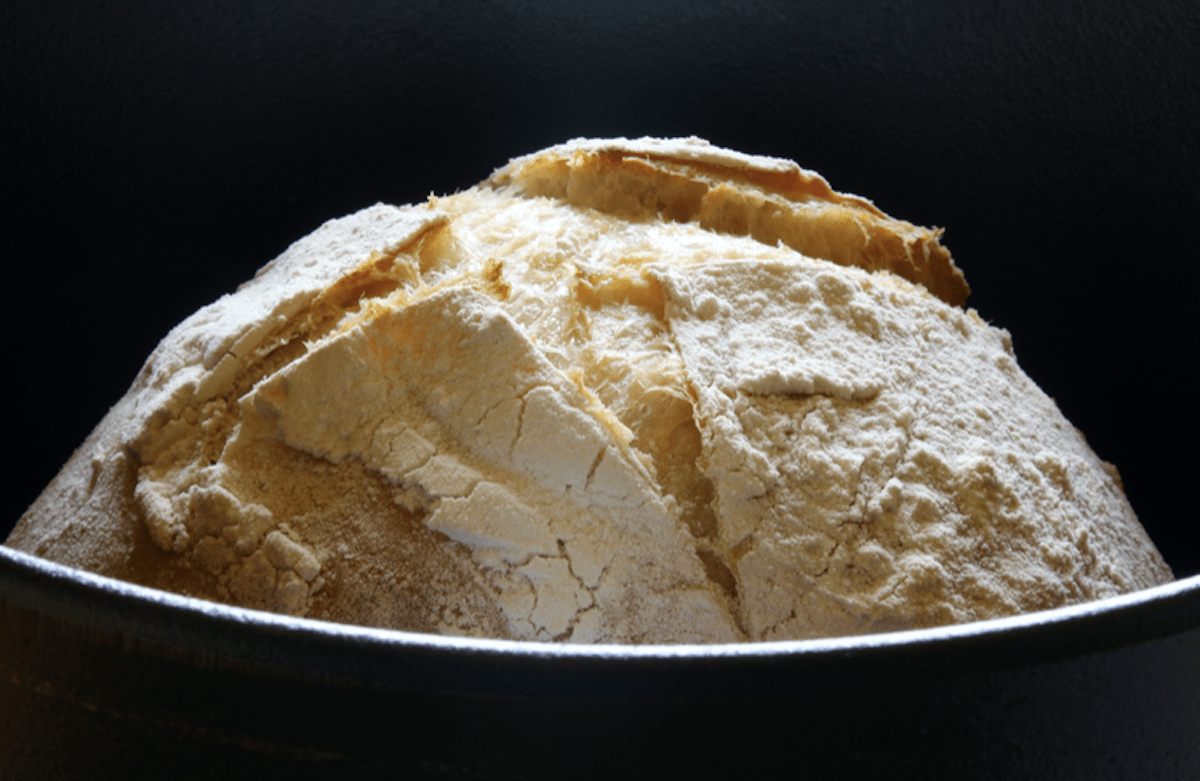
The recipe made regular all-purpose flour came out with a dense crumb and crunchy crust. The loaf we made using bread flour came out lighter and softer. The crust had a little crunch to it, but the loaf was more light and chewy than the dense and crispy all-flour bread.
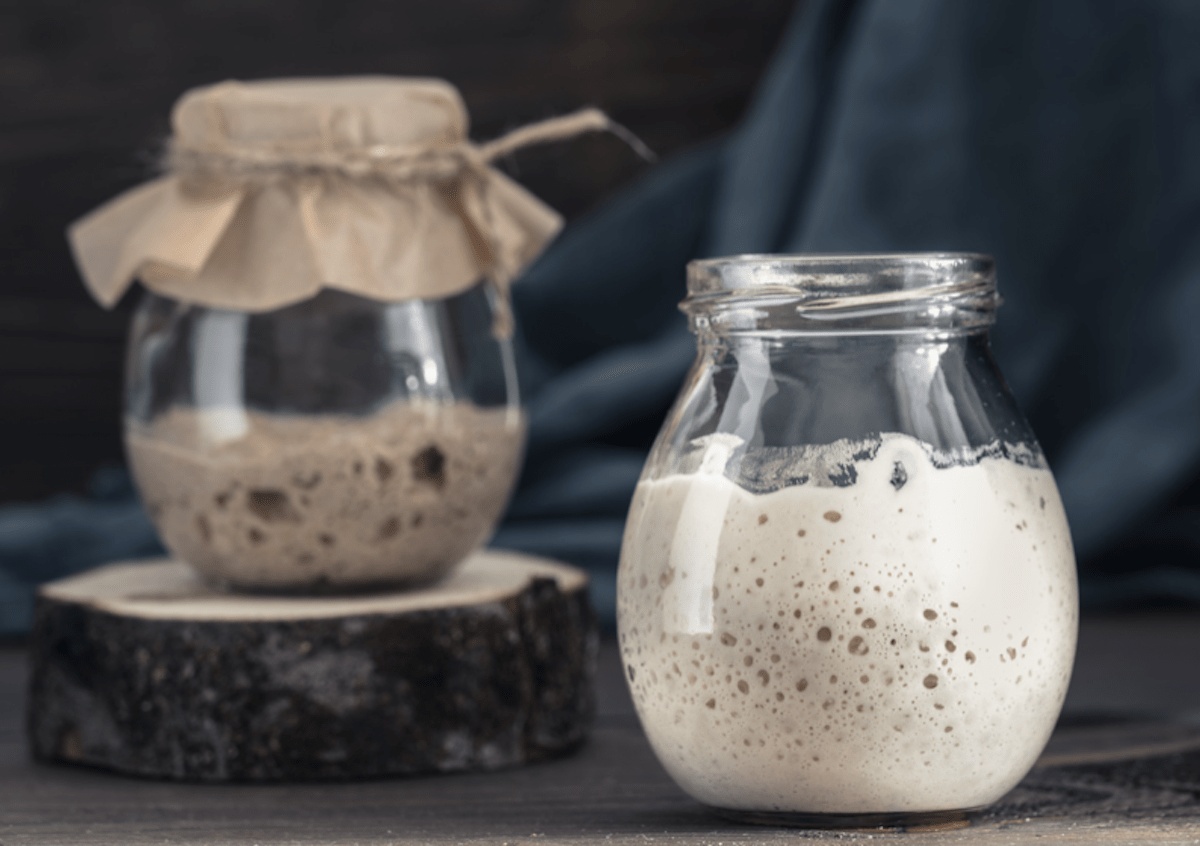
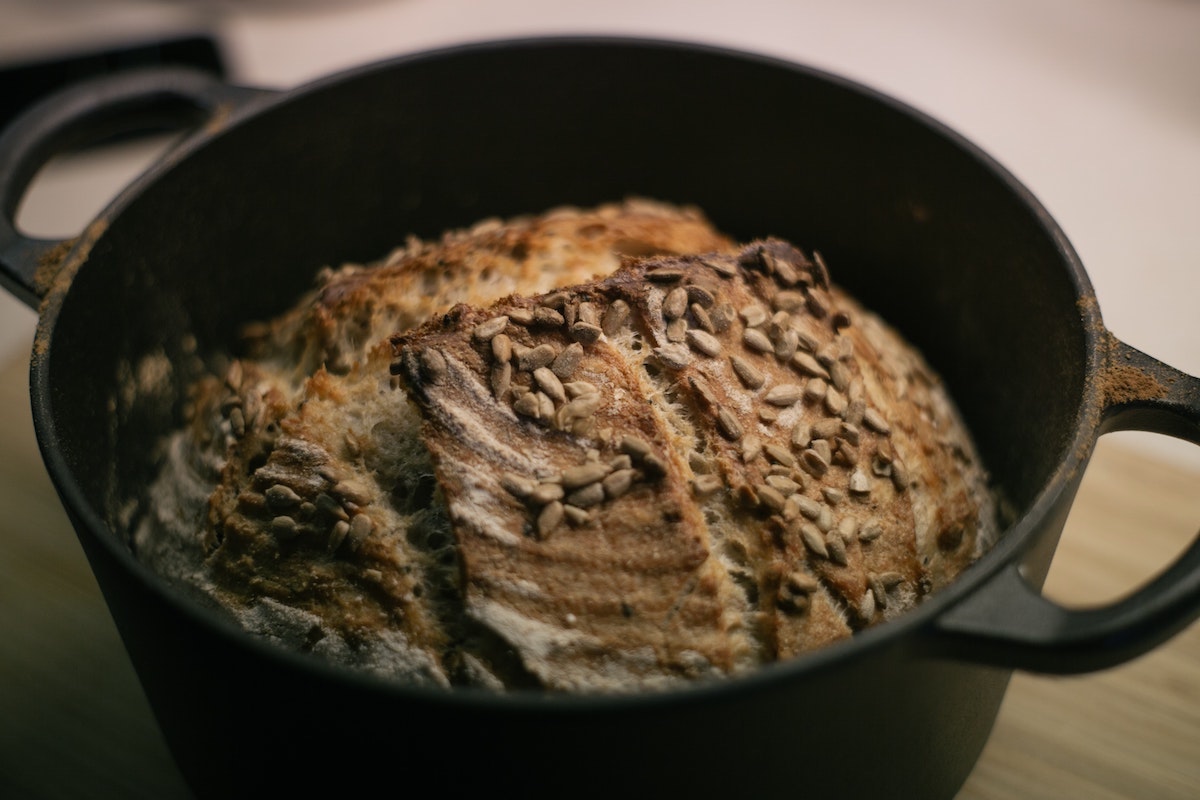
Dutch Oven Sourdough Bread
Because yeast can sometimes be hard to find, we’ve also made a version using a sourdough starter, which provides the leavening instead of yeast. If you already have a starter made, you’re ready to go. If not, there are lots of places on the web that can show you how to do it like these instructions for sourdough starter from King Arthur flour (no affiliate link, we just like their instructions).
So if you’re looking for something fun to do in the kitchen, try our recipes and let us know how it goes. The all-purpose flour and bread flour recipe are exactly the same. We will point out any differences in the sourdough bread recipe below.
Dutch Oven Bread Recipes
If this is your first time making bread, rejoice! We’ve made these bread recipes several times and each one has come out just perfect. It’s more a matter of what style of bread you prefer or what ingredients you have on hand. Whichever you make it will be delicious.
Ingredients
1 teaspoon instant yeast (any variety will work)
3 cups of flour, can be All-Purpose (bleached or unbleached) or bread flour
1/2 teaspoon salt
1 1/2 cups lukewarm (about 110 Degrees F) distilled or spring water (chlorine tends to come through in the flavor)
Yes, that’s really all there is to it. If you want to make the Sourdough version, use:
3/4 cups unfed sourdough starter instead of yeast
3 1/2 cups of flour teaspoon salt
1 1/4 cups lukewarm distilled or spring water
Directions
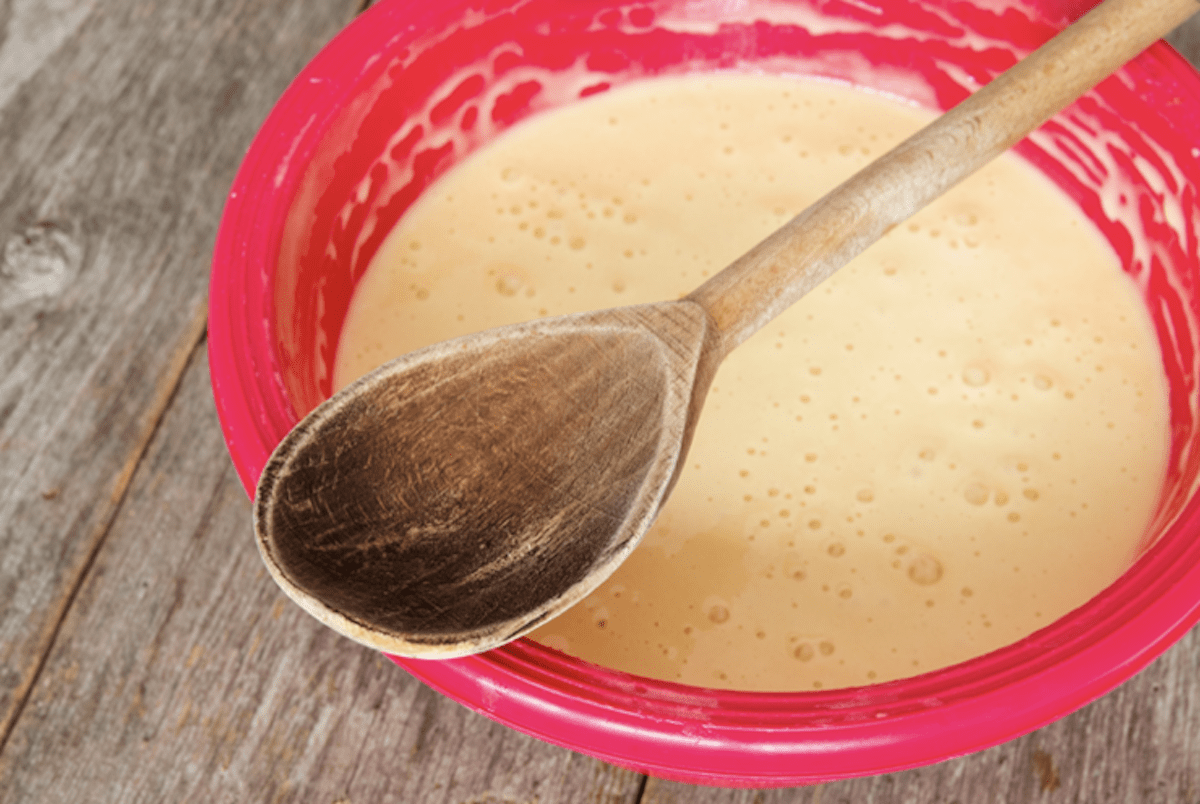
1. Mix flour, yeast, and salt together in a large bowl then add water. If making Sourdough bread, mix starter and water first, then add flour and salt. Blend by hand or with a fork until it just comes together.
The dough may feel a little gummy and that’s okay. Don’t add more flour or it will become too stiff.
Sourdough may be more doughlike and less wet, that is fine.
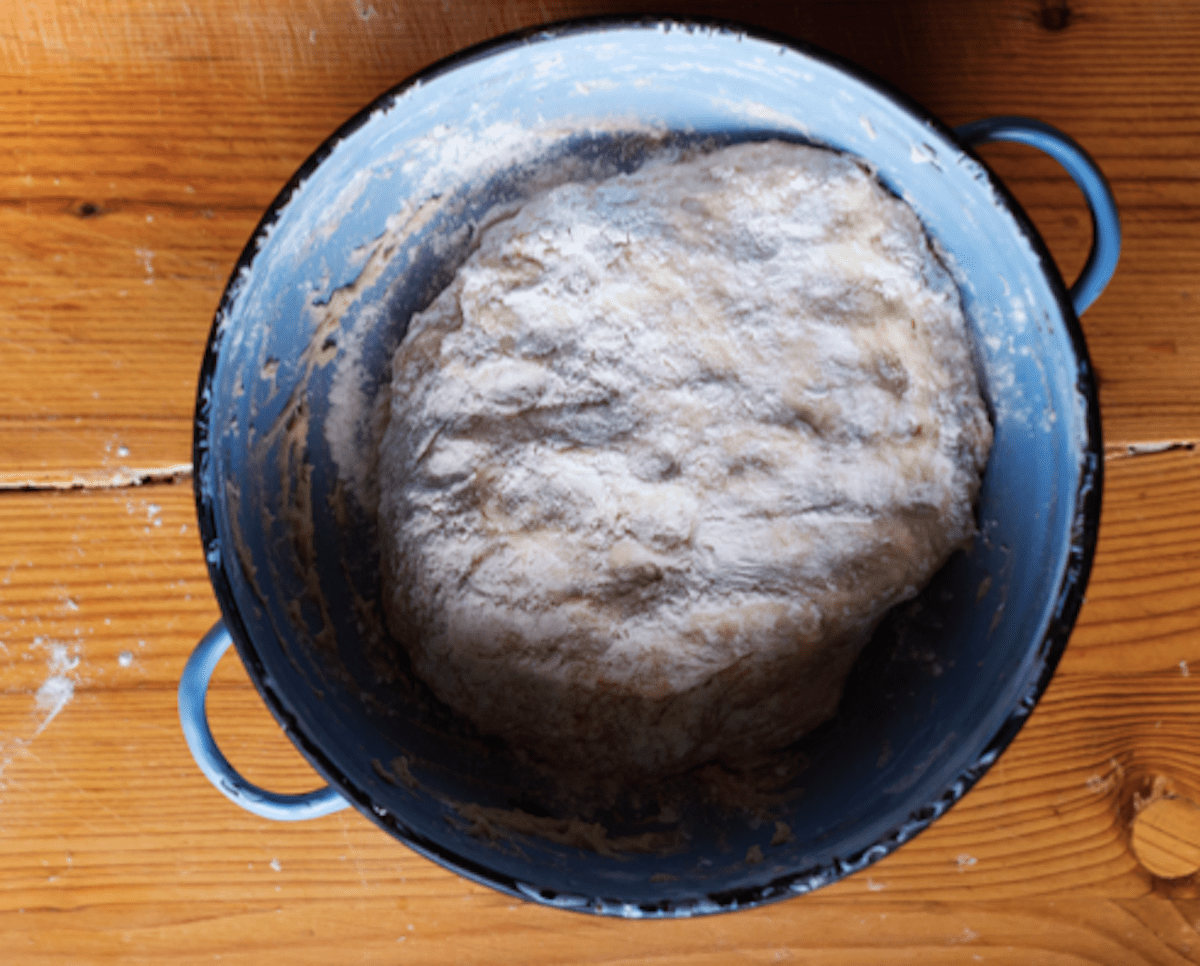
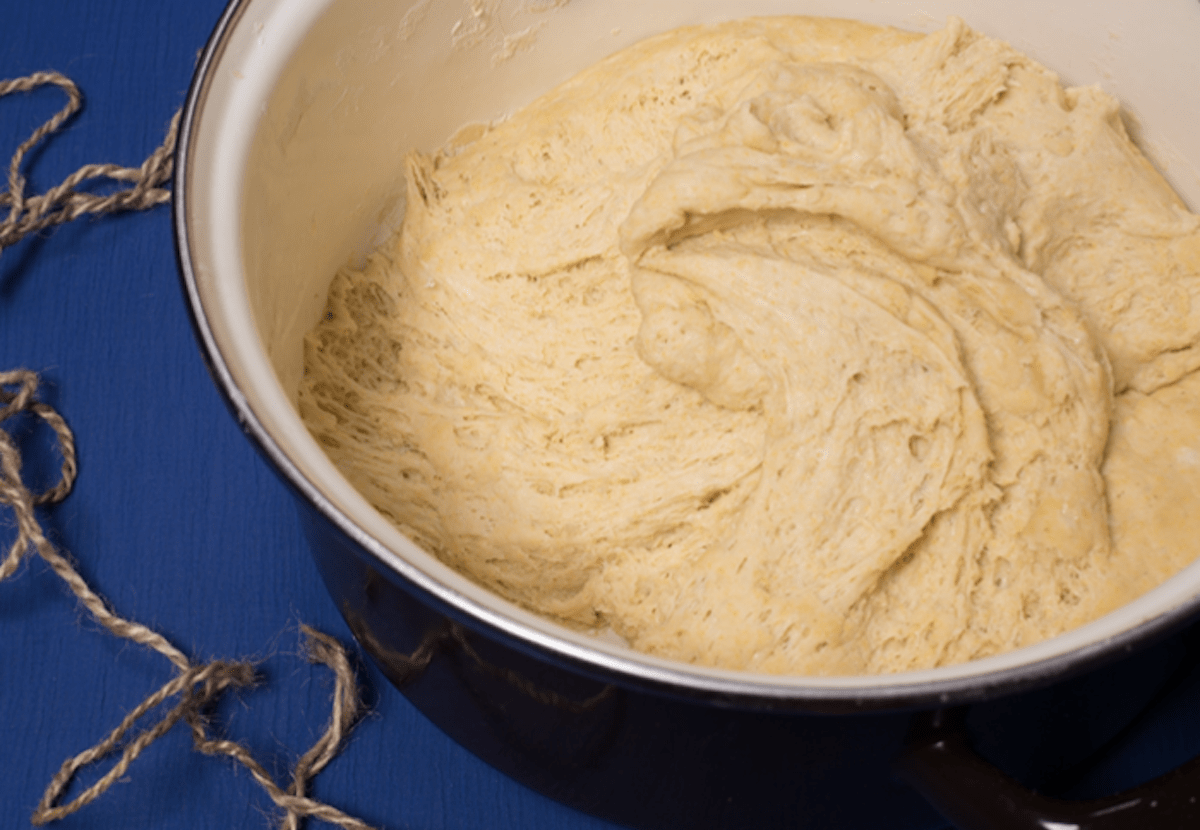
2. Cover the bowl with a towel and let it sit in a warm (not too cold or hot place) for about 8 hours, more or less depending on the temperature, until the dough rises, about doubling in volume.

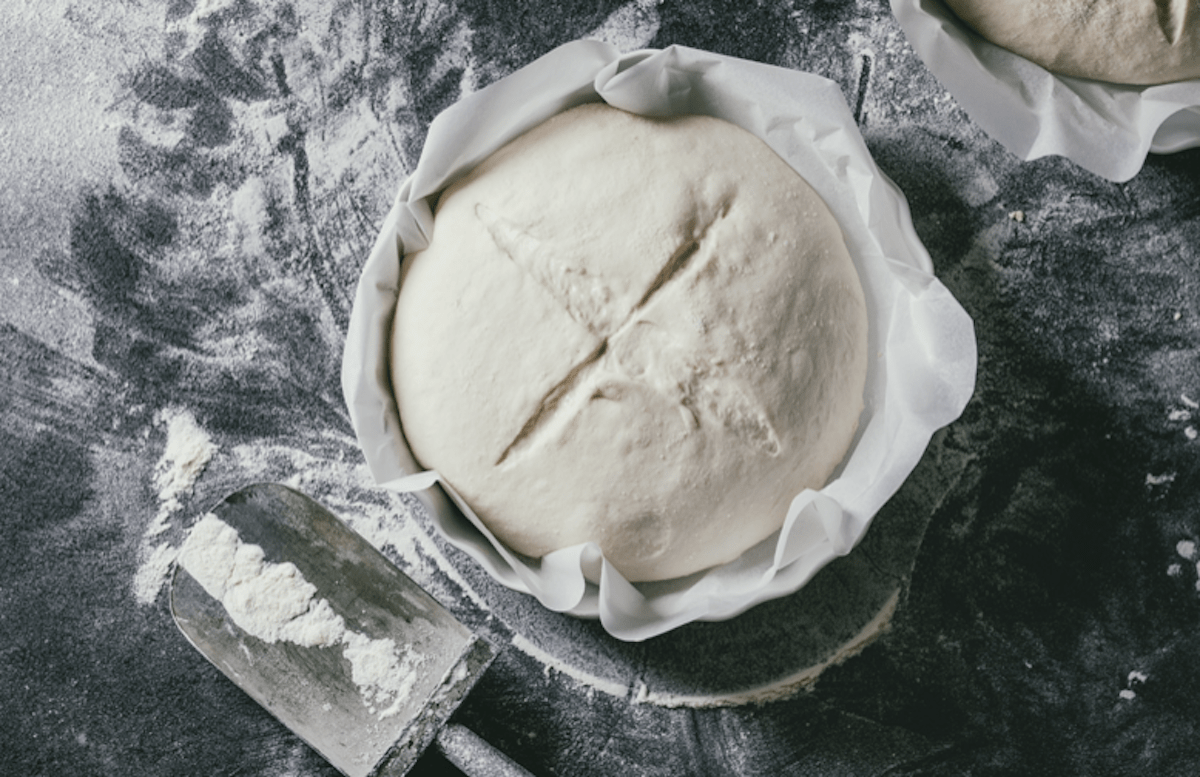
4. Cut a large piece of parchment paper that will be long enough to hold the dough and stick up high enough for you to use it to safely place the dough into the pot.
5. While the pot is heating, sprinkle flour on a smooth surface like your counter or a large cutting board and sprinkle some flour on your hands as well.
6. Scrape the dough out of the bowl and shape it into a ball by folding the sides inward underneath. There will be a seam along the bottom where you pulled in the dough to form the ball.
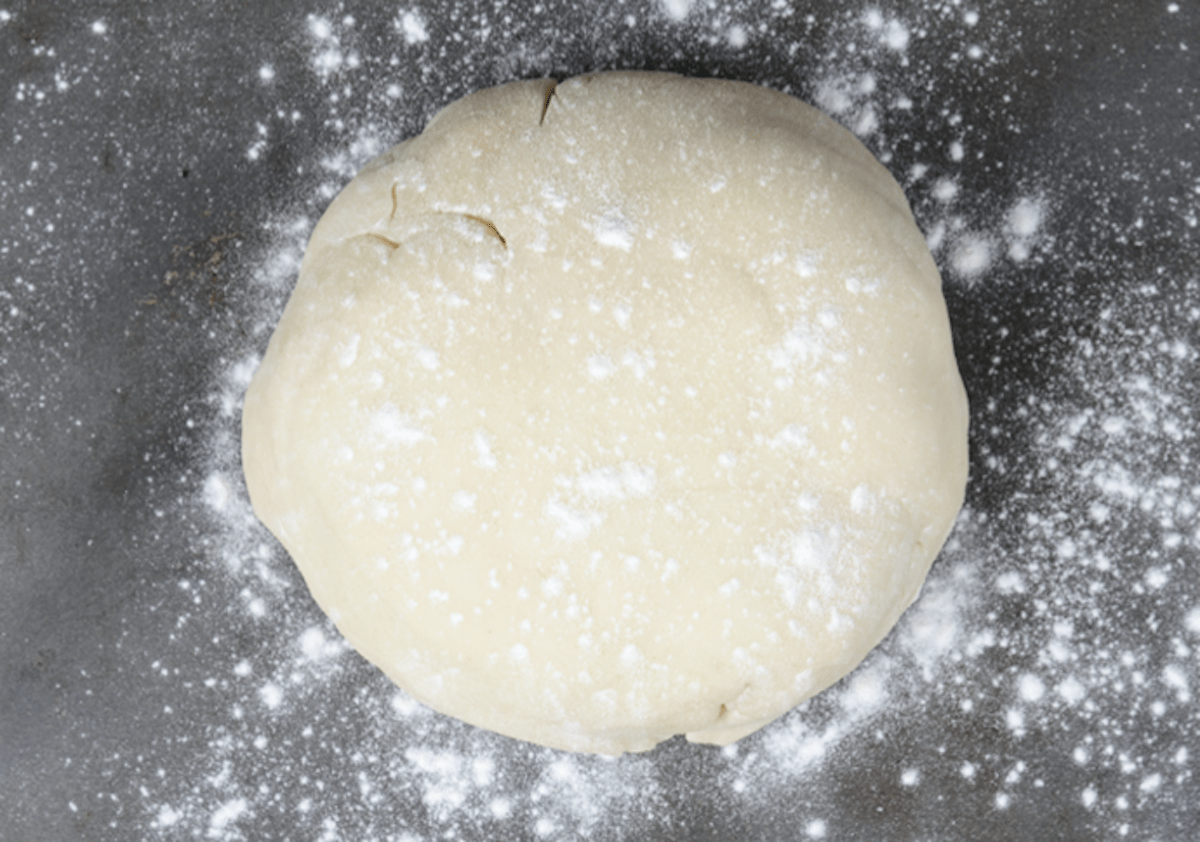
7. Place the dough ball, seam side down, on the center of the parchment paper and cover with a towel. If making sourdough, let rise a second time for another two hours, and in the last 30 minutes proceed to the next step.
Time To Cook
8. Heat the oven to 450 degrees, move the rack to the bottom 1/3 of the oven, and place a large Dutch oven, enameled, or oven-proof pot on the rack with the lid on. Let it heat for at least 30 minutes.
9. When the pot is hot, carefully pull out the rack and remove the lid. Be sure to use oven mitts so as not to burn your hands or arms on the hot pot or lid.
10. Carefully lower the dough ball and the parchment paper together into the center of the pot.
11. Put the lid back on the pot and bake for 30 minutes. During this time the covered loaf will cook with steam.
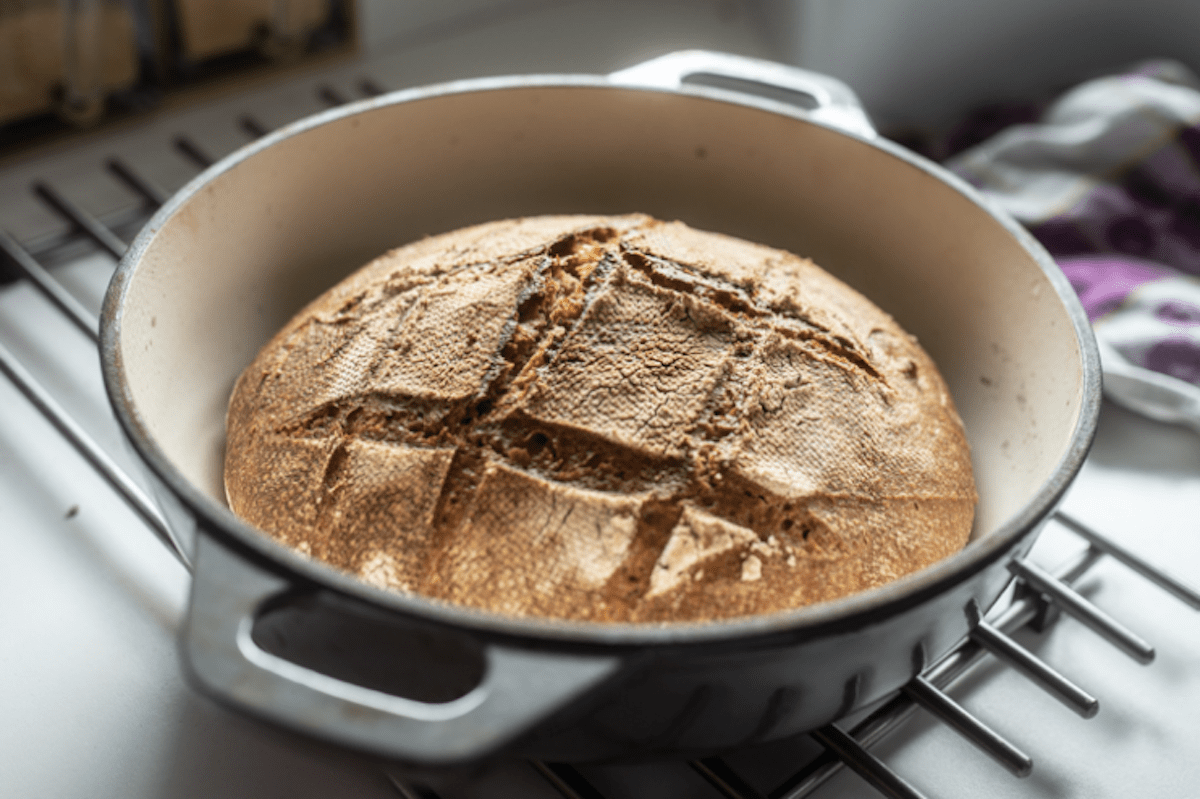
12. After 30 minutes remove the lid carefully and cook for another 10 to 15 minutes or until the crust turns golden brown.
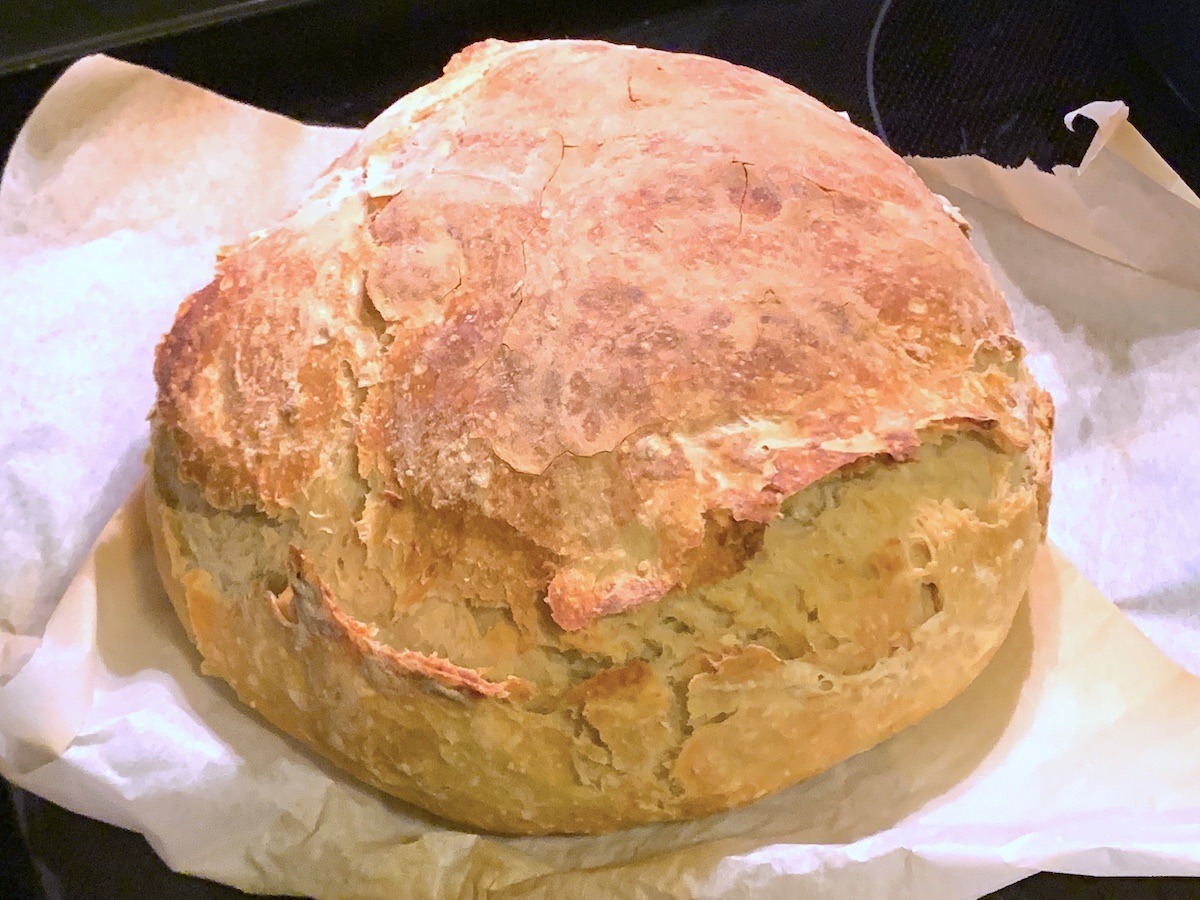
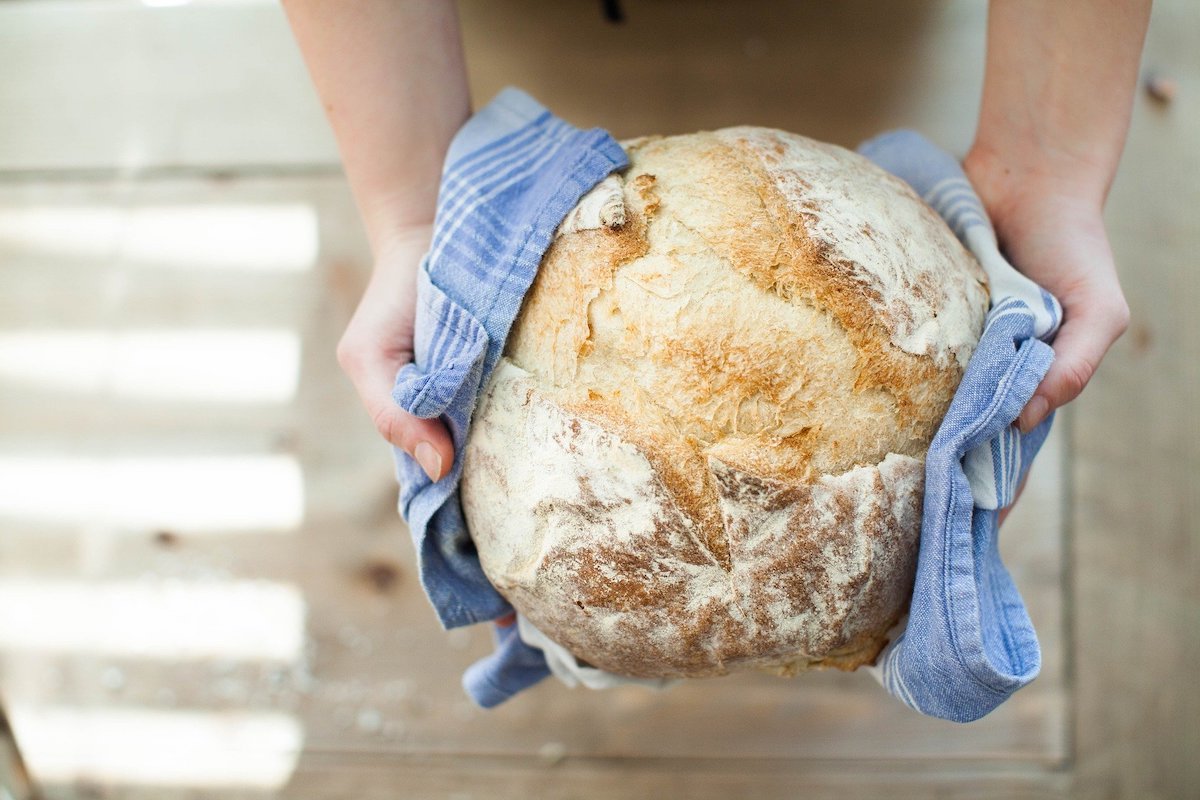
13. When the bread is ready, remove the pot from the oven. Remove the bread using the parchment and oven mitts to be careful not to burn your hands or arms and place the loaf on a rack and let it cool for another 15 minutes until ready to slice.
14. When the bread has cooled slightly, give yourself a reward by slicing off a piece and dipping in olive oil or spreading on some butter. Enjoy!
If you want to have fun with more pantry cooking ingredients check out our Stale Bread Recipes: Panzanella and Traditional Cuban Rice Moros Y Cristianos.


Comments are closed.