Author

Diana Laskaris

Browsing


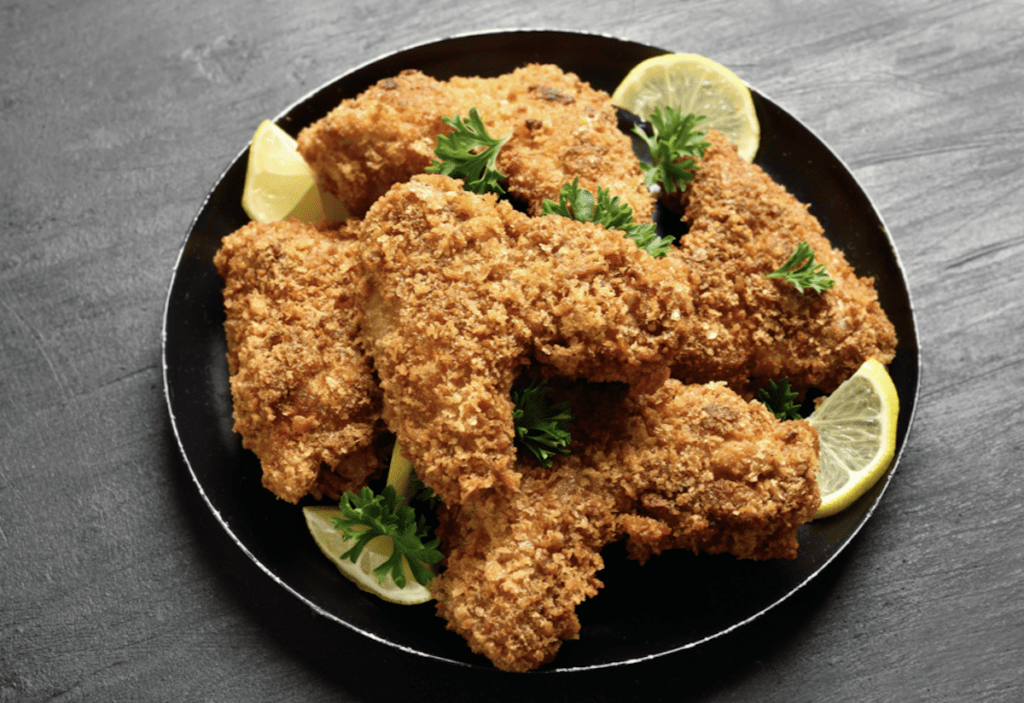
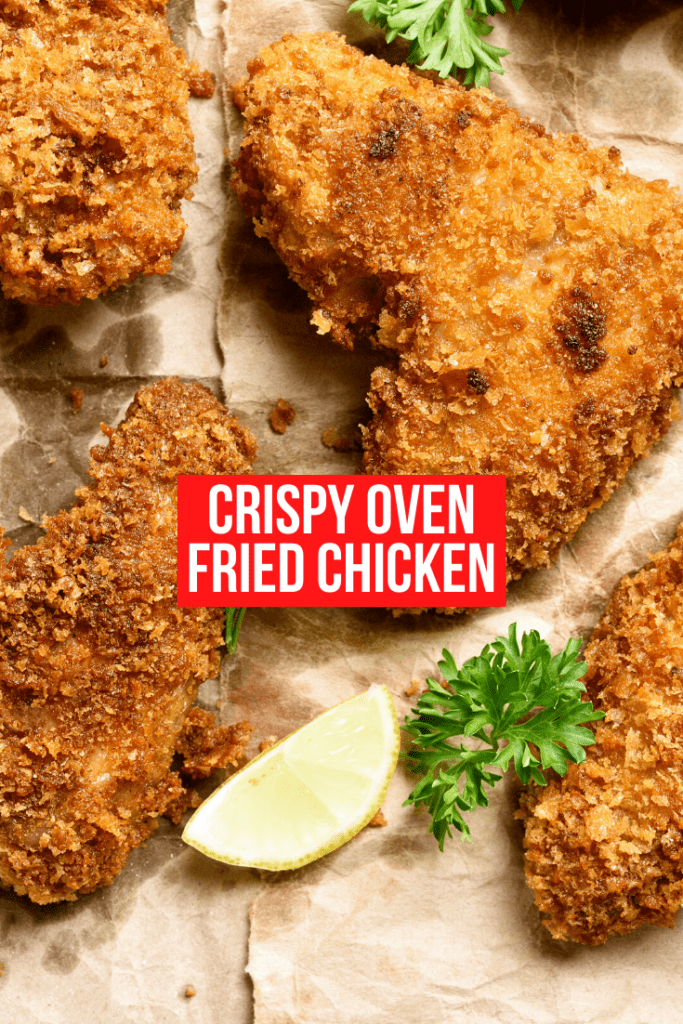
We love the crispy crunchiness of fried chicken. That southern fried tradition is a part of the American food lexicon. But not all of our waistlines (or cholesterol levels) appreciate the finer points of deep fat fried foods. Lucky for you, we’ve made a recipe that gives you all the crispy crunchiness you desire without the need for deep frying or even pan-frying. Our crunch fried chicken comes right from the oven! It’s easy to make so you’ll be able to enjoy it anytime you’re in the mood for a satisfying, southern homestyle dinner – on the healthy side.

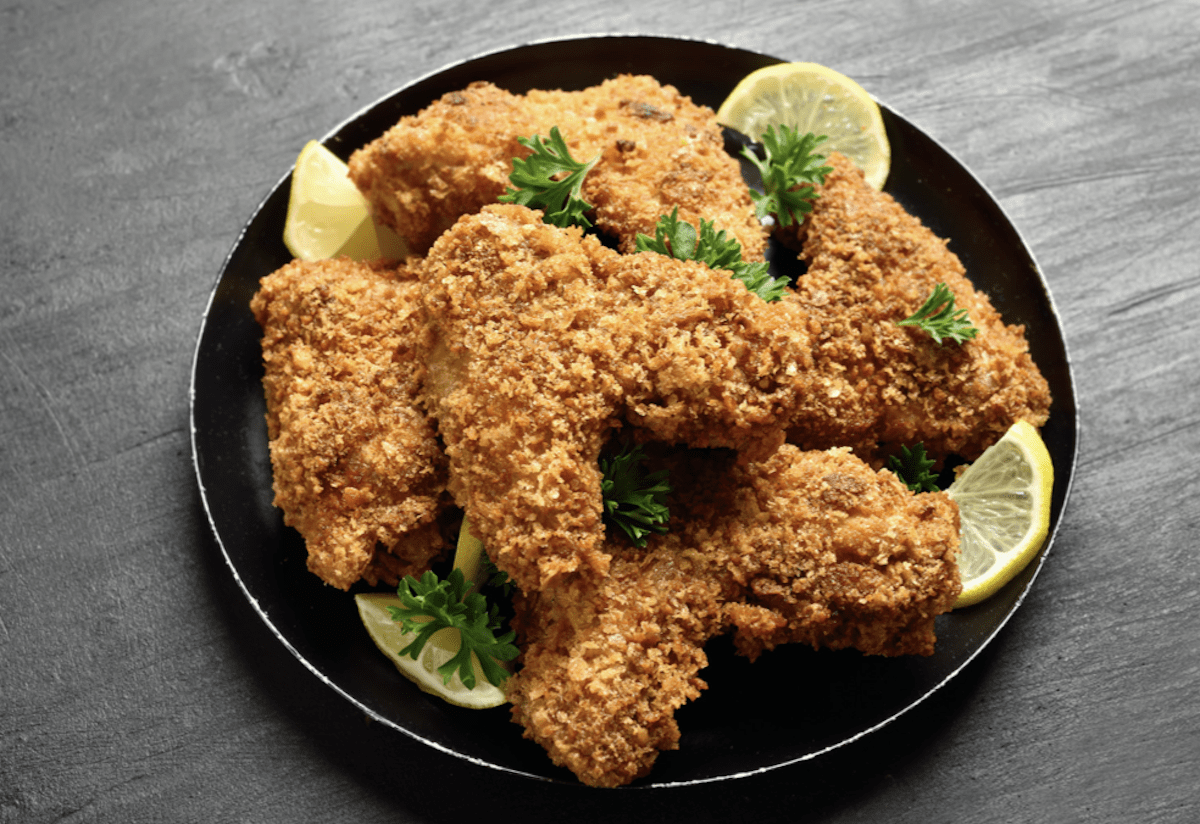
Oven Fried Chicken Breast Makes A Great Meal


Crispy Oven Fried Chicken Recipe

Preheat your oven to 350℉.

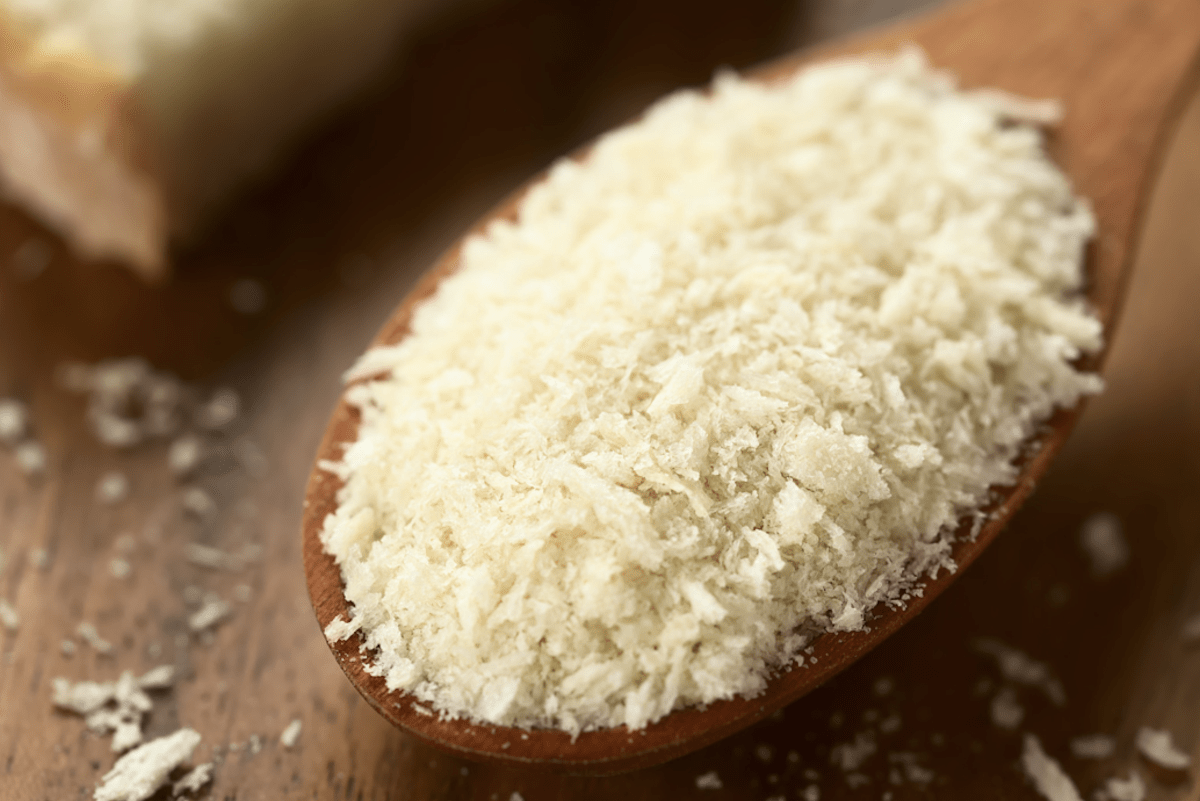
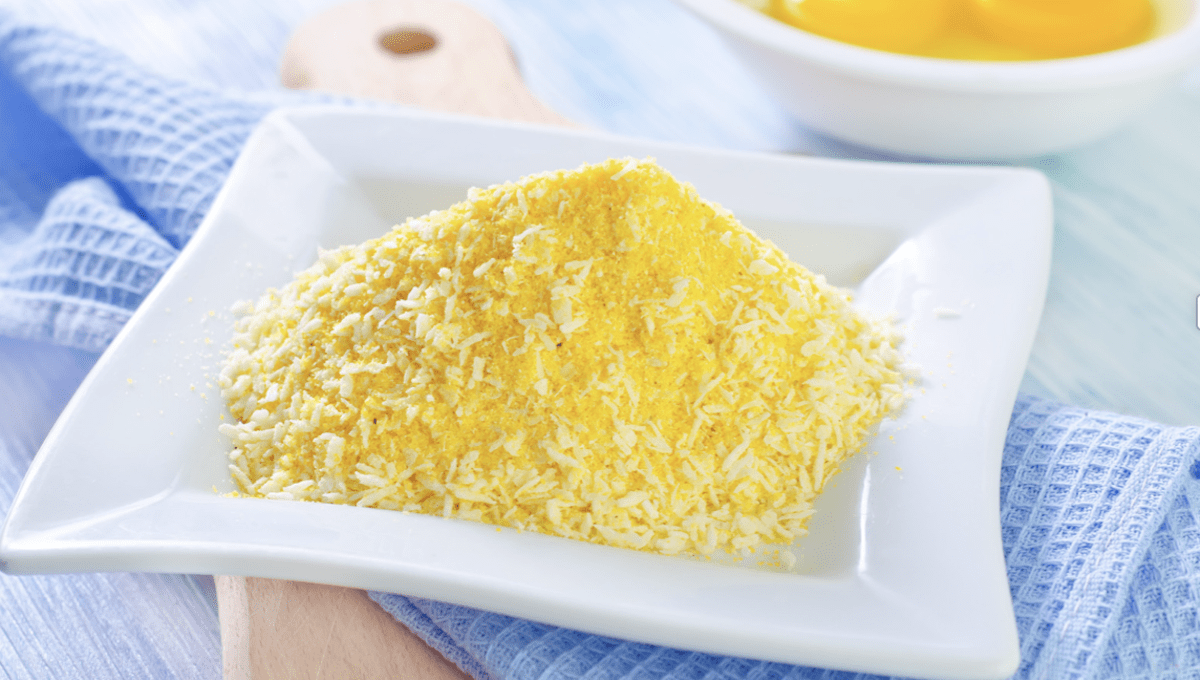
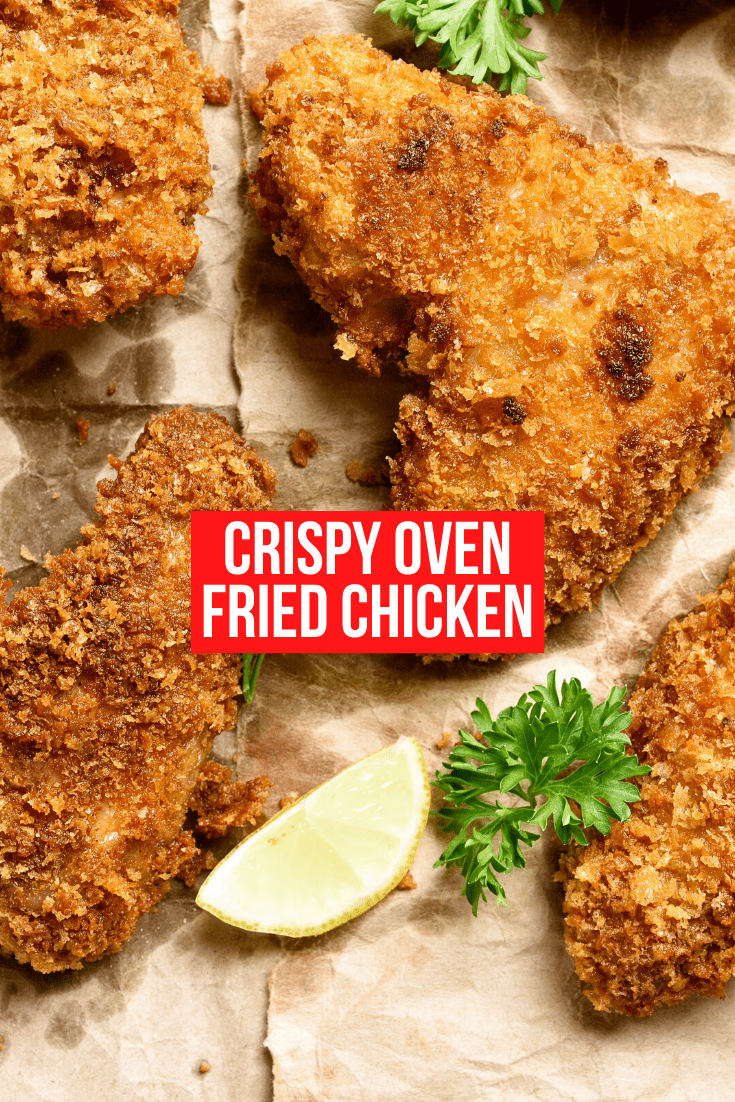
Panko Crumbs Are Extra Crispy

Ingredients

3/4 cup crushed cornflakes or cornflake crumbs (you can use 100% cornflakes if you like)
3/4 cup Panko (Japanese style) breadcrumbs (you can use only Panko if you like)
1 teaspoon dried oregano
1 teaspoon dried basil
1/2 teaspoon kosher or sea salt
1 teaspoon granulated garlic
1/2 teaspoon granulated onion
fresh ground pepper to taste
4 lightly beaten egg whites or 3/4 cup egg substitute
Chicken pieces as you choose, approximately 8-10 pieces *

Oven Fried Chicken Wings Are Always A Hit

* You can easily make oven fried chicken wings, oven fried chicken breast, oven fried chicken thighs, oven fried chicken tenders or nuggets. If you want you can use bone-in pieces of chicken in the oven for a great taste of baked breaded chicken.

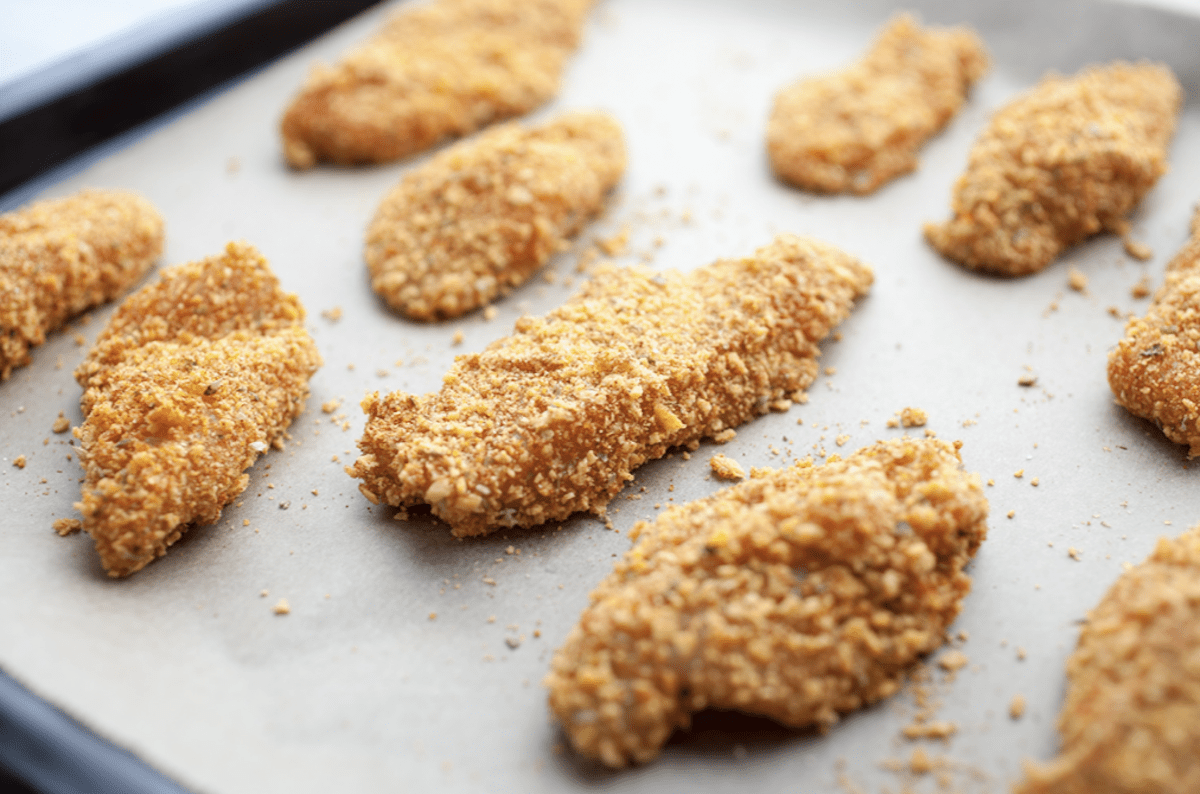
Make Your Own Oven Fried Chicken Tenders

Directions

1. Place crushed cornflakes or crumbs and Panko crumbs,  in a shallow dish or cereal bowl.

Cornflake Crumbs And Panko Are A Great Combination

2. Add oregano, basil, granulated garlic, salt, and pepper and mix all ingredients thoroughly.

3. Pour egg substitute or lightly beat egg whites into another shallow dish or cereal bowl.

4. Spray a large baking pan or sheet with nonstick spray or lightly coat with safflower or canola oil.
5. Coat each piece with egg substitute or egg white, then dredge with crumbs mixture to coat thoroughly.

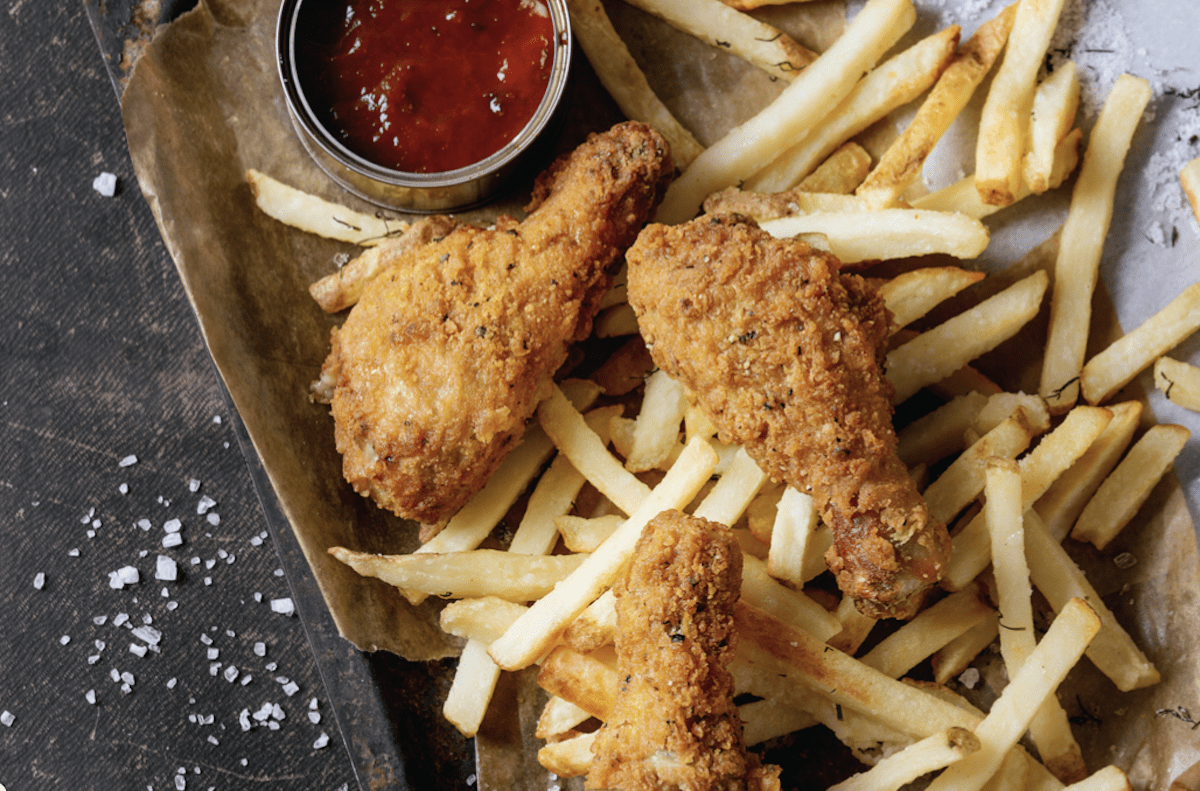
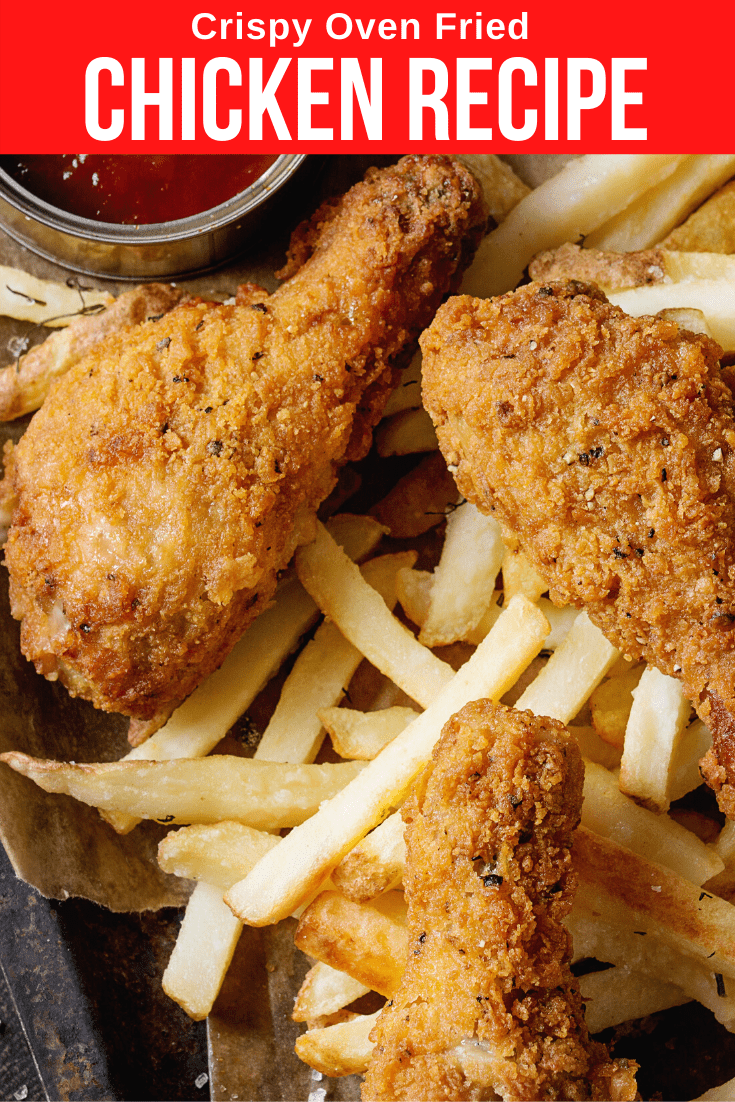
Oven Fried Chicken Legs With Oven Baked Fries

6. Place single layer in pan.
7. Repeat step 6. above until all pieces are coated.

8. Bake in 350℉ oven for about 1 hour, turning 1/2 way through. It’s done if when poked with a toothpick or fork the juices are clear (not pink or red) and the coating is golden brown and crispy.

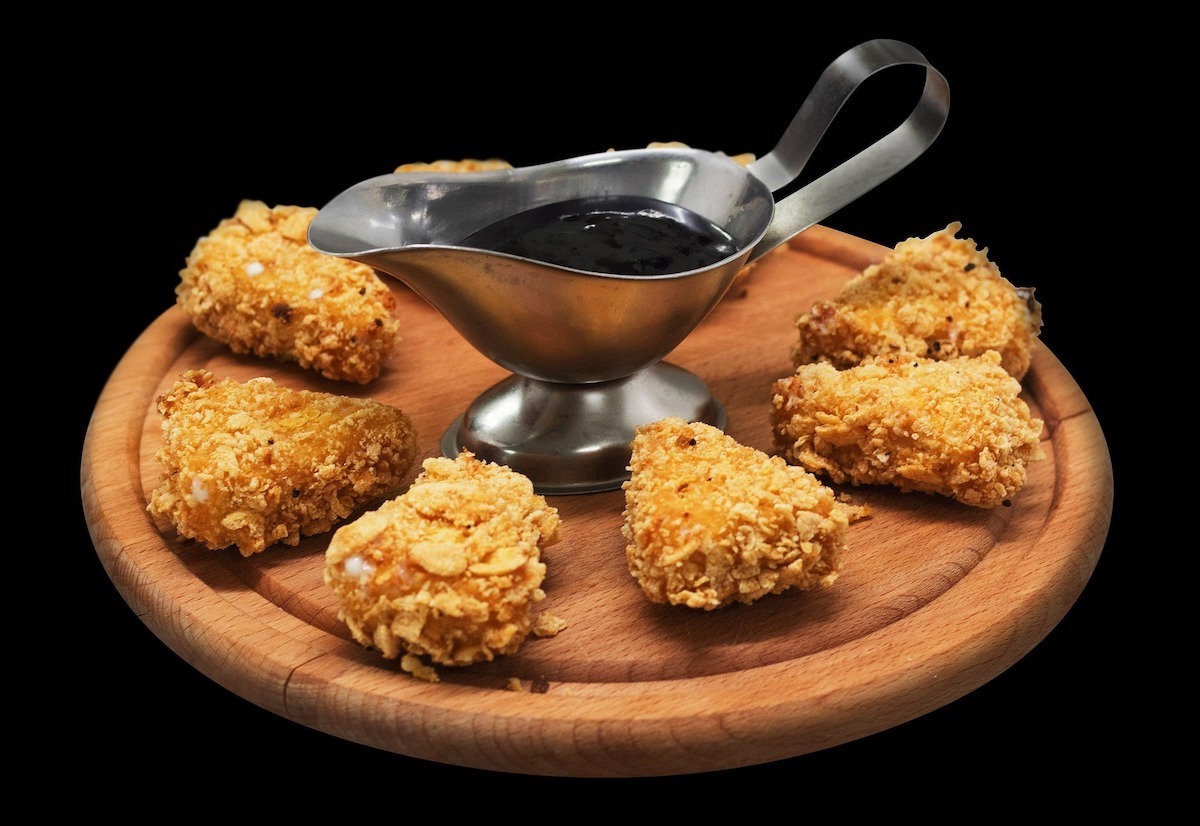
Smash Corn Flakes for Rustic Oven Fried Chicken Nuggets

Add whatever other herbs and spices you like to the coating. Paprika, rosemary, and thyme all work well too.

If you like this healthier version to bake fried chicken in the oven, try our Easy Chicken Kebab Recipe for another quick and tasty meal you can make with chicken in the oven.

Pin It To Your Favorite Recipe Board

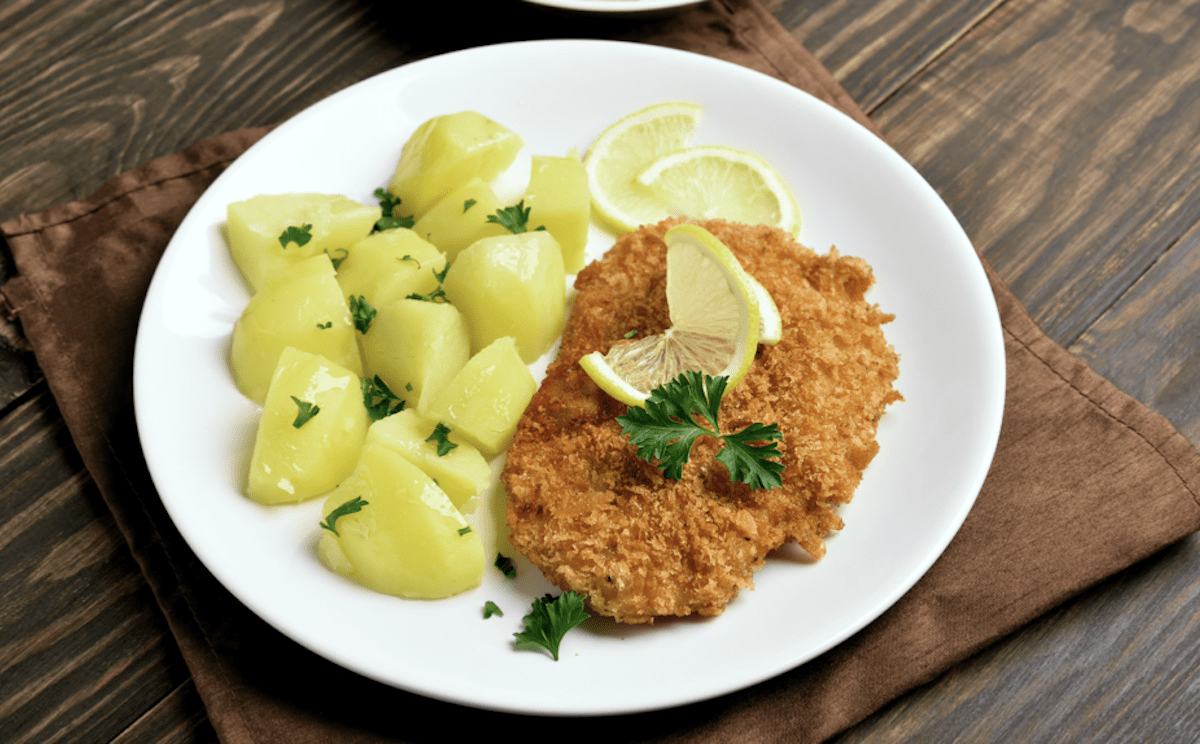
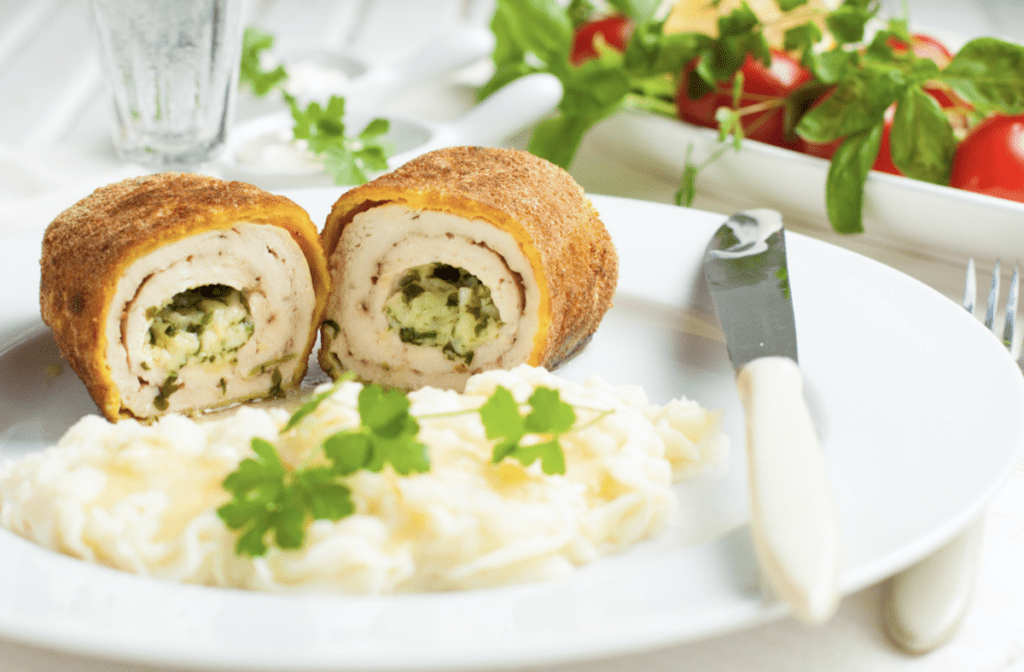
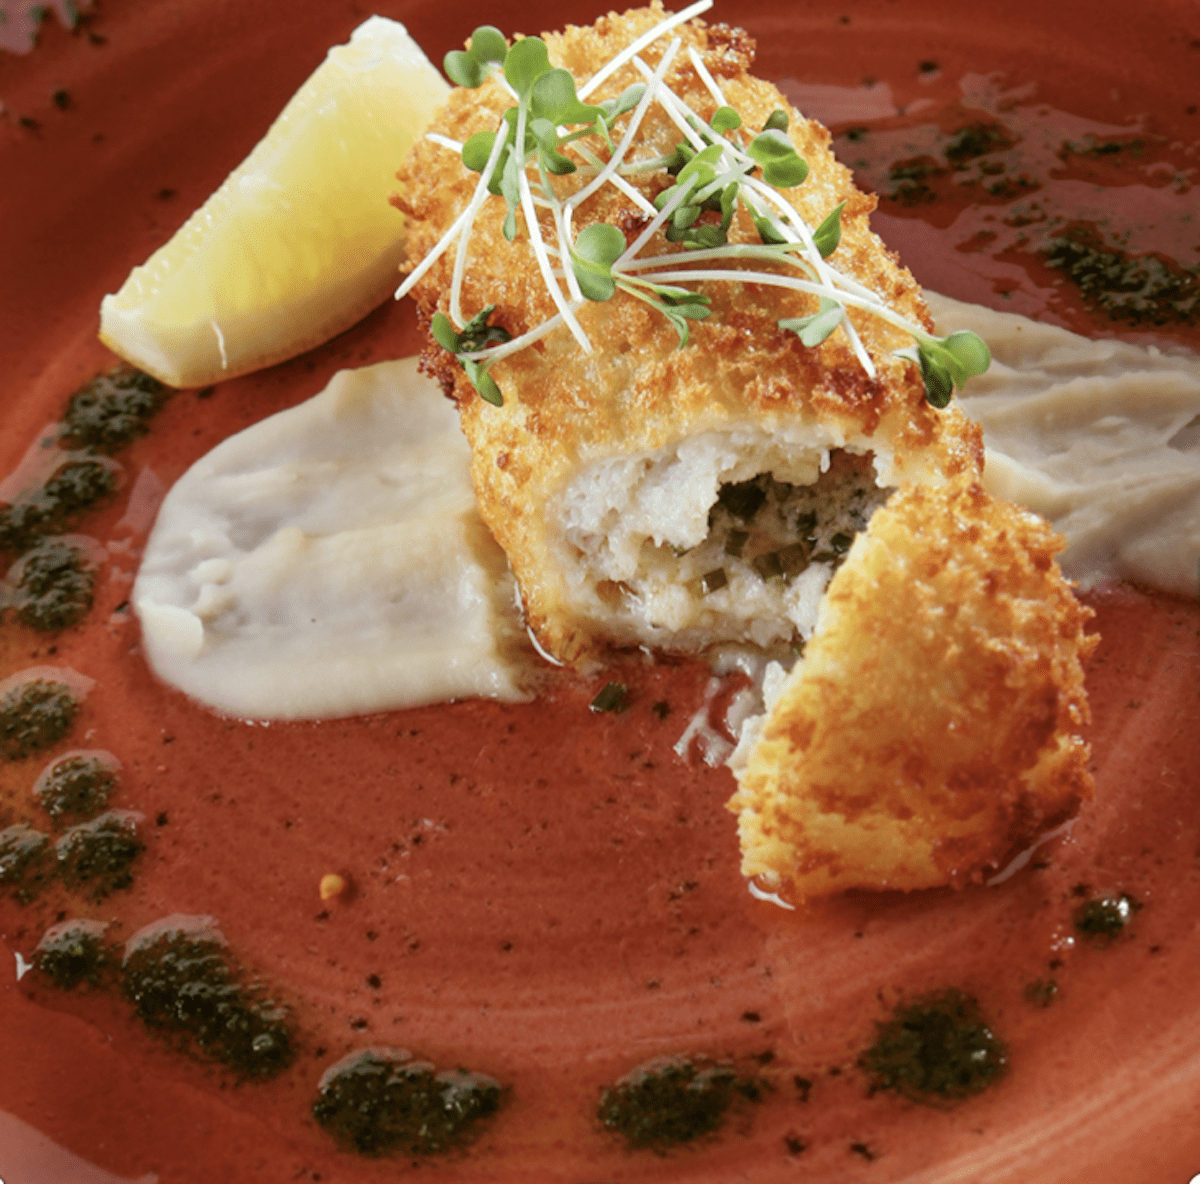
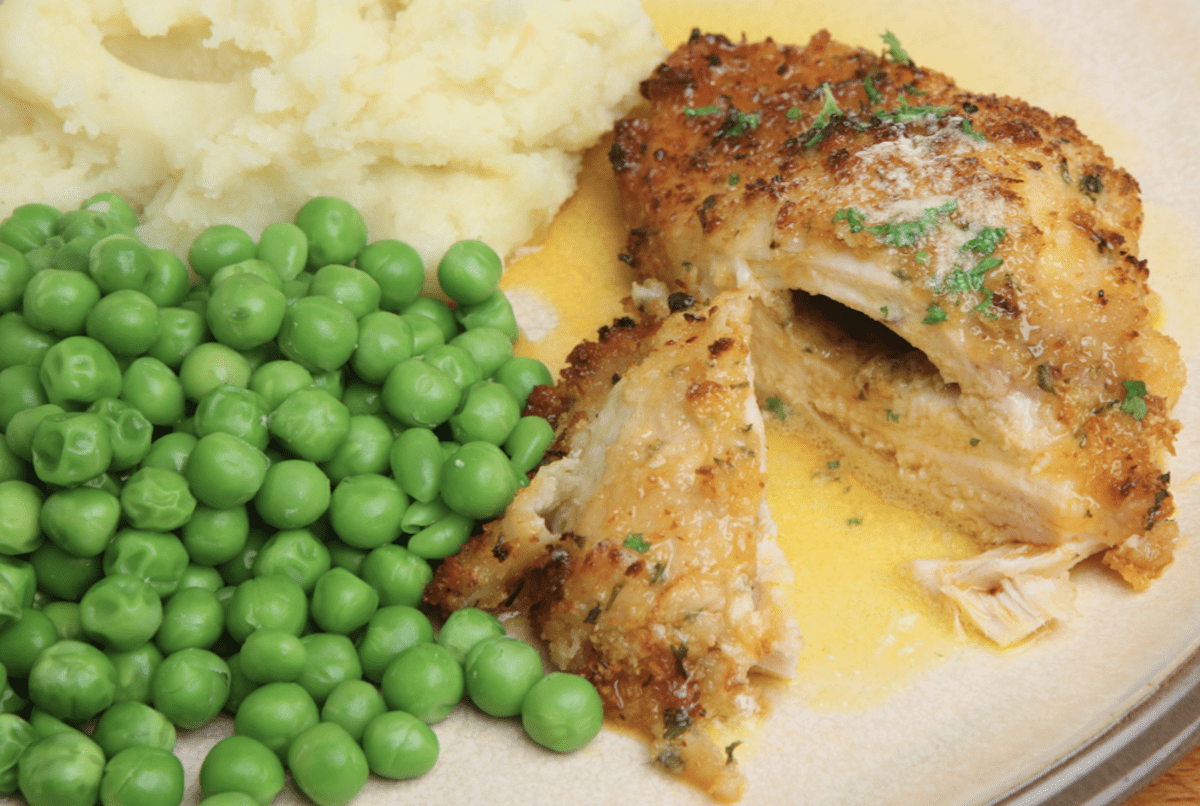
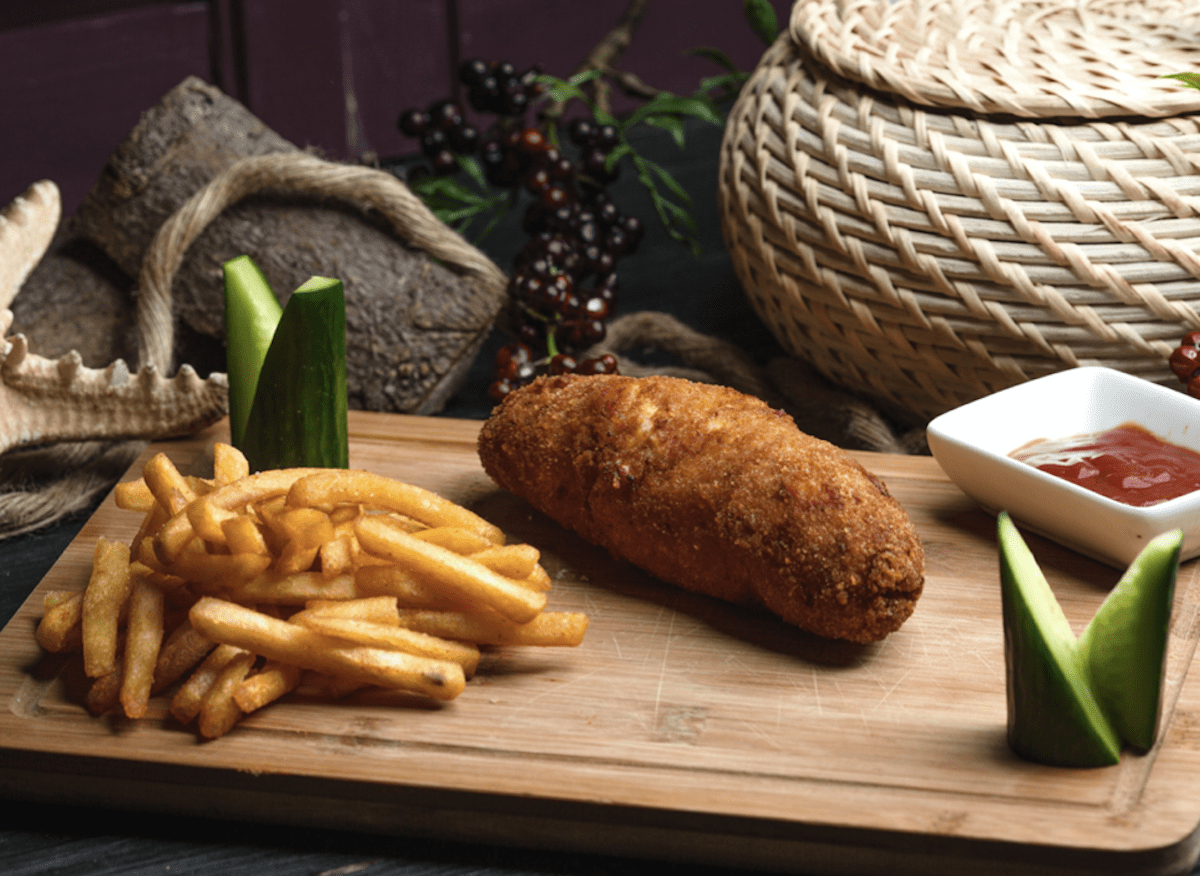
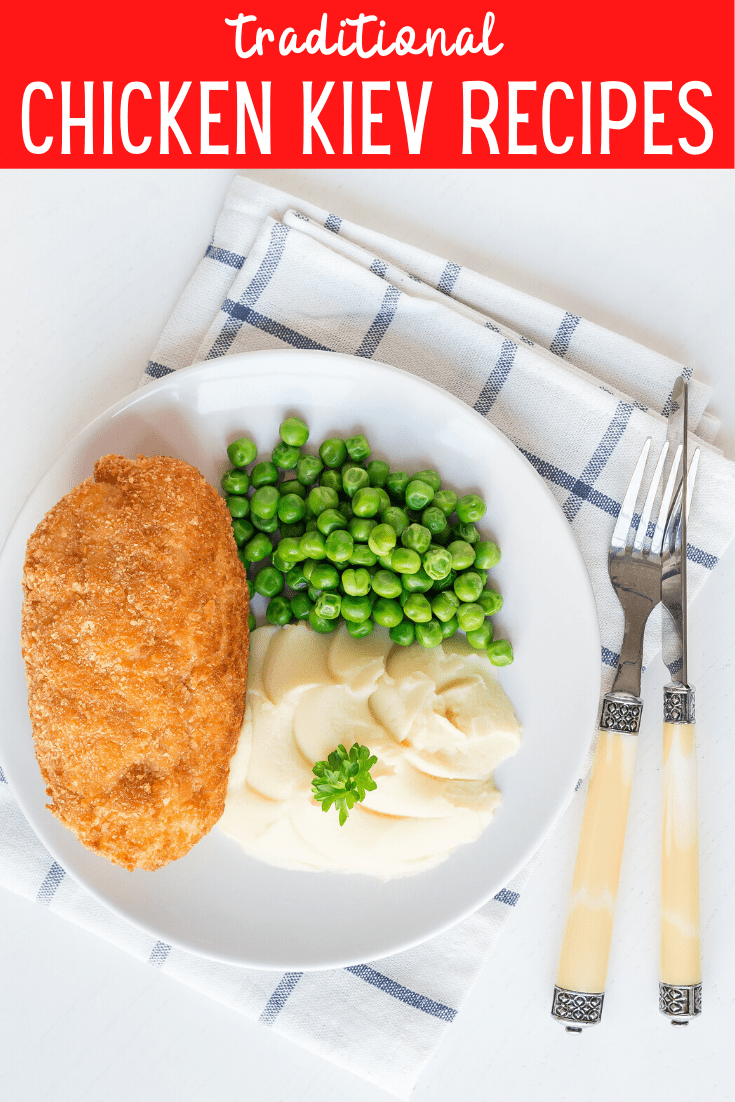
The capital Ukrainian city of Kiev (Kyiv) is rightly known for its amazing architecture, high-tech industries, and fabulous museums. But it’s not actually the birthplace of that crispy butter-filled chicken delight, Chicken Kiev.

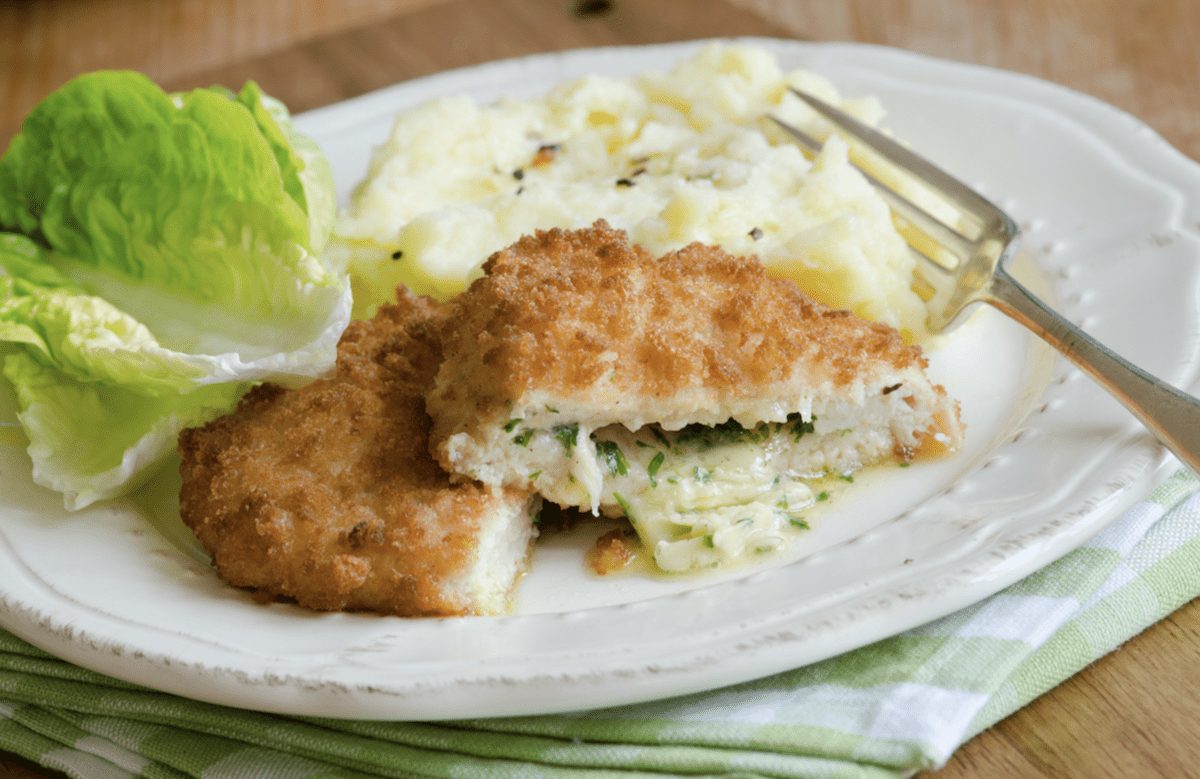
Classic Recipes For Chicken Kiev Include Herbs And Butter Filling
Classic Recipes for Chicken Kiev Include Herbs And Butter Filling

Chicken Kiev Origin

Some stories say recipes for Chicken Kiev originated in 18th Century Russia when French-style cooking was preferred. Others claim the Chicken Kiev origin belongs to Nicolas Appert, French chef to Empress Elizabeth Petrovna who created it. Then there are those who claim the original recipes for Chicken Kiev came in the 20th Century to please the Russian immigrants dining at New York restaurants such as The Russian Tea Room, which has been making a Kiev Chicken recipe for its patrons since the 1940s.

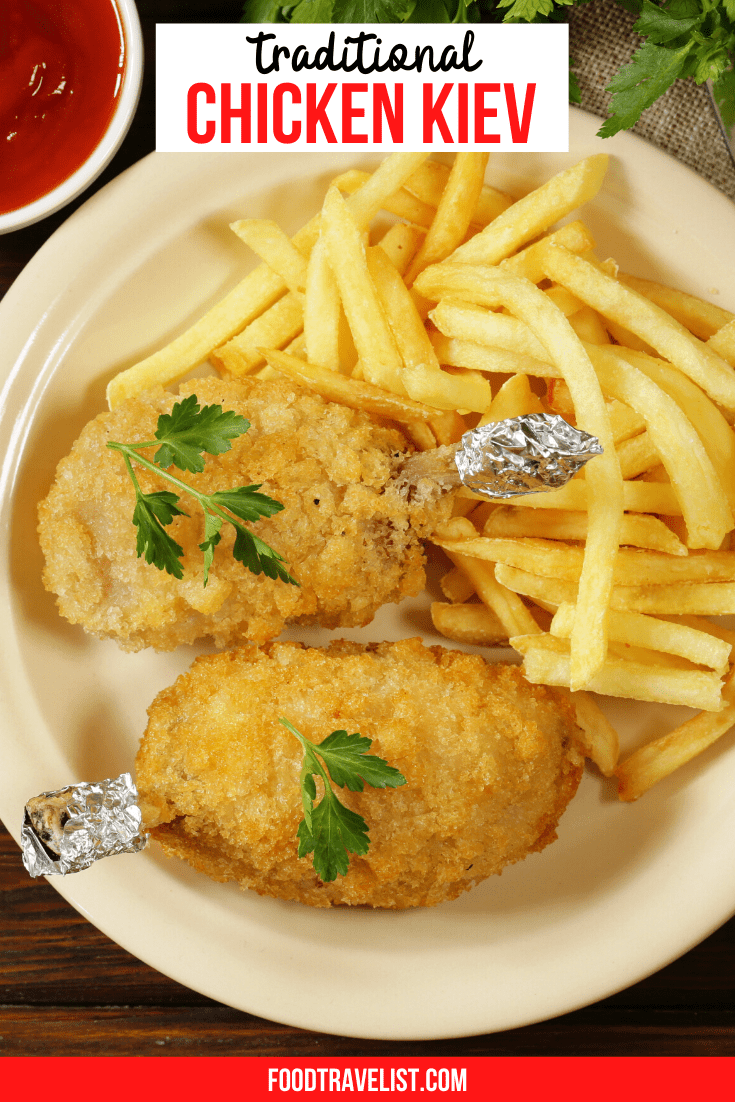
Chicken Ala Kiev Makes An Elegant Meal

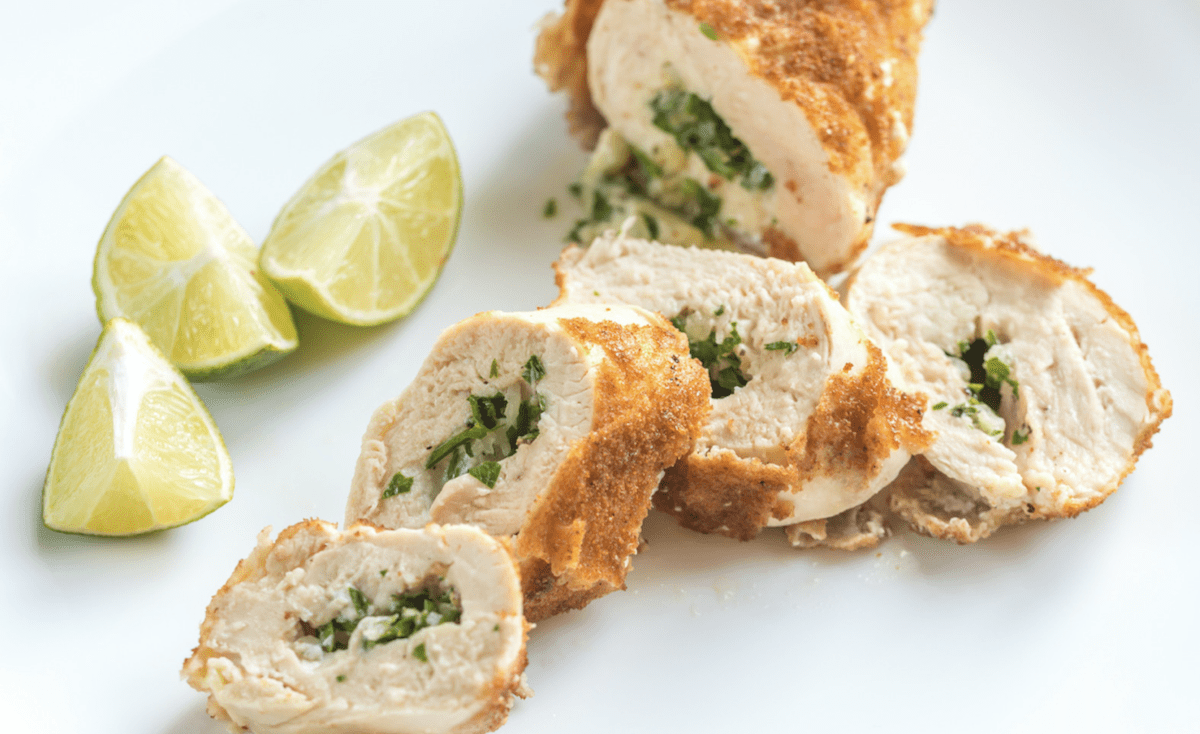
However it came to be, the undeniable deliciousness of a crispy coated crust, and moist chicken breast filled with buttery garlic and herbs is just too wonderful to ignore. And, it’s oddly easy to make.

How To Cook Chicken Kiev

Here’s a quick and easy Chicken Kiev recipe just for you.

So Many Possibilities With Buttery Filling

Ingredients

4 skinless, boneless chicken breasts
1/2 cup all-purpose flour
3 large eggs, beaten
2 cup Panko bread crumbs, plus 4 Tablespoons (to include in Chicken Kiev filling)
Canola or safflower oil  for frying
Salt & pepper
Parsley, watercress or microgreens, a lemon wedge for garnish

Butter Is An Essential Element

For The Compound Butter

  • 1 clove garlic, crushed
  • 3 sprigs fresh or 1 teaspoon, leaves finely chopped
  • 1 teaspoon dry or 2 sprigs fresh tarragon, leaves finely chopped
  • 8 Tablespoons (1 stick) unsalted butter, softened
  • 1 teaspoon salt
  • 1/4 teaspoon ground black pepper

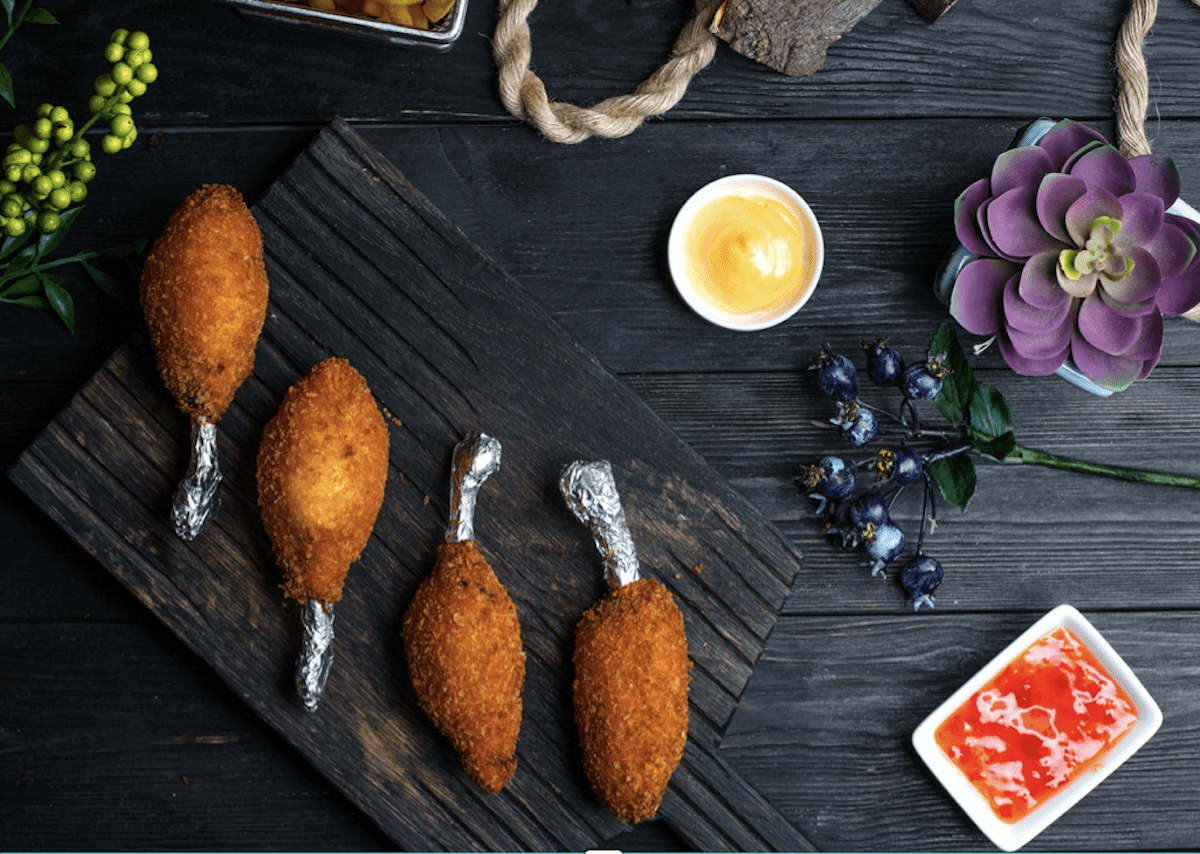
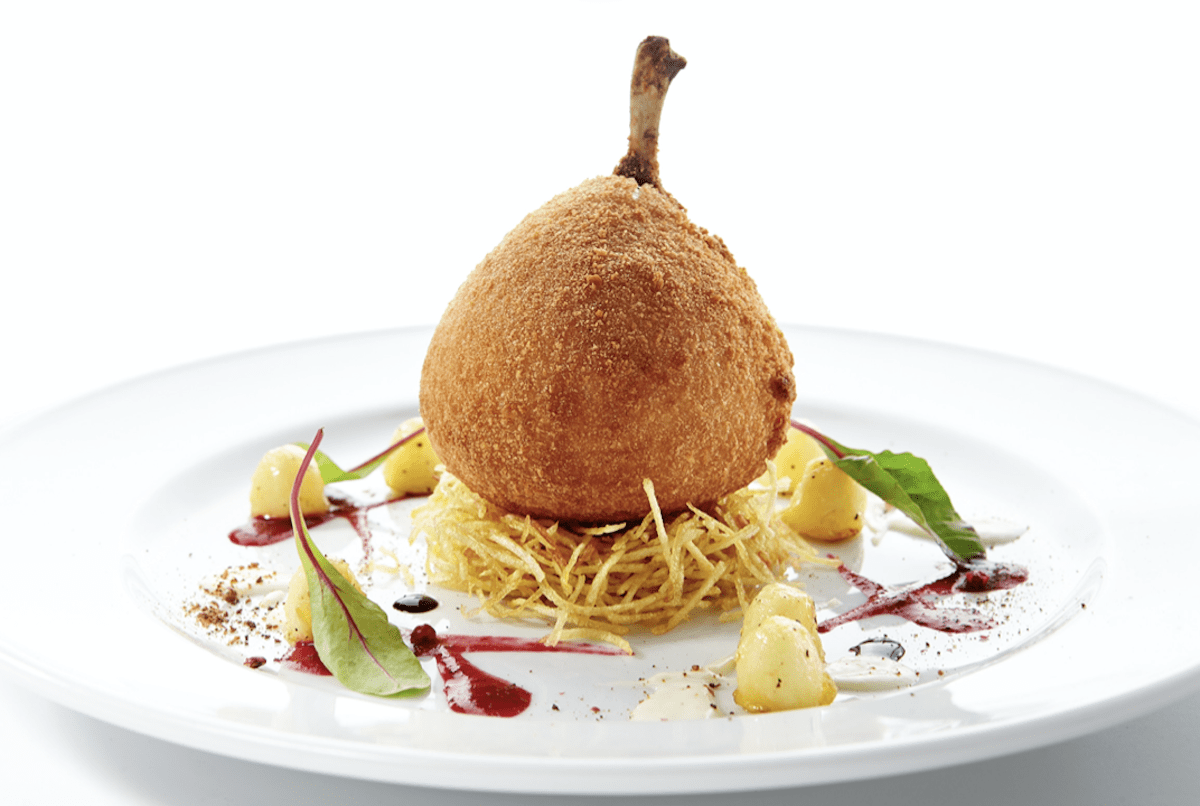
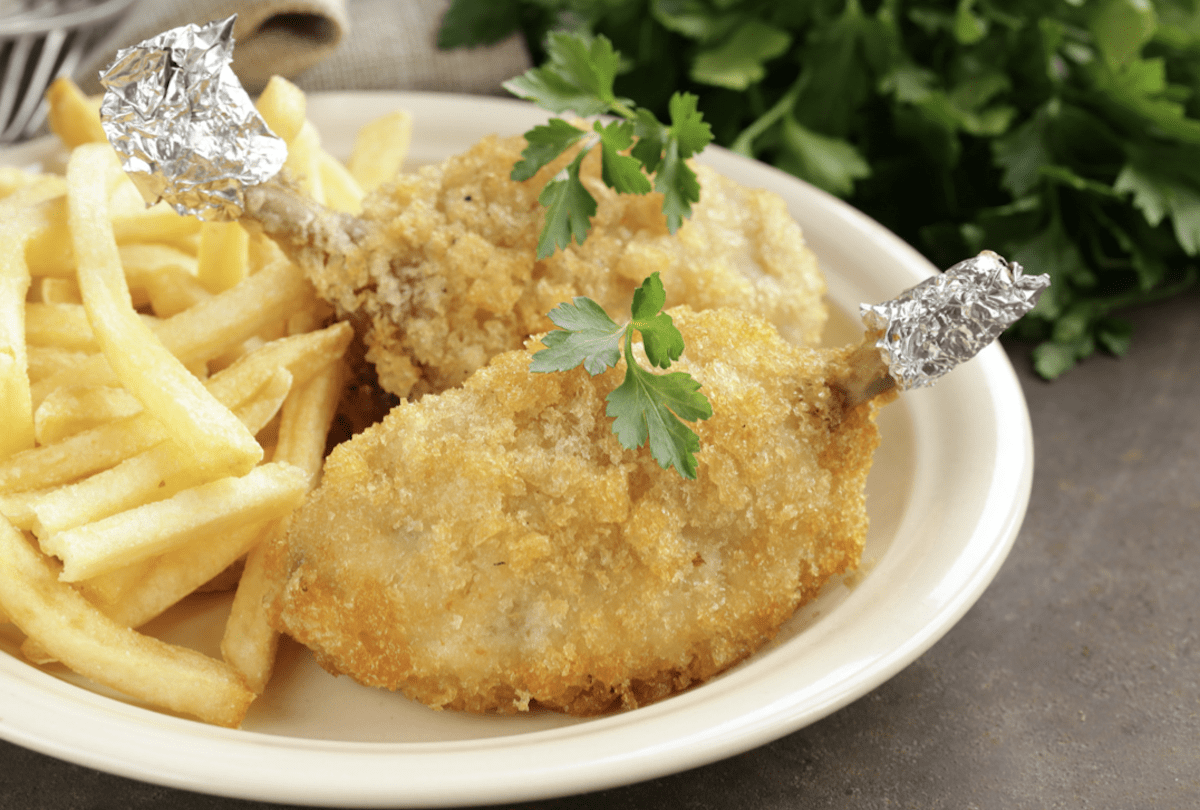
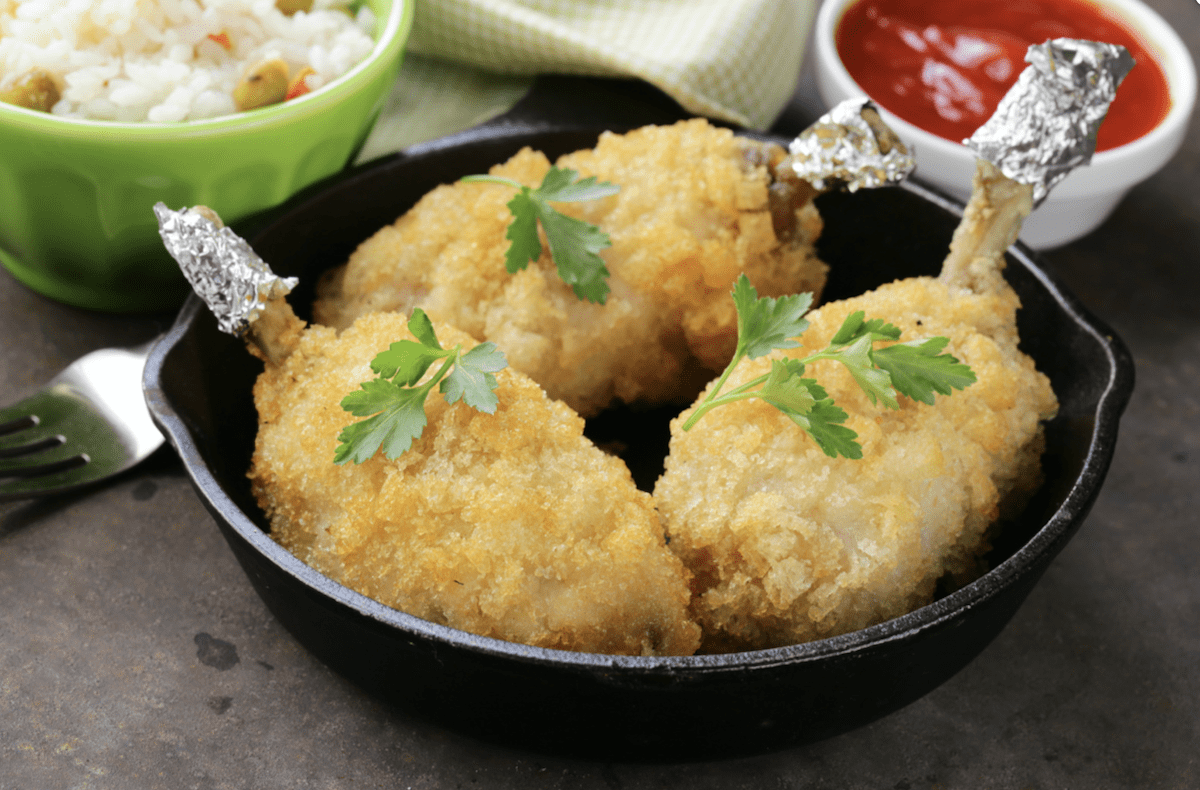
Some Recipes For Chicken Kiev Include French Bone Presentation

Directions

Kiev Chicken Recipe For Buttery Filling

1. Combine butter, parsley, tarragon 1 teaspoon salt, and 1/4 teaspoon ground black pepper into a bowl or stand mixer. Blend until completely combined then place on a sheet of plastic wrap or waxed paper and roll into a small log. Refrigerate or place in the freezer until hard. It can be made up to 3 days in advance or frozen for up to 1 month.

Learn How To Cook Chicken Kiev

Chicken Ala Kiev Chicken

2. One breast at a time lay them between two pieces of plastic wrap and, using a meat mallet pound to no thinner than 1/8 inch thickness. Season each breast with a sprinkling of salt and pepper.

3. Divide the compound butter into four parts. Lay each chicken breast on a new piece of plastic wrap and add 1/4 of the butter and 1 Tablespoon of Panko bread crumbs. Fold in the ends of the chicken breast and use the plastic wrap to help roll the breast into a tight log so that the butter is completely enclosed. Refrigerate up to 2 hours or overnight if the butter has softened in the process.

So Many Kiev Chicken Recipe Presentations

Kiev Chicken Recipe For Crispy Crust

4. Place the flour, beaten eggs and breadcrumbs into three separate shallow containers. Working methodically, completely coat each breast in flour, then egg, then breadcrumbs, then dip back into the egg and finally again in the breadcrumbs. Set aside. The chicken can be prepared the day before and left in the fridge or frozen for up to 1 month – defrost completely before cooking.

A Wonderful Traditional Favorite

5. Heat 1/2 inch of oil in a large frying pan on medium-high until hot (375 degrees F). Fry the coated breasts, starting sealed-side down, for 4-5 minutes on each side until chicken is cooked and the coating is a dark golden color (internal temperature reaches 165 degrees F). Lift them onto a cooling rack set on a sheet pan or paper towels on a pan to absorb any excess for 5 to 10 minutes. Place on a plate with a garnish of your choice. Great side dishes include rice, potato strings, red cabbage, or beet salad.

So Buttery Inside
So Buttery Inside

THE QUICK BITE: Although Chicken Kiev most likely doesn’t come from Ukraine, this crispy coated, butter-filled dish delights tastebuds around the world. Here’s an easy recipe to make it at home.

Pin It For Later

.


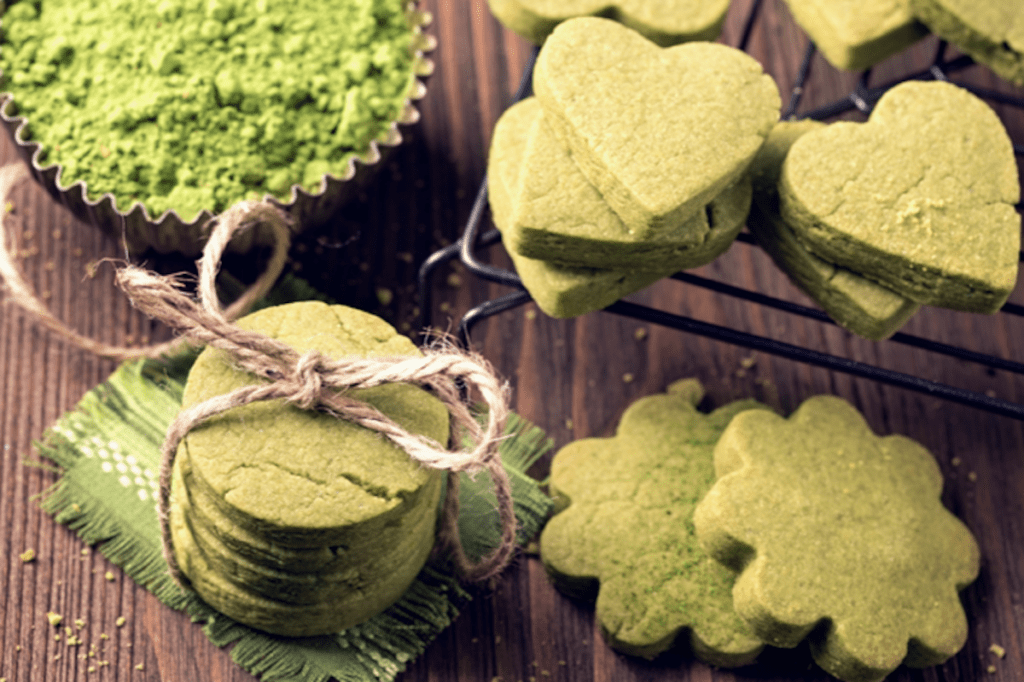
Maybe you already know about the wonderful health benefits of ground green tea called matcha. If not, you’re in for a treat! our matcha cookies will be a great addition to your matcha recipes. They make an incredible way to satisfy your sweet tooth without going overboard.

Matcha Recipes Can Include Cookies

Disclaimer: Tenzo Tea provided us with samples to try. The opinions expressed are strictly our own based on our experience. 

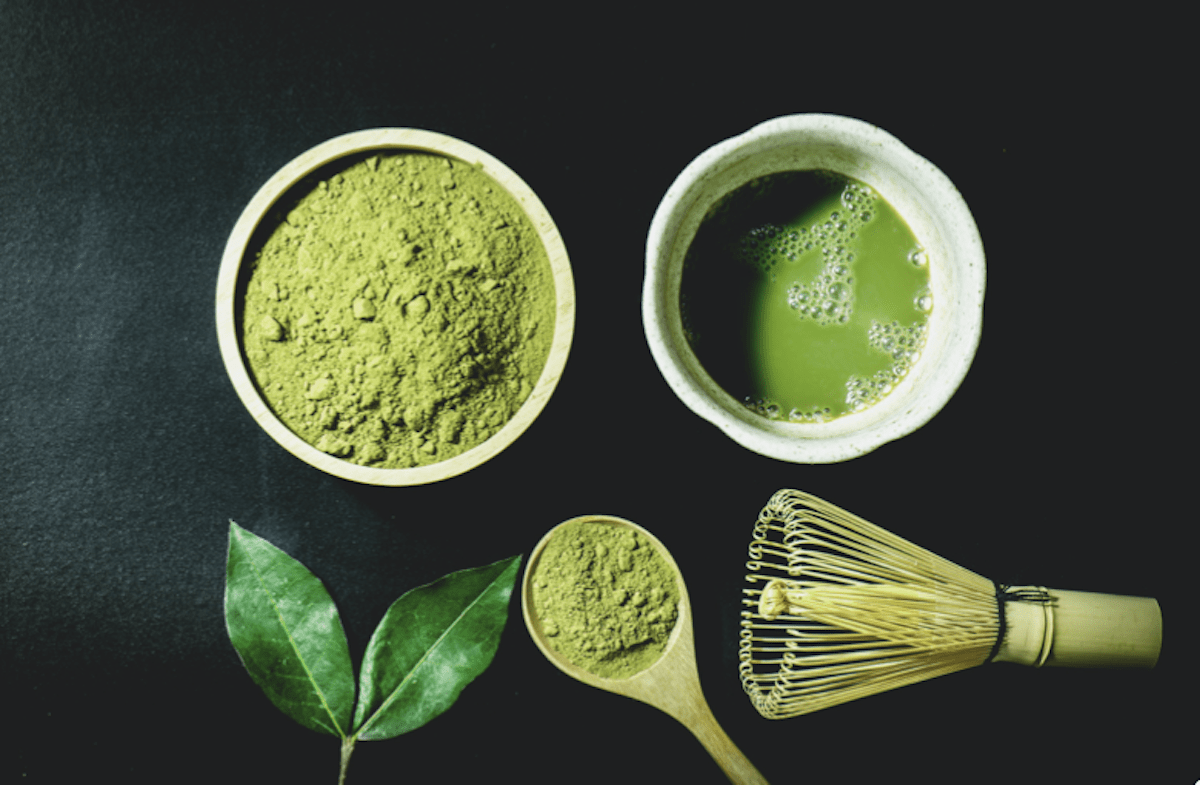
The Best Matcha Tea

The best matcha tea has a distinctively earthy flavor that complements the sweetness of the cookies. It’s a match-a made in heaven.


Japan cultivates the best matcha tea carefully. Tea lovers prize matcha for its health benefits including a sustained gentle boost of energy. The energy lift is different than you get from a coffee or espresso. It comes as a gentle wave that lasts rather than a big burst that comes and goes.

Carefully Cultivated Green Tea

We met the folks from Tenzo tea at a trade show and they sent us a sample to try. We love how smooth it is. And while it provides that earthiness, it also makes a perfect ingredient to use in matcha recipes.


The Best Matcha Powder

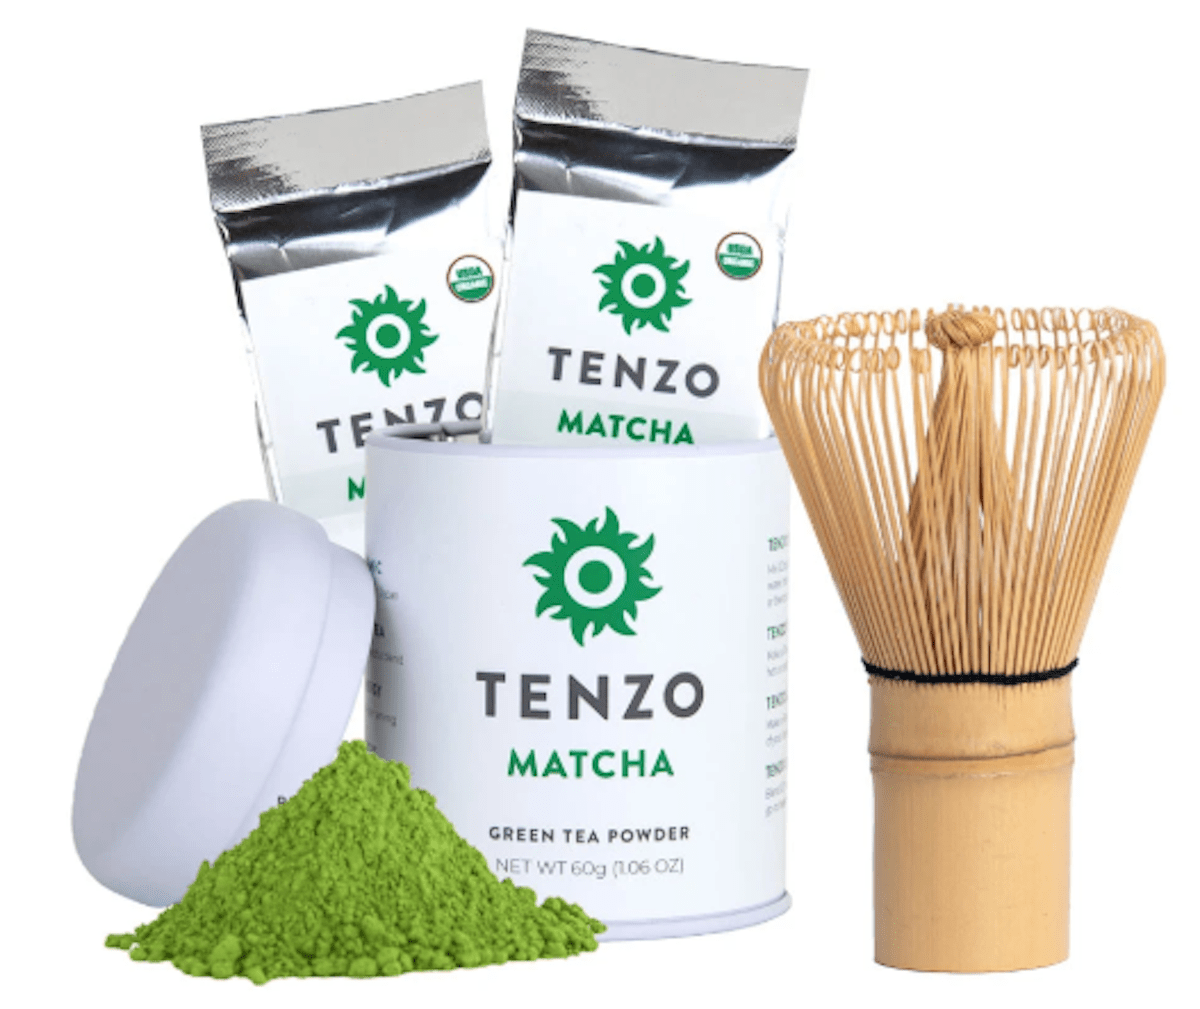
The best matcha powder comes in different grades depending on its use.  Ceremonial grade is the highest grade and that’s what Tenzo offers. They even work directly with the farmers in Japan and use only the youngest most nutritious leaves to create the vest matcha tea. Tenzo matcha tea is USDA Organic, Kosher, Paleo-friendly, Gluten-Free, and Vegan. That means just about anyone can add it to their healthy lifestyle.

Best Matcha Powder
Best Matcha Powder

We like Tenzo because they are serious about providing the best matcha powder possible. First, they only sell matcha. Now that’s serious dedication. And they offer a subscription service for their tea. Their tea is hand-picked and organically grown. They didn’t like the lift and crash of so many energy drinks, so when they discovered the sustained gentle energy the best matcha provides, they decided to devote themselves to it.

Tenzo Matcha Tea
Tenzo Matcha Tea

Tenzo Tea

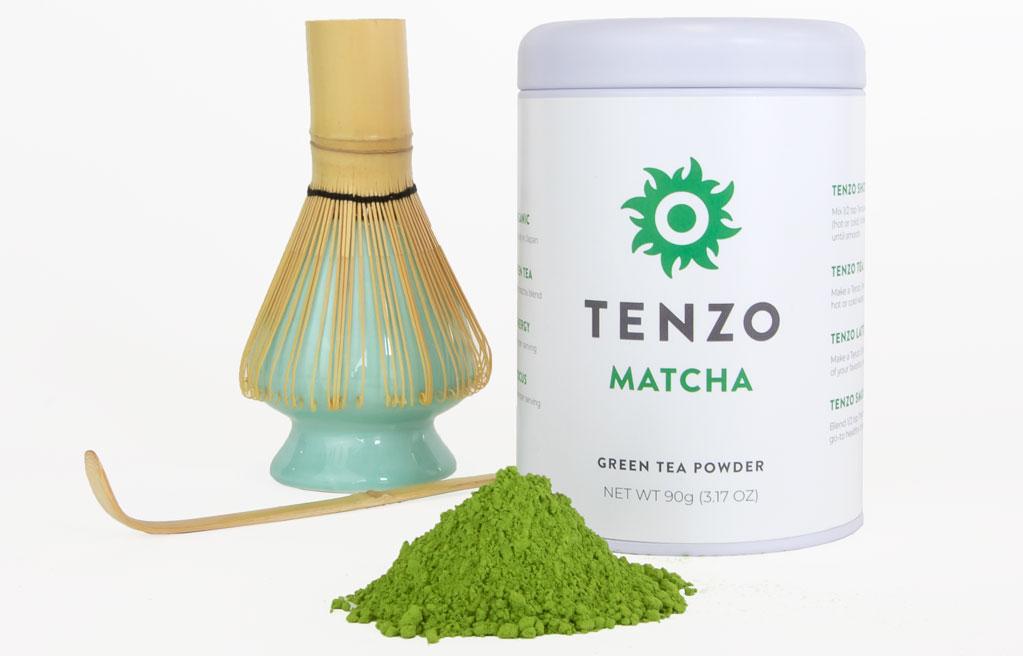
If you’re new to matcha, you’ll love the Tenzo Starter Kit.  It comes with a tin, scoop, bamboo whisk, and stand. When you’re ready to use it, you place the matcha tea that comes in a vacuum-sealed bag into the tin and you’re all set.  We love their sustainable approach that reduces packaging and plastic.  For us matcha tea nerds, they also have an active matcha kit for matcha on-the-go. They already have very competitive prices and their subscription programs provide even more great savings. If you join their communitea, you’ll discover matcha recipes and more.

Tenzo Tea Matcha Starter kit essential travel items
Tenzo Tea Matcha Starter kit

Matcha Cookies

Here’s our simple matcha cookie recipe. You can make them like shortbread or include your favorite add-ins to make them even more fun. Think of them like green tea cookies that make a platform for your kitchen play. As with any recipe, its only as good as its ingredients. So we recommend you use the best matcha powder you can get.

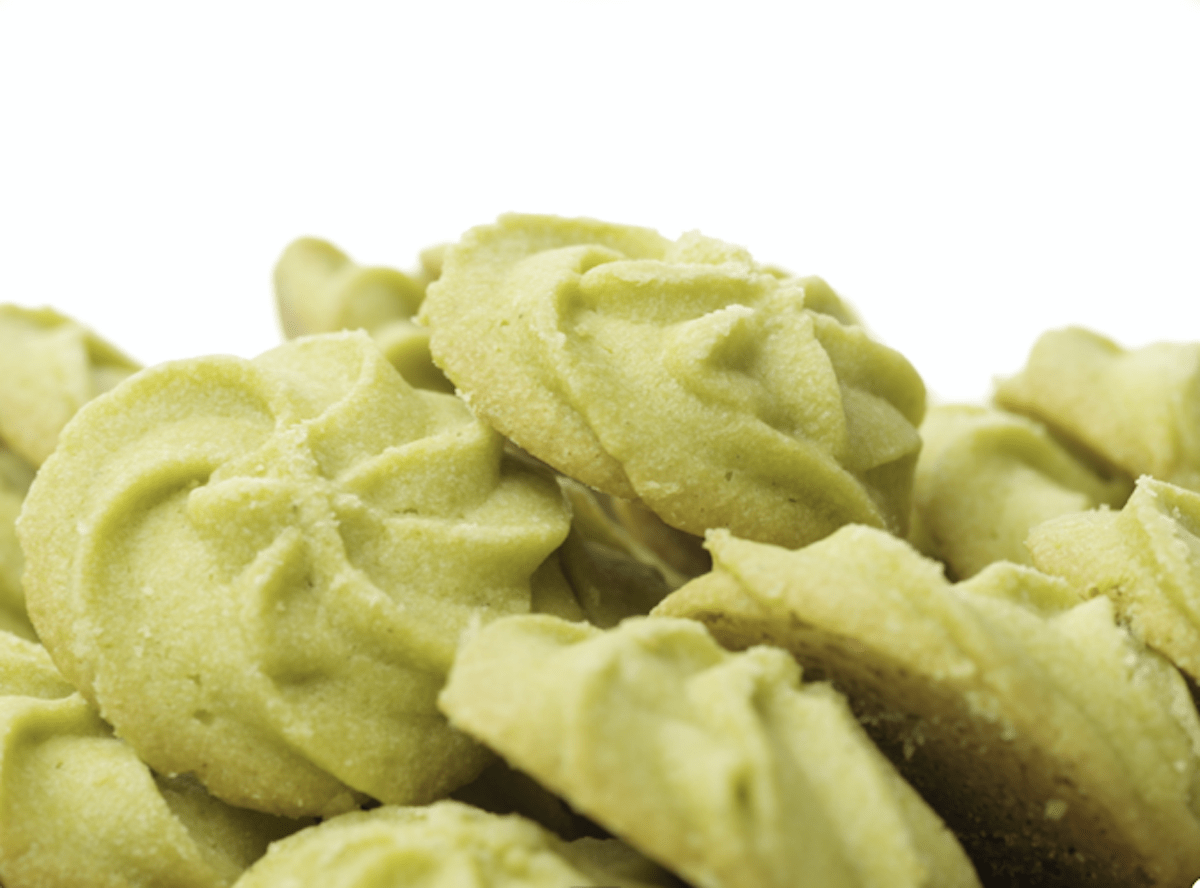
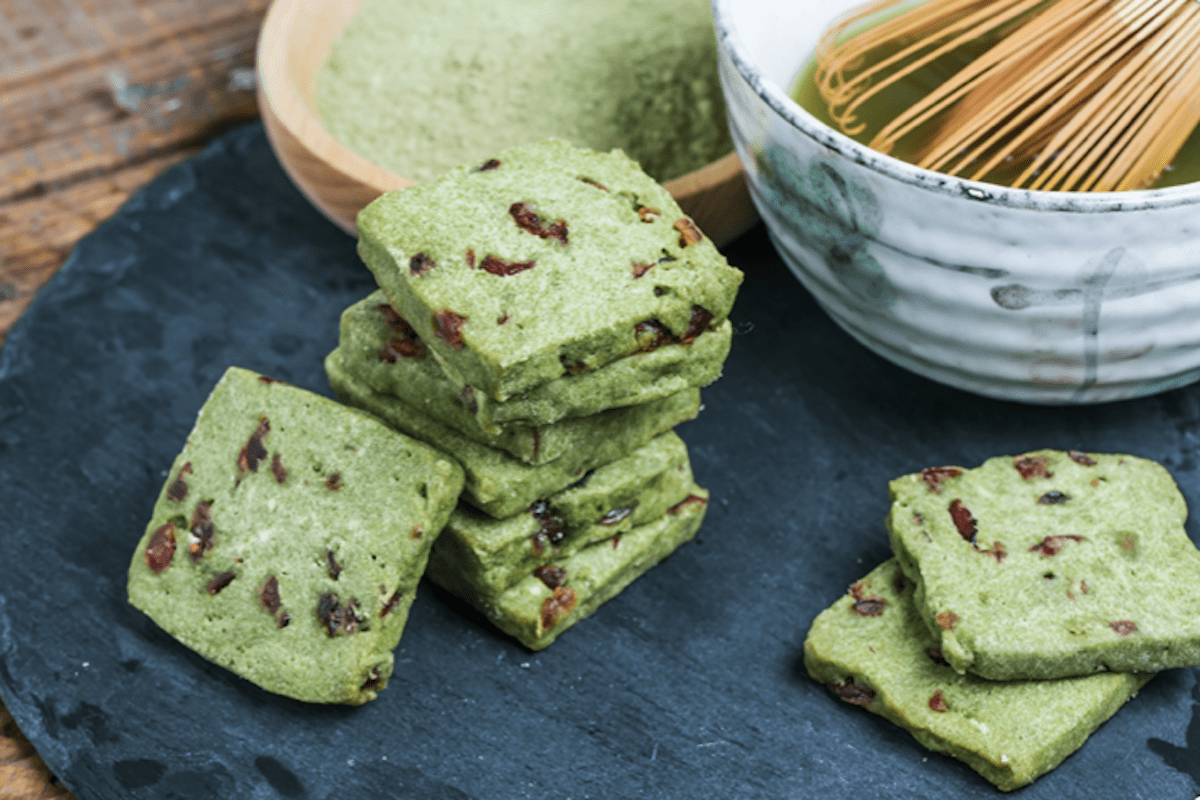
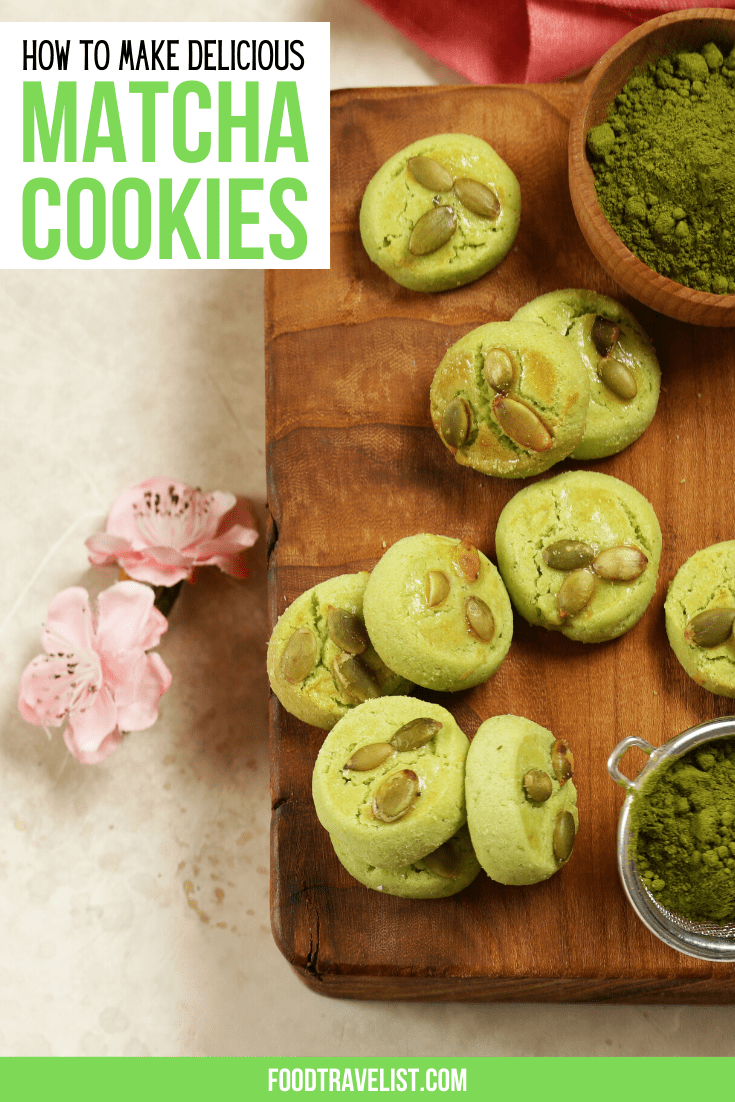
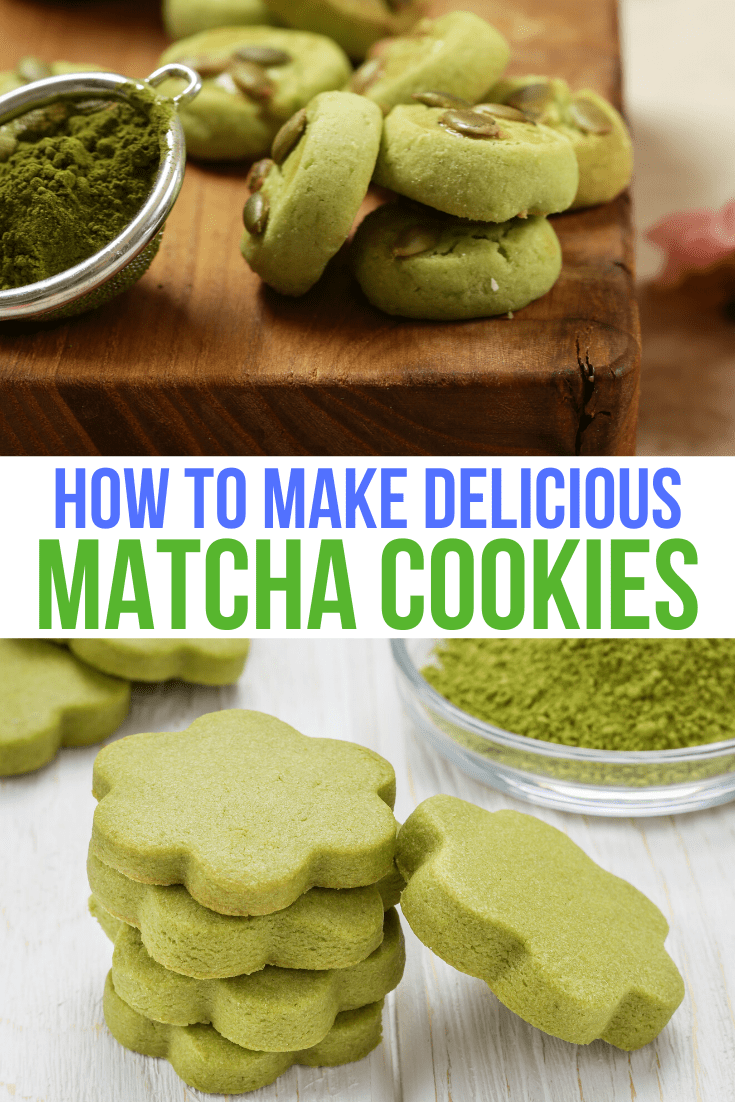
Buttery Matcha Green Tea Cookies

Matcha Cookie Recipe

These cookies are for a crisp buttery shortbread style cookie. They are slightly sweet, but if you want to make them sweeter, add one or two tablespoons of additional sugar.

Matcha Cookies Are So Good

Ingredients

2 cups all-purpose flour
1/2 teaspoon salt
1/2 cup powdered confectioner’s sugar
1 1/2 to 2 Tablespoons matcha powder
2 sticks (1 cup) unsalted butter, softened
1/2 teaspoon vanilla extract
Raw or coarse sugar, for topping (optional)

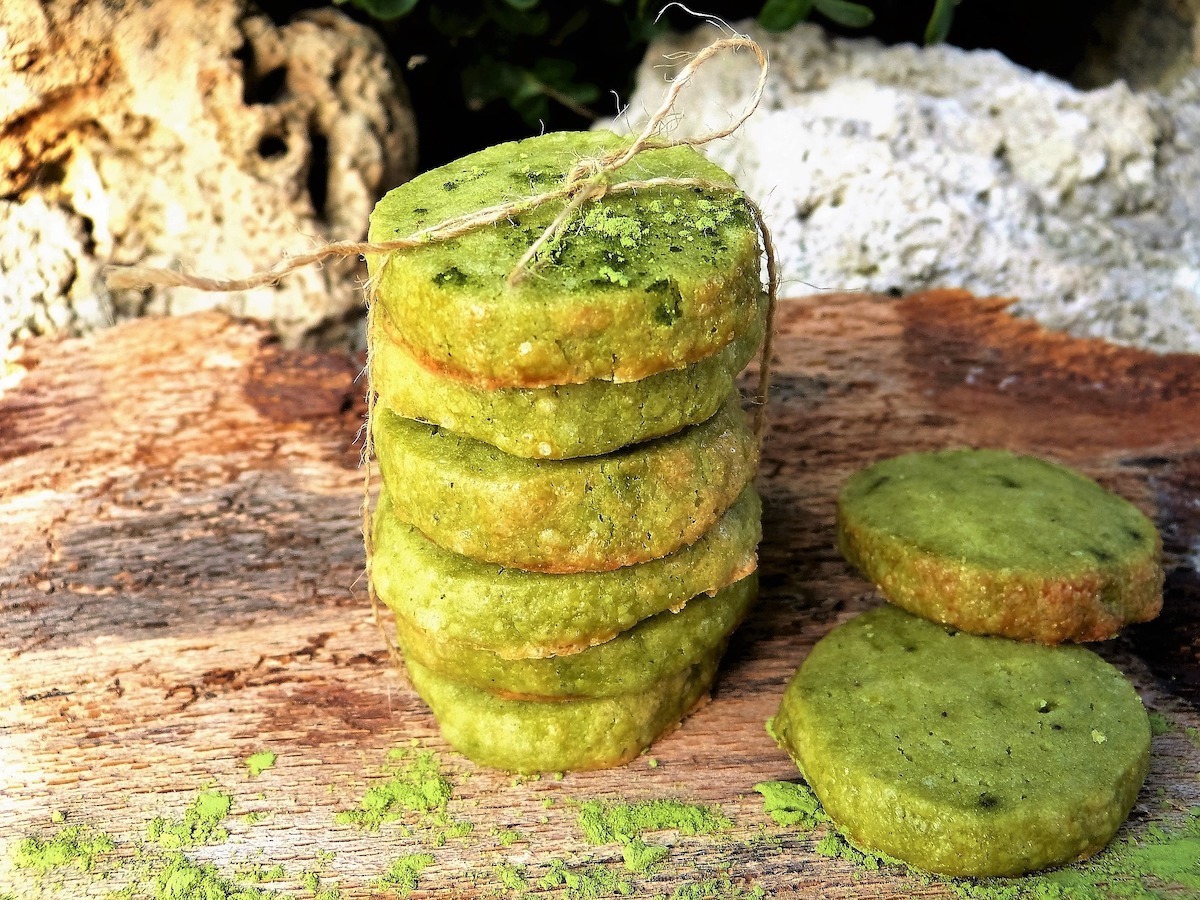
Delicious Matcha Cookies
Delicious Green Matcha Cookies

Directions

  1. Whisk flour, salt confectioner’s sugar, and matcha in a medium bowl.
  2. In a large bowl or stand mixing bowl, beat the softened butter with an until smooth.
  3. Add the vanilla extract and blend till just combined.
  4. Then add the dry ingredient mixture into the wet mixture and combine until just mixed. Remove from the bowl and divide in half.
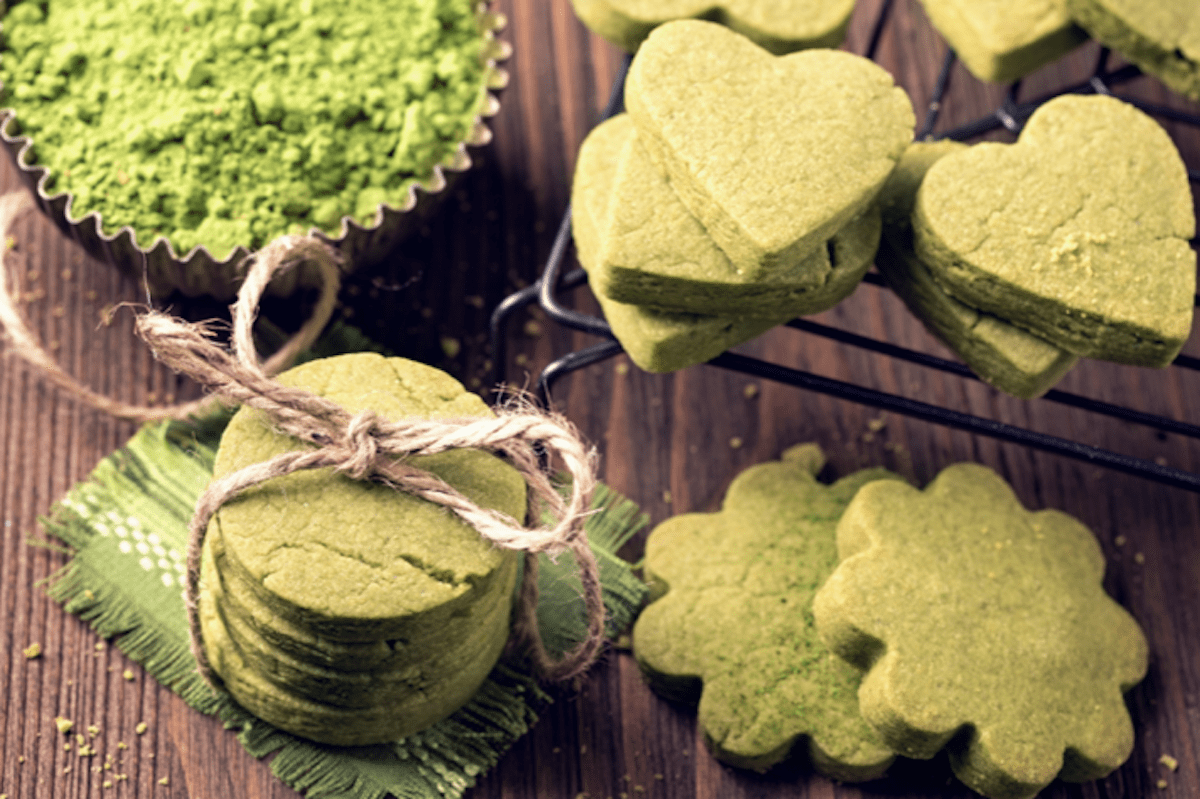
  5. Now you have a few choices. You can roll each half of the dough into logs. Or shape them into flat discs if you want to cut into shapes with cookie cutters. Whichever you choose, wrap the dough in plastic and place it in the refrigerator.
  6. Chill dough for two hours or until completely firm.
  7. Once chilled, preheat the oven to 325 Degrees F and line two baking sheets with parchment or foil.
  8. If you are slicing the logs, you can just go ahead and slice them into 1/8″ to 1/4″ thick rounds. This is the easiest, of course!
  9. If you want to make them into cute cookie cutter shapes, you will want to lightly flour your cutting surface and the dough and roll out further to 1/8″ or 1/4″ thickness. Then cut the cookies with the desired cutters. You will want to use relatively small shapes that can create cute little two-bite cookies. These cookies do not rise much so you can put a lot of them on the baking sheet.
  10. Arrange the cookies and sprinkle with coarse sugar, if desired.
  11. Bake until the edges turn golden, approximately 12-15 minutes.
  12. Let cool slightly then finish cooling entirely on a rack.


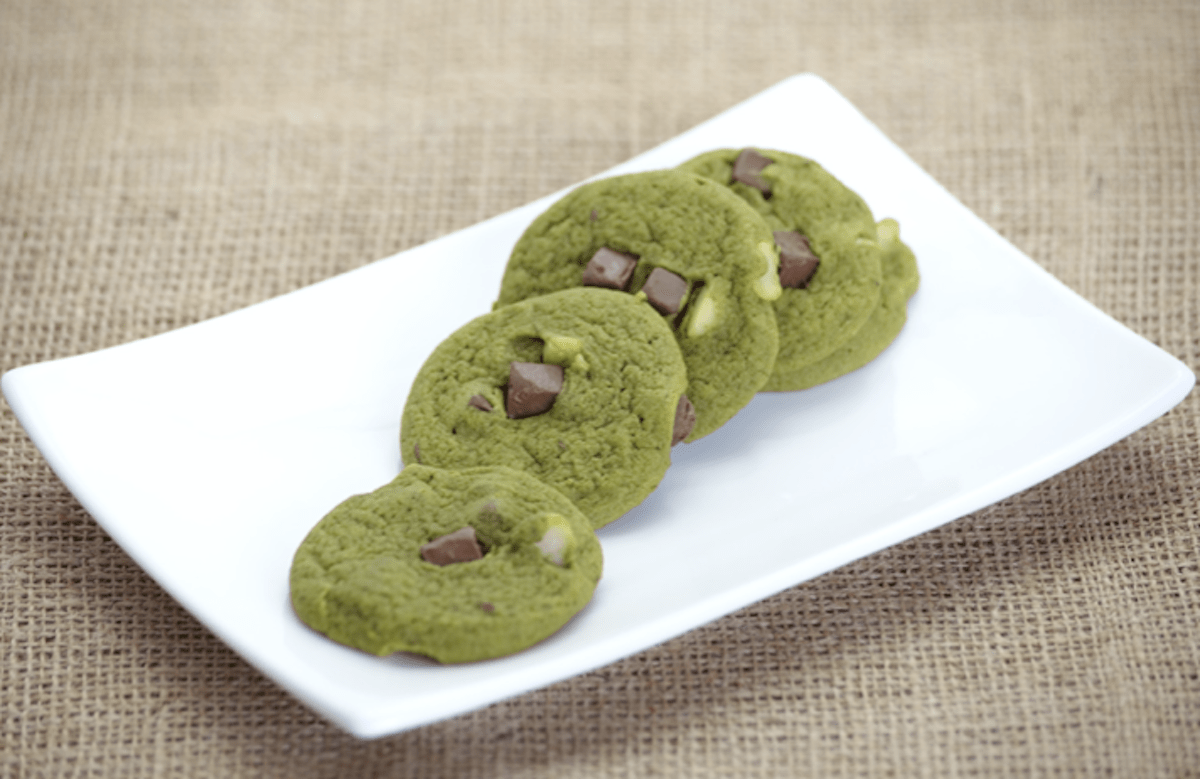
Add Matcha For Healthy Kick To Chocolate Chip Cookies


Other Matcha Cookie Recipe Ideas

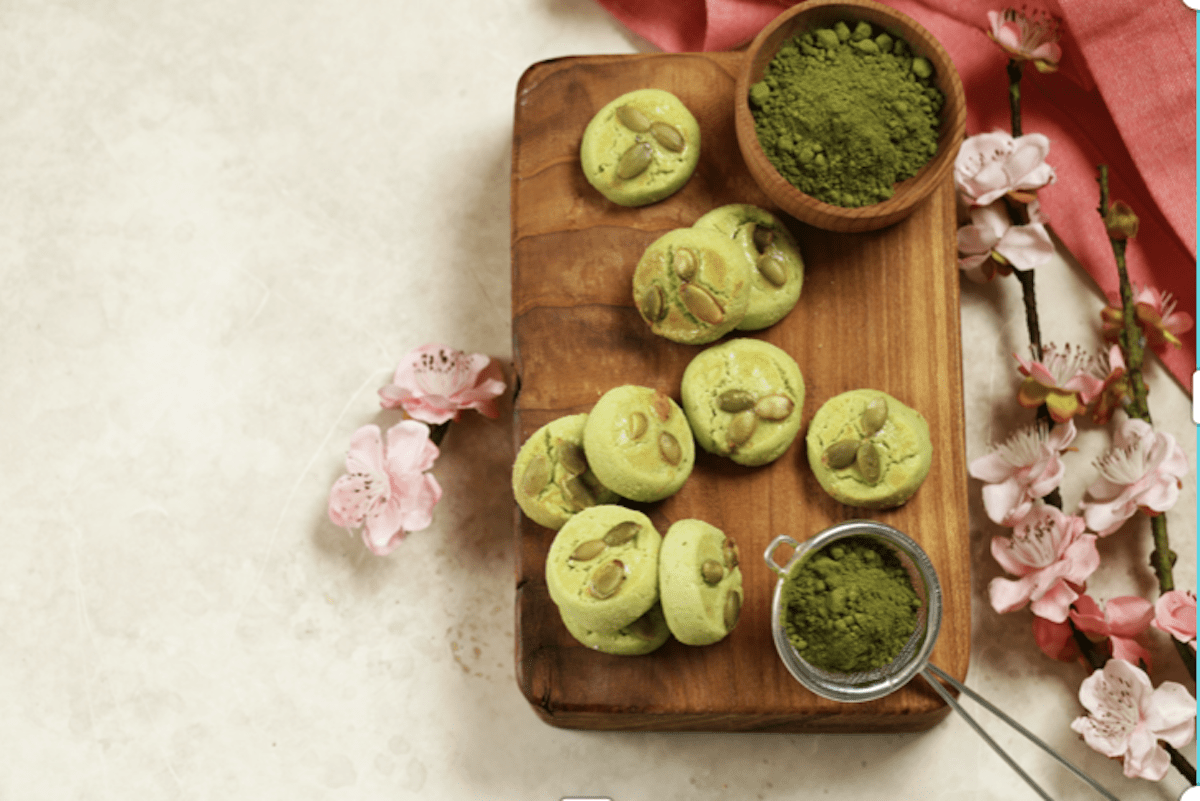
While these matcha cookies are a buttery shortbread version, there are many other matcha cookie recipe ideas. You can add small bits of dried fruit, nuts, seeds, candy, or mini-chocolate chips to this recipe for a little extra special taste.

Add Some Green Pistachios For Fun
Add Some Dried Fruit, Nuts Like Pistachios, Pepita Seeds, Or Bits of Candy For Fun


You can also use your favorite chocolate chip cookie recipe and simply add 1 to 1 1/2 teaspoons of the best matcha powder to them. They will give an earthy flavor to cut the sweetness.

Matcha Cookies Are Great With White And Regular Chocolate

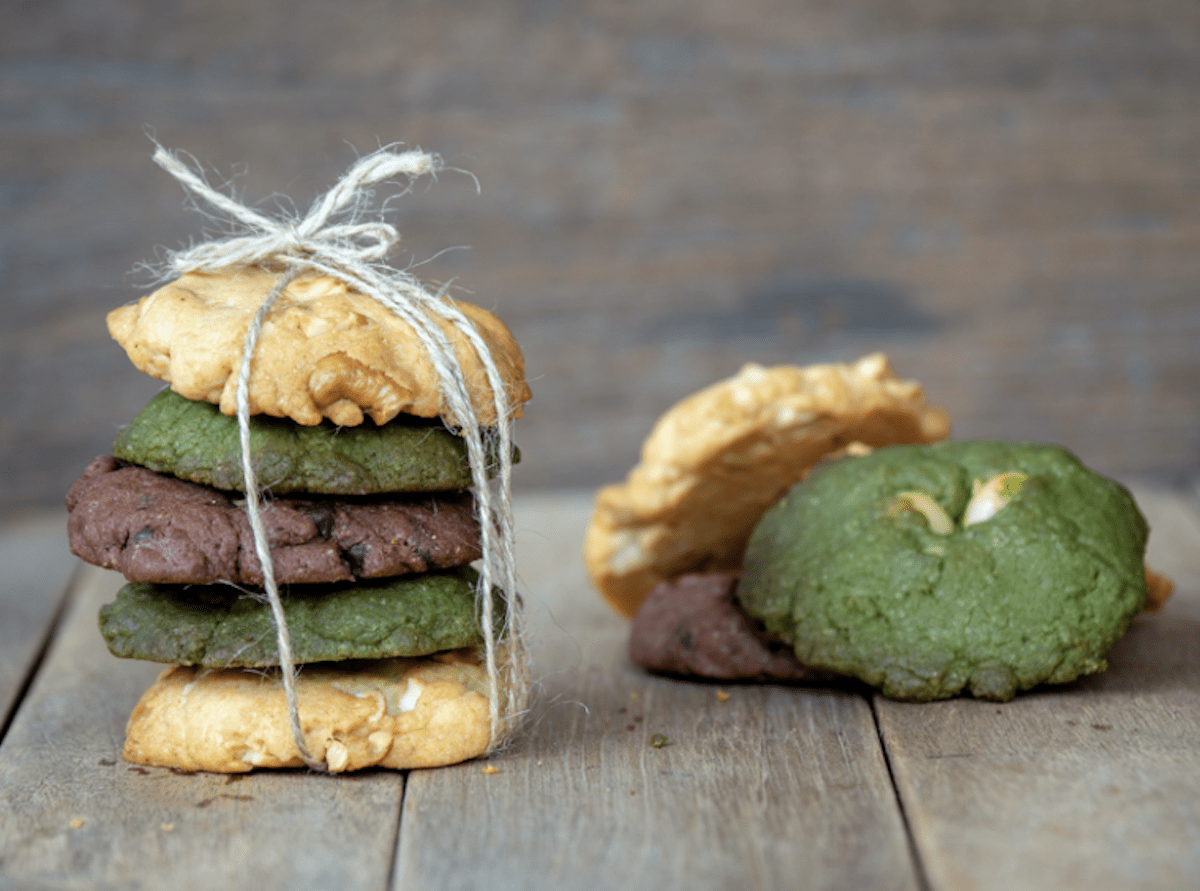
Choose any of your favorite cookie recipes and mix it up. Make some buttery, some chocolatey, and some with matcha for a trifecta of delicious cookies.

"<yoastmark


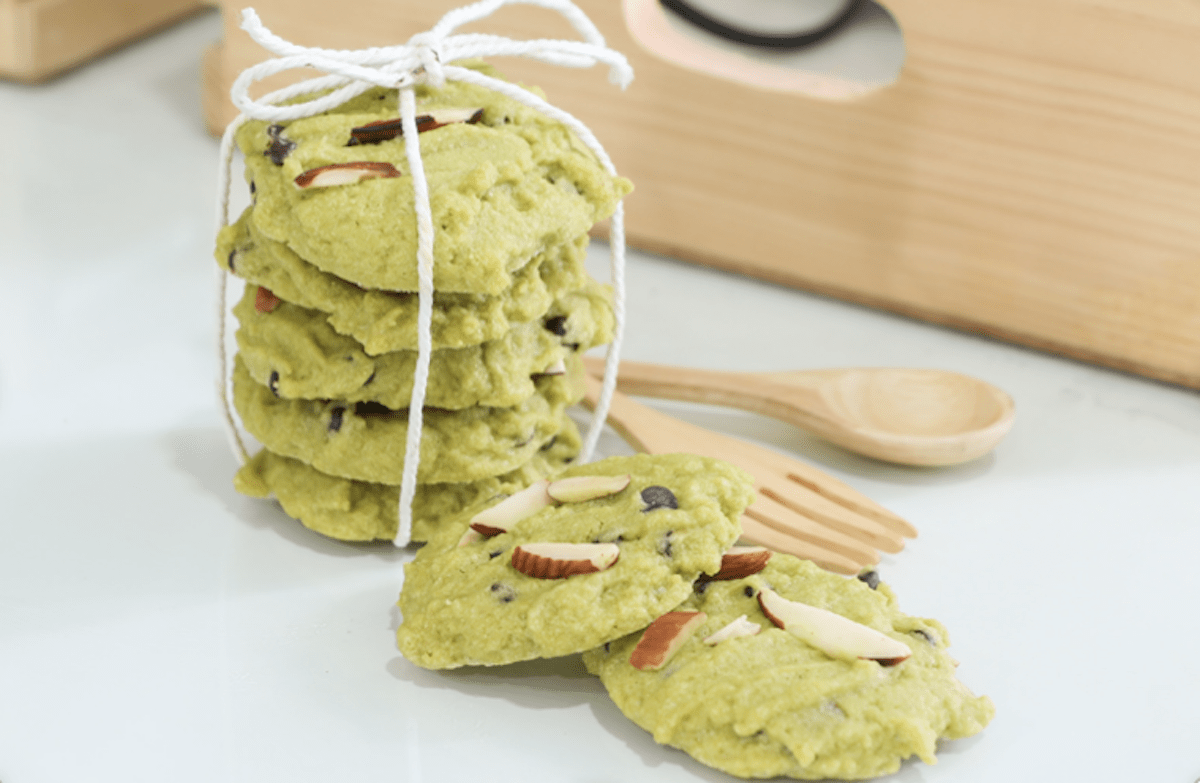
Matcha cookies also make a great gift.

Make A Healthy And Tasty Gift

If you like our matcha cookies, check out some of our other sweet treats like our Easy Scone Recipe or Portokalopita Greek Orange Cake. 


Pin It To Your Tasty Recipe Boards On Pinterest


Many of us are trying to add more healthful foods to our diet. Alaskan salmon is a health powerhouse. It’s a great source of protein-rich with Omega 3 Fatty Acids, Vitamin B, Selenium, Antioxidants, and more. We’re eating more sustainably and support responsible providers of the food we consume.

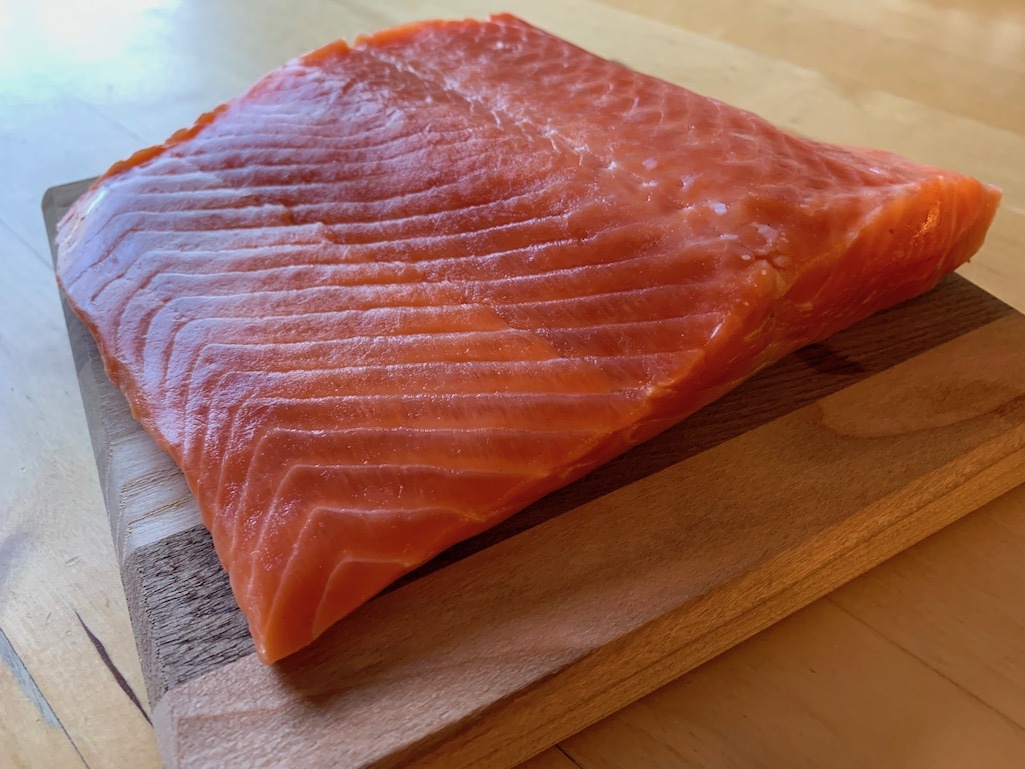
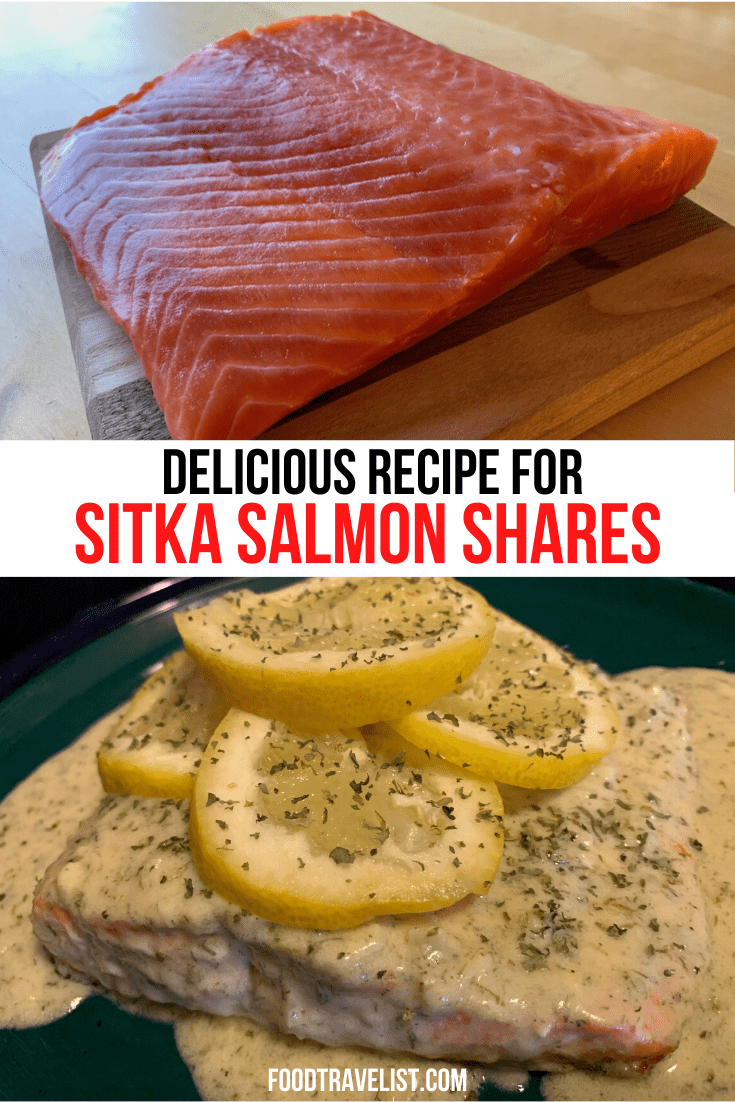
Sitka Salmon Coho Salmon

Community Supported Alaskan Fish

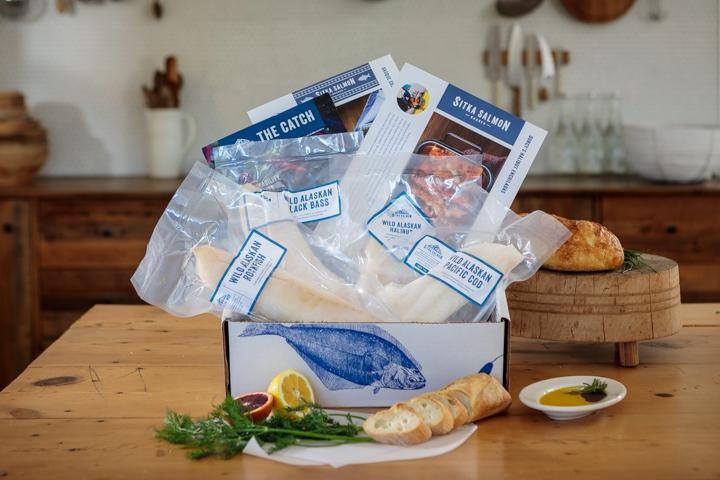
Sitka Salmon Shares is a collective of fishermen who bring wild Alaska seafood to your door. Similar to preorders or produce shares with local farmers, Sitka members purchase “shares” of the community-supported fishery harvest. You can decide how much fish you want during the season. There is of course salmon, but also other Alaskan fish and Alaska seafood.

Personal And Personalized Fish Delivery

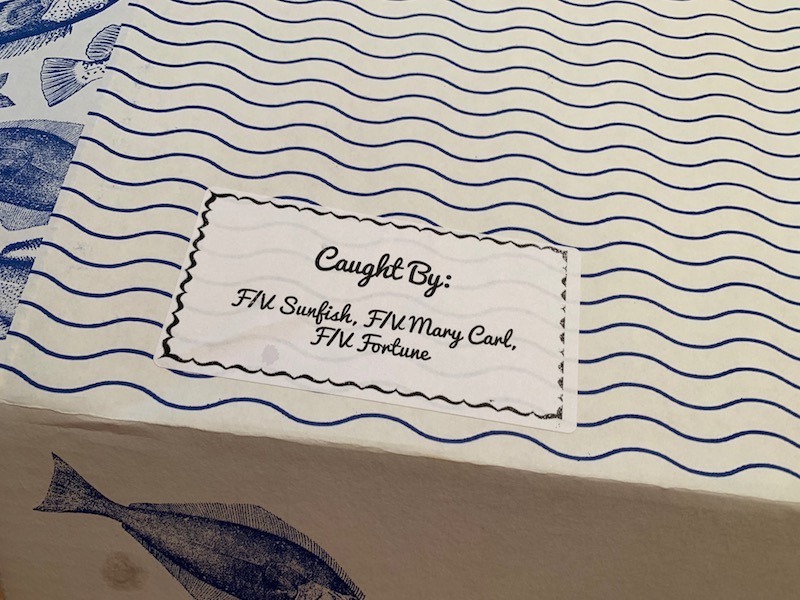
One of the things that we really liked was that the fishing vessel that caught your fish is clearly identified on the packaging. We went on the Sitka Salmon website to learn more about F/V Sunfish and learned John fishes with his daughter Nora and fishing runs in the family as John’s son Marsh also captains another Sitka Salmon vessel the F/V Loon. There’s something that makes us feel good eating their Alaska fish and also supporting American small businesses.

You know we at Food Travelist want the best products we can get. But at the same time, we want to be sure that the vendors we’re working with not only provide top quality but also take care of the planet and their workers. Sitka Salmon represents all of these important qualities. Continually looking to improve their supply chain and care for their community they are terrific global citizens. Take a look at this short video on their sustainability practices.

Sustainability from Sitka Salmon Shares on Vimeo.

Disclaimer: We were provided with product samples by Sitka Salmon Shares. This article contains our own honest opinion based on our experience.

Choose Your Fish Delivery Package

There are different packages from which to choose. Alaskan seafood includes salmon, prawns, whitefish, and crabs. We had the opportunity to sample their salmon and cod and they were both absolutely delicious. Sitka salmon is a real treat of fresh, sustainable seafood. It also provides a great way to support a community of fishermen. Best of all, they offer fish delivery right to your door so you don’t have to go anywhere to pick up your stash!

Sitka Salmon
Sitka Salmon

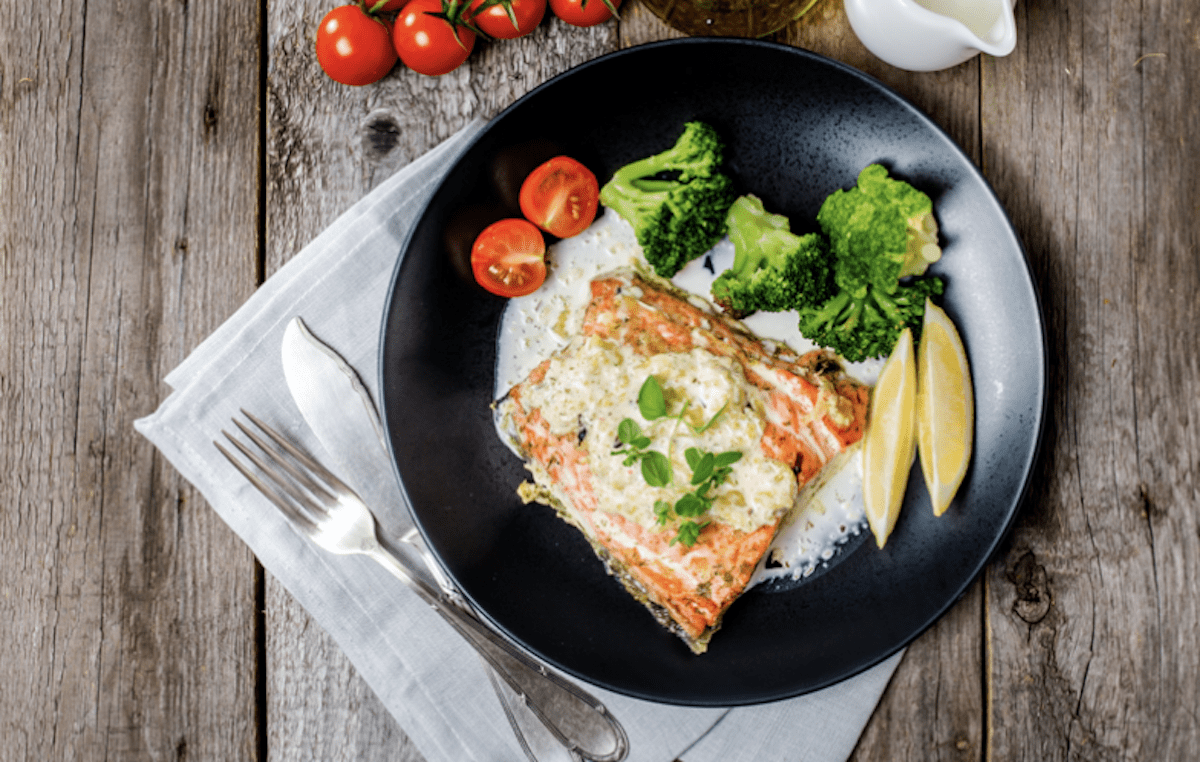
It wouldn’t be right to talk about all this deliciousness without offering you an example of how you can bring it to your table.  Here’s a recipe we used with a gorgeous piece of wild Alaskan salmon that came to our door.

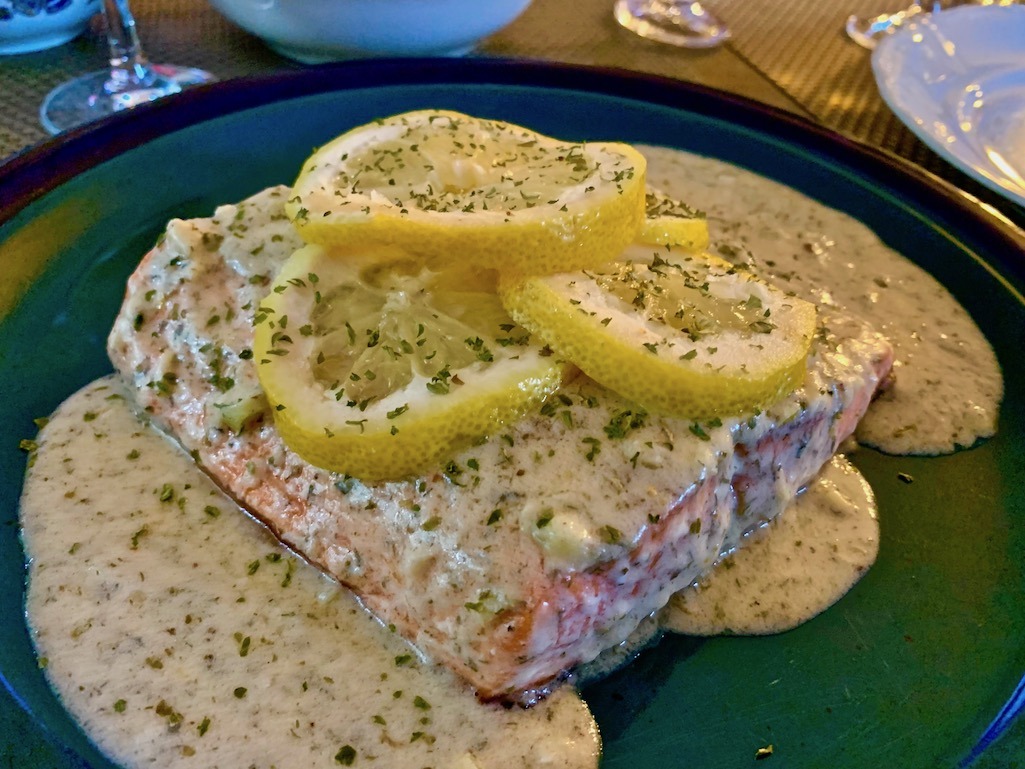
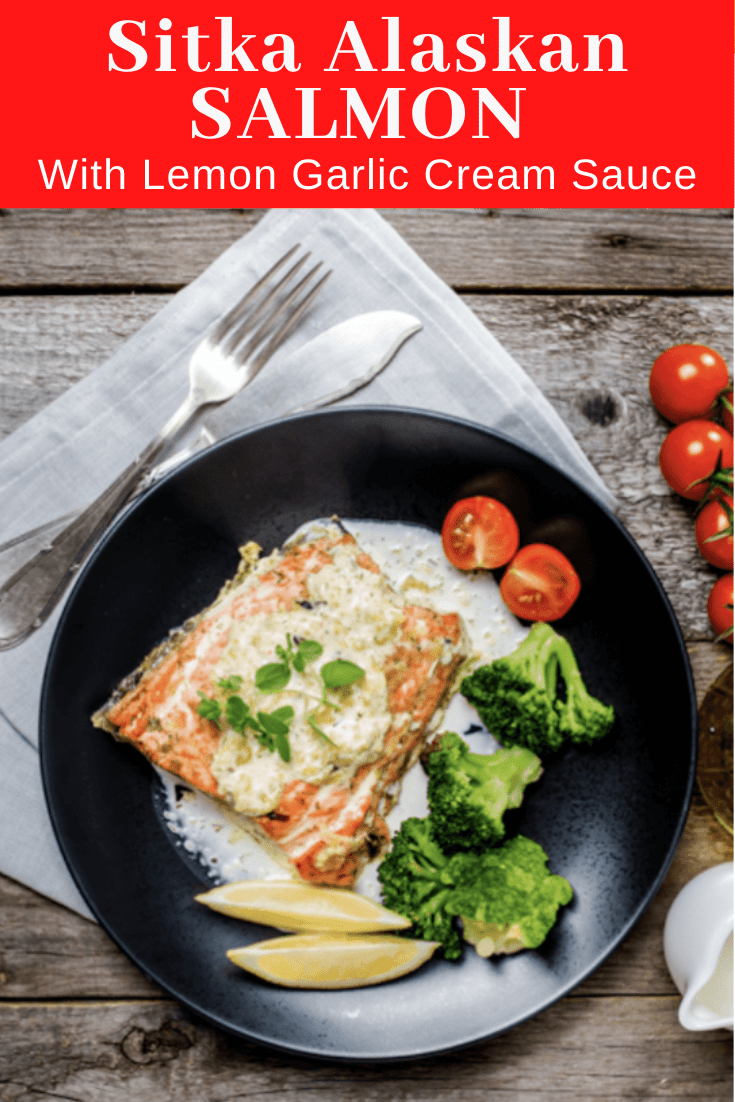
Pan-Seared Sitka Salmon With Lemon Garlic Cream

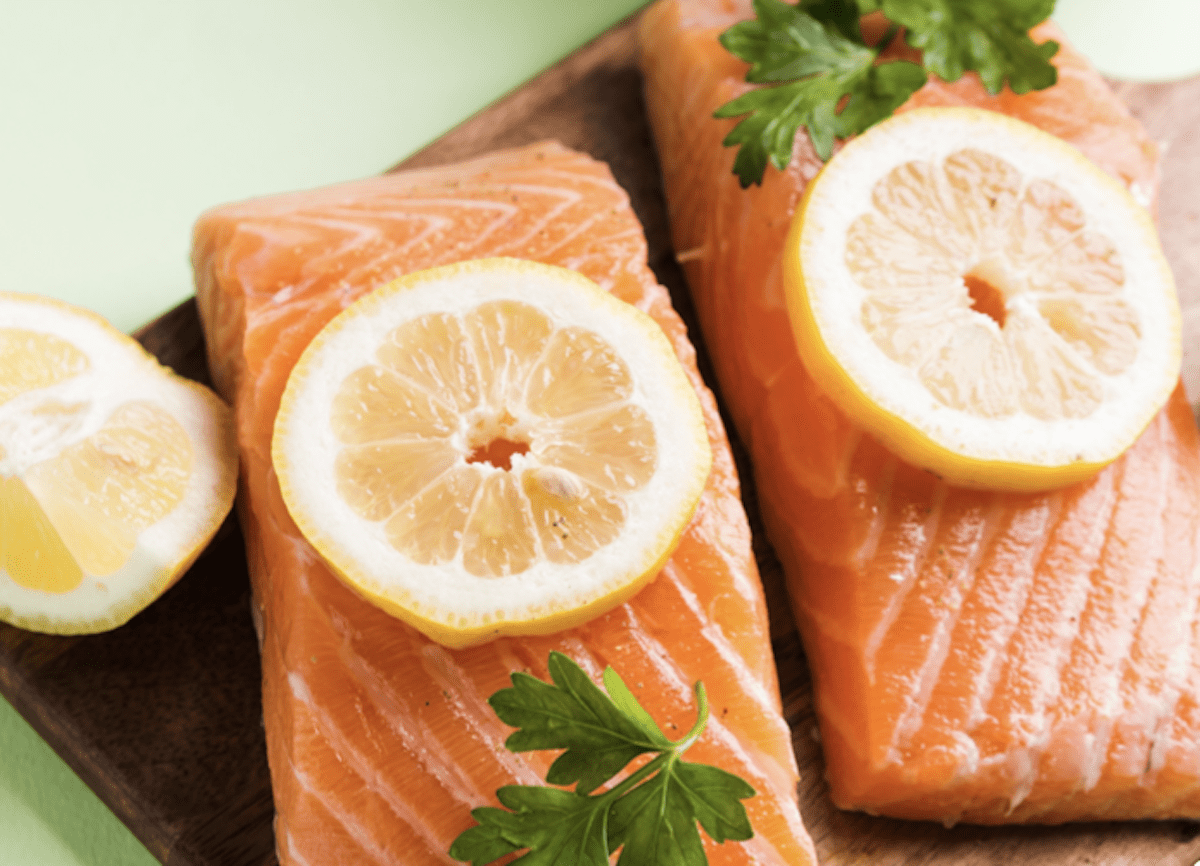
This recipe with Sitka salmon is easy and quick. Use just one skillet and be ready in less than half an hour. The citrusy, creamy garlic sauce compliments the fish perfectly and provides a soul-satisfying nutritious meal.

Salmon Loves Lemon
Salmon Loves Lemon

Ingredients

Salmon goes great with lemon. This Sitka salmon recipe is simple to make and the creamy lemon garlic cream sauce is absolutely delicious. Even if you’re not a big fish lover, you’ll enjoy the flavors and textures created in this recipe.

The Salmon

2 Tablespoons olive oil
6 x 4 oz. skin-on salmon fillets or one large fillet of salmon uncut with skin on (be sure to take any bones out with tweezers before cooking)
Fresh ground pepper and salt to taste

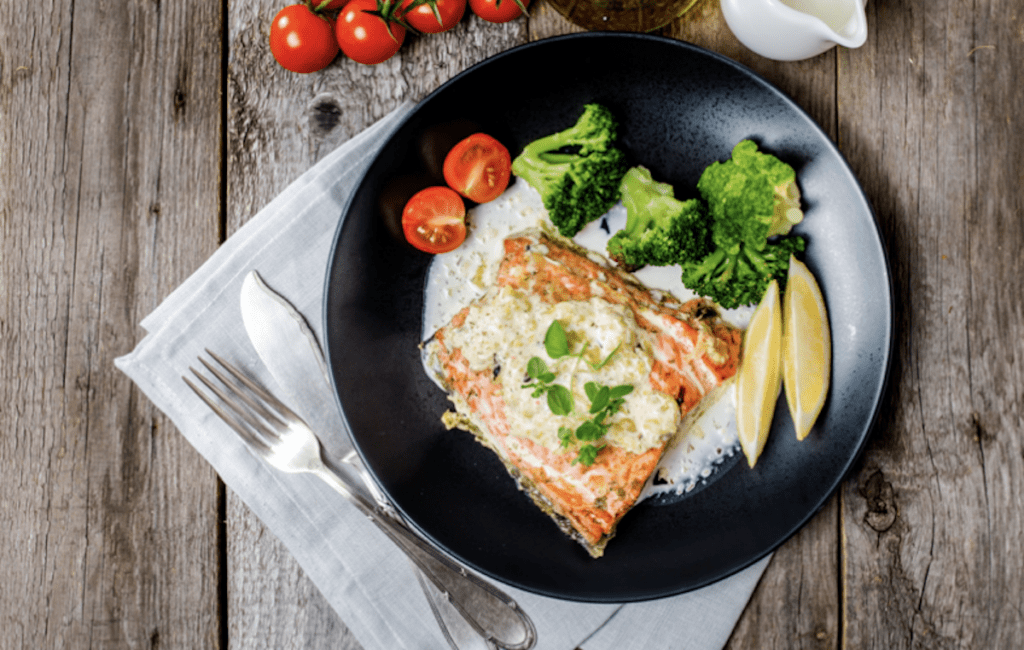
Salmon With Lemon Garlic Cream Sauce For A Great Meal

The Lemon Garlic Cream

1 Tablespoon butter pan.

1 cup half & half (can use fat-free if you prefer)
1/2 Tablespoon all-purpose flour
1/3 cup grated Parmesan cheese
Zest and juice from 1 whole lemon
4-5 large cloves of garlic, minced
1 teaspoon dried dill
3/4 teaspoon dried marjoram
Fresh ground pepper and salt to taste
Lemon slices to garnish
Chopped fresh flat-leaf (Italian) parsley to garnish

Recipe with Sitka Salmon
Delicious Sitka Salmon

Directions

The Salmon

  1. Heat the olive oil in a large nonstick skillet over medium-high heat.
  2. Season the salmon with salt and pepper; place in skillet skin-side down. If using fillets cook 3 at a time, don’t crowd the pan.
  3. Cook for 6 minutes or until the salmon is cooked about 3/4 of the way through. Do not fuss with the fish! Just let it sit and cook.
  4. Flip the salmon or fillets over and cook for 2 more minutes. Remove from the skillet onto a platter and set aside.

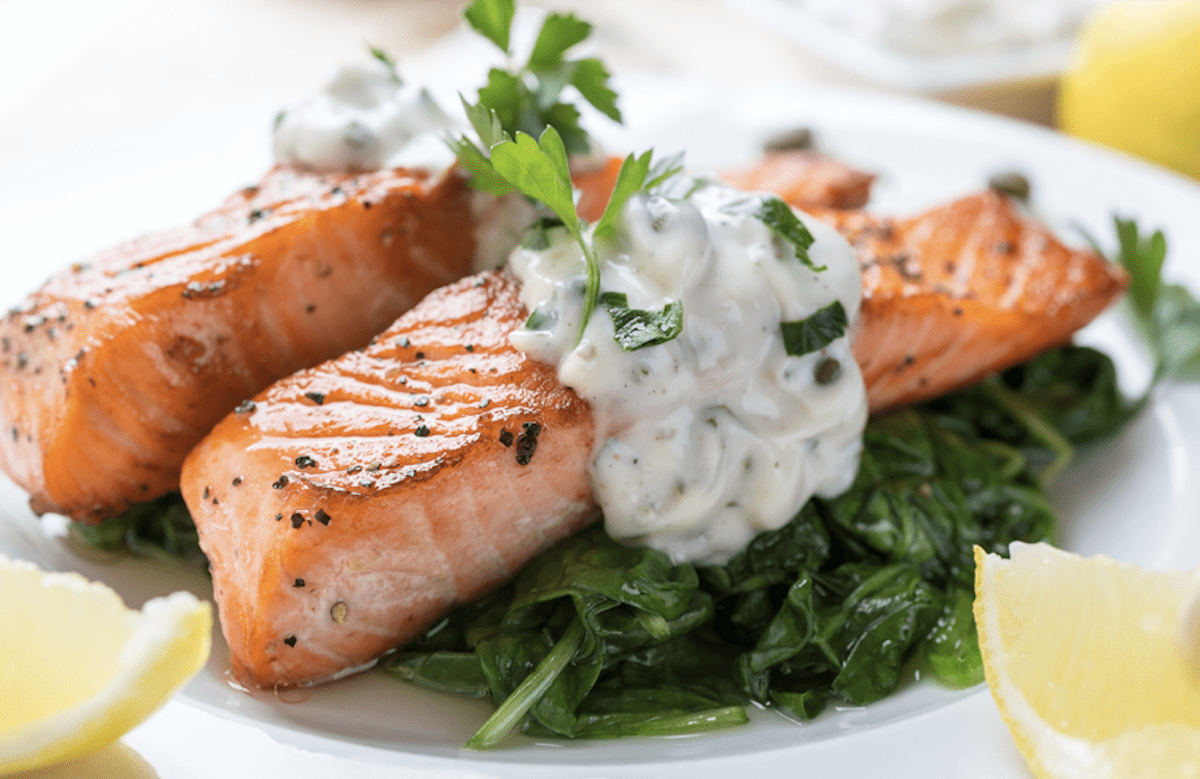
Serve It Over Spinach

The Lemon Garlic Cream

  1. While the salmon is cooking combine half & half, flour, cheese, lemon juice, lemon zest, garlic, dill, marjoram, salt, and pepper in a medium mixing bowl. Whisk until all ingredients are thoroughly blended together.
  2. Add butter to the nonstick skillet and melt over medium heat.
  3. Add the prepared cream to the skillet and bring to a boil then lower the heat to a simmer.
  4. Return the salmon or fillets to the skillet skin-side down on top of the sauce.
  5. Cook for 2 or 3 minutes or until the salmon is cooked and heated through.
  6. Remove the skillet from heat and put salmon or fillets on a platter, skin-side down.
  7. Spoon lemon garlic cream over the salmon evenly.
  8. Garnish with lemon slices and parsley. Serve immediately.

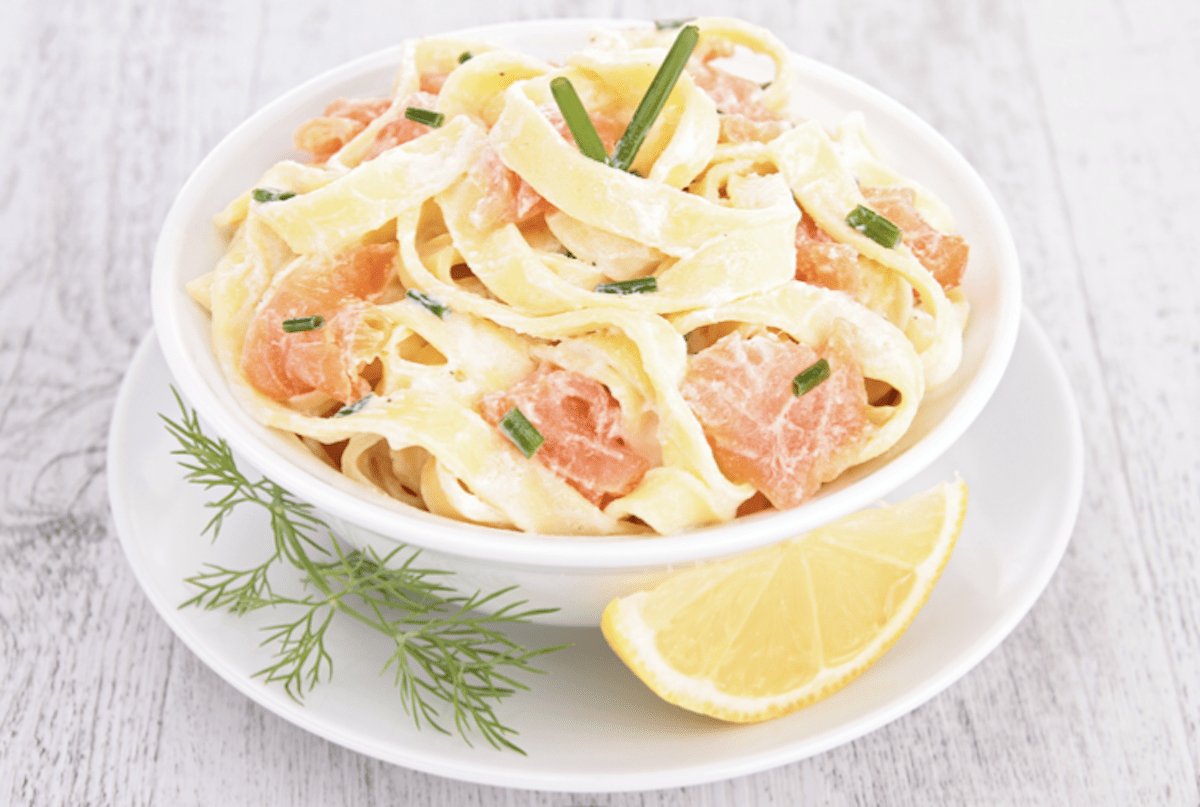
Salmon Lemon Cream Pasta

This recipe with Sitka Salmon can be served with a side of rice, quinoa, or potatoes. Veggies that work well as sides include spinach, kale, Brussel sprouts, and broccoli. A nice crusty bread can be used to sop up all of the lemon garlic cream.

Taste The Sitka Salmon Difference

Why support Sitka Salmon and their fisherman? Here are the 8 reasons they clearly explain on their website:

  1. Wild Caught
  2. Community-Based
  3. Finest Quality
  4. Just
  5. Transparent
  6. Conscious
  7. Easy
  8. Sustainable

Who needs more reasons than that? Not us.

If you’re interested in learning more about Sitka Salmon Shares delivered fresh from Sitka Alaska, visit their website here.

Pin It To Your Tasty Recipe Boards On Pinterest

.

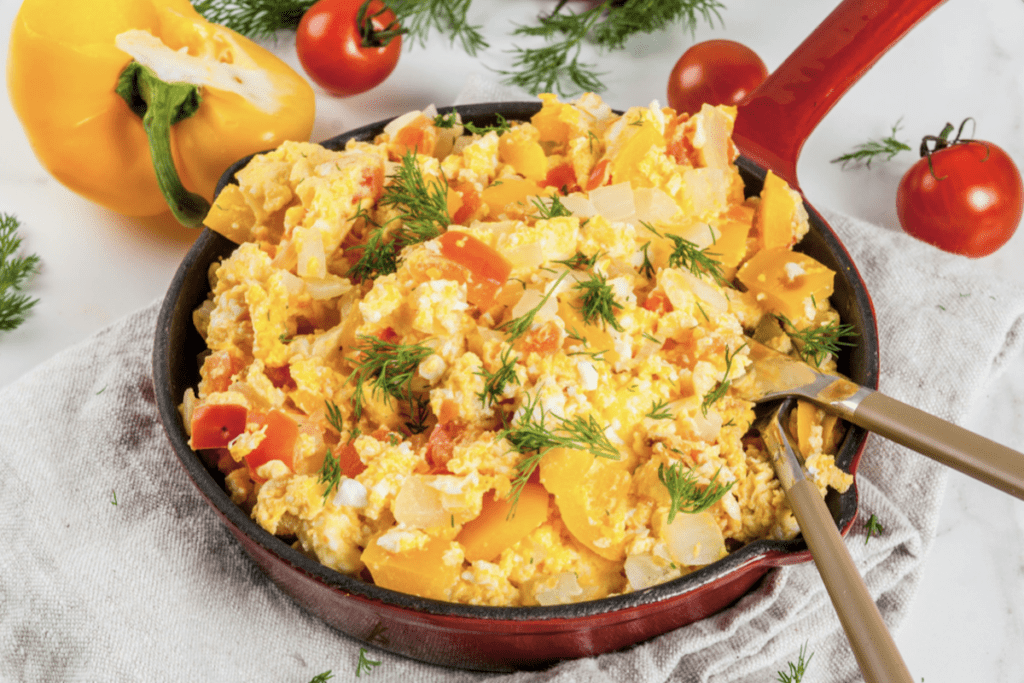
Low carb eating certainly has its challenges but it also has some great advantages. Low carb breakfast ideas are easy to get once you think about a few basic ingredients and make them have fun together. For us, that means scrambled eggs as a foundation for building a low carb breakfast that is also a perfect keto diet breakfast.

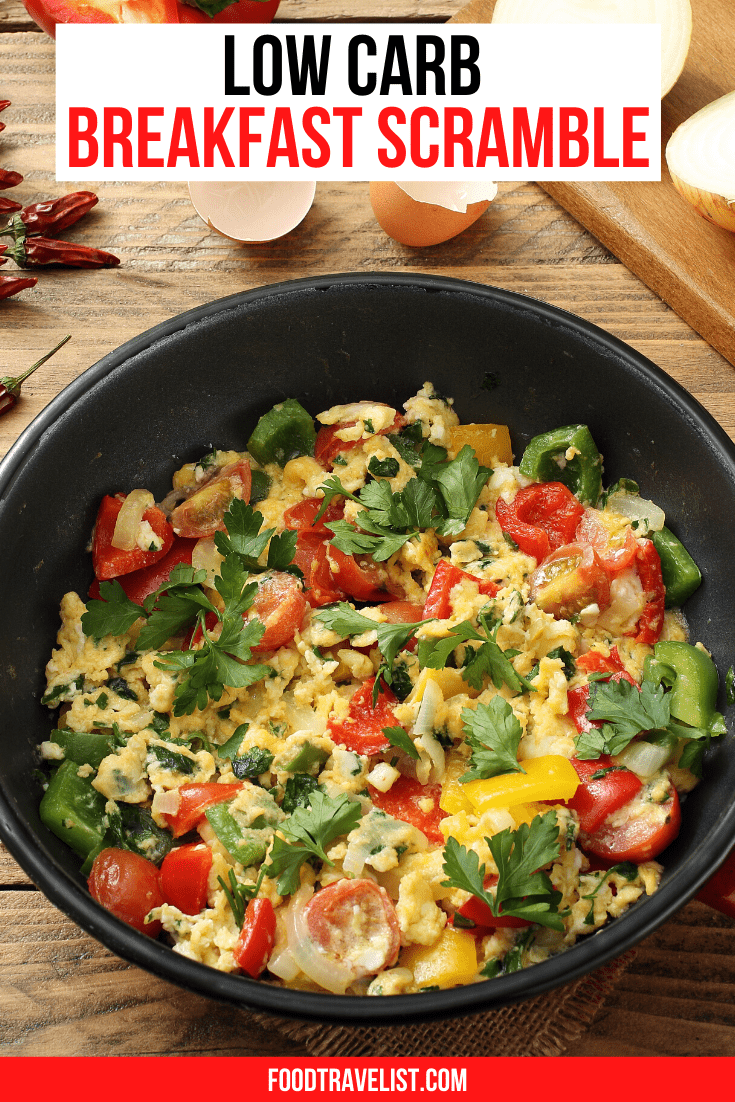
Pepper And Tomatoes
Pepper And Tomatoes

While there may be variations to your specific low carb eating plan and other eating plans that love great sources of protein, eggs are a fabulous starting point. In fact, we don’t just eat them for breakfast, but at any time of day.

Low Carb Breakfast Anytime

So while we’ll talk about easy keto breakfast ideas and low carb breakfast options, know that you can enjoy these keto breakfast ideas anytime you want.

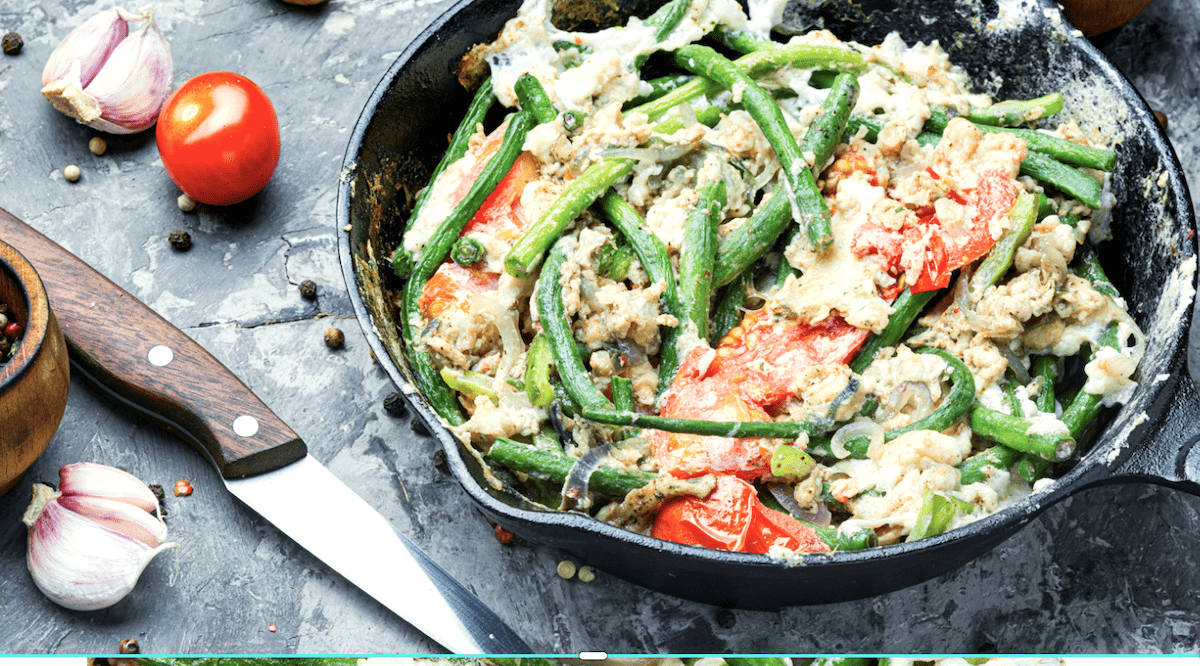
Green Beans Add Crunch

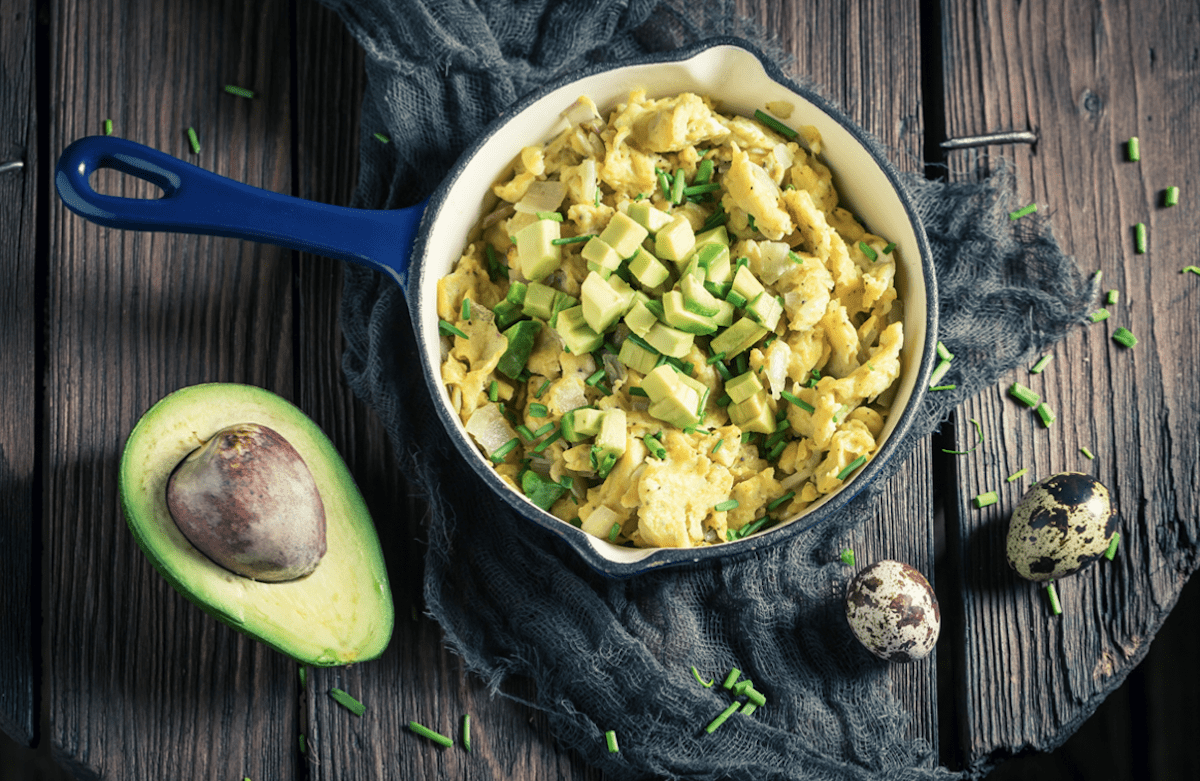
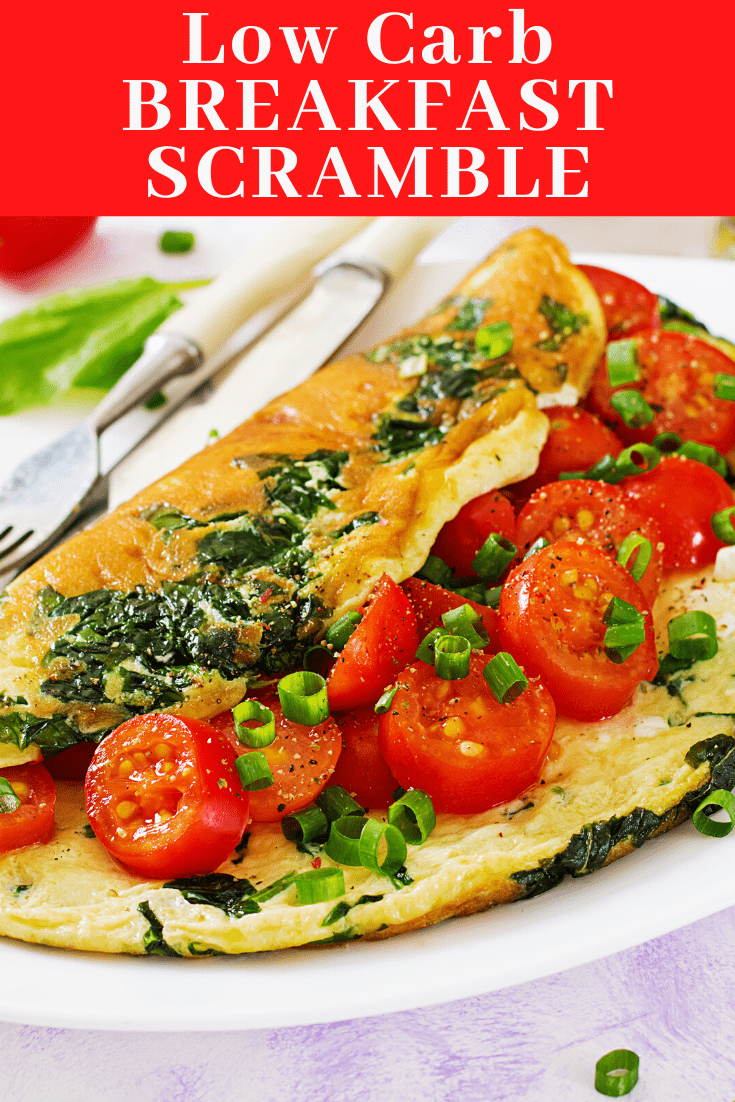
The premise is that we add our healthy and favorite ingredients into scrambled eggs. We’re talking scrambled eggs with broccoli. Scrambled eggs with spinach. Scrambled eggs with asparagus or zucchini.

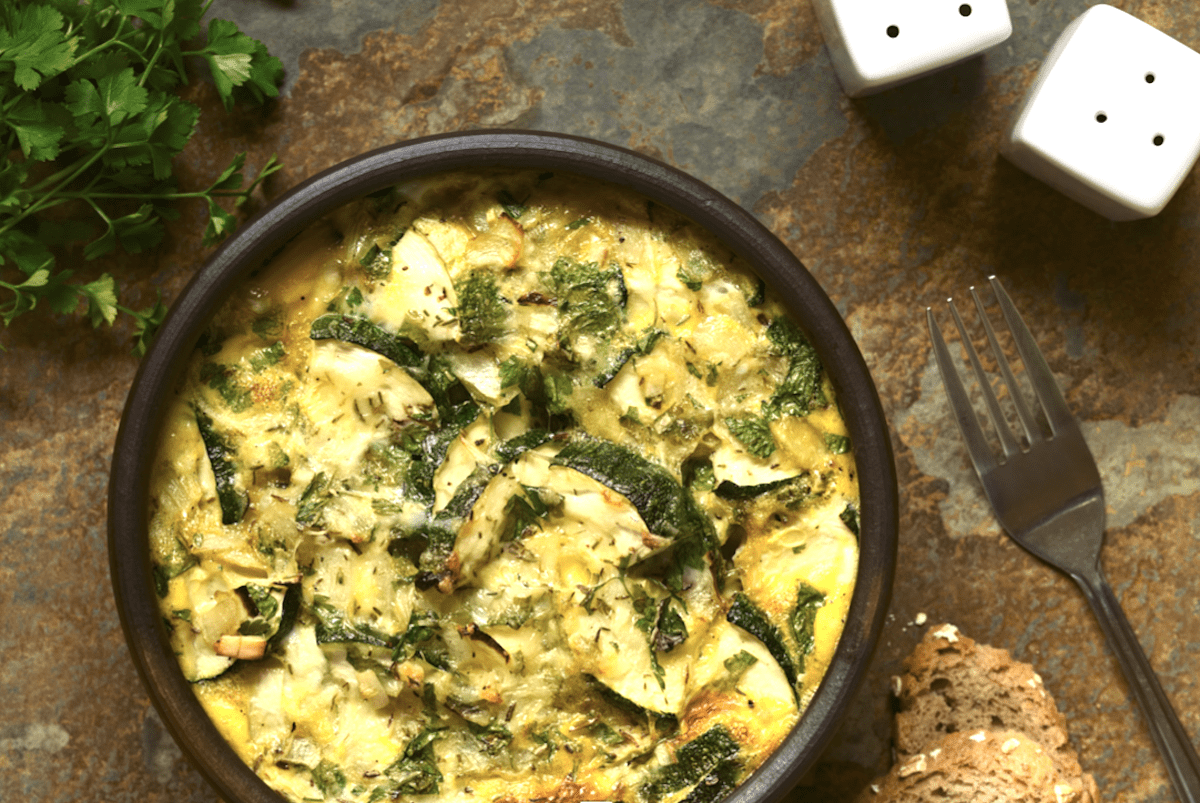
Zucchini Scramble
Zucchini Scramble

Anything green will usually be good.

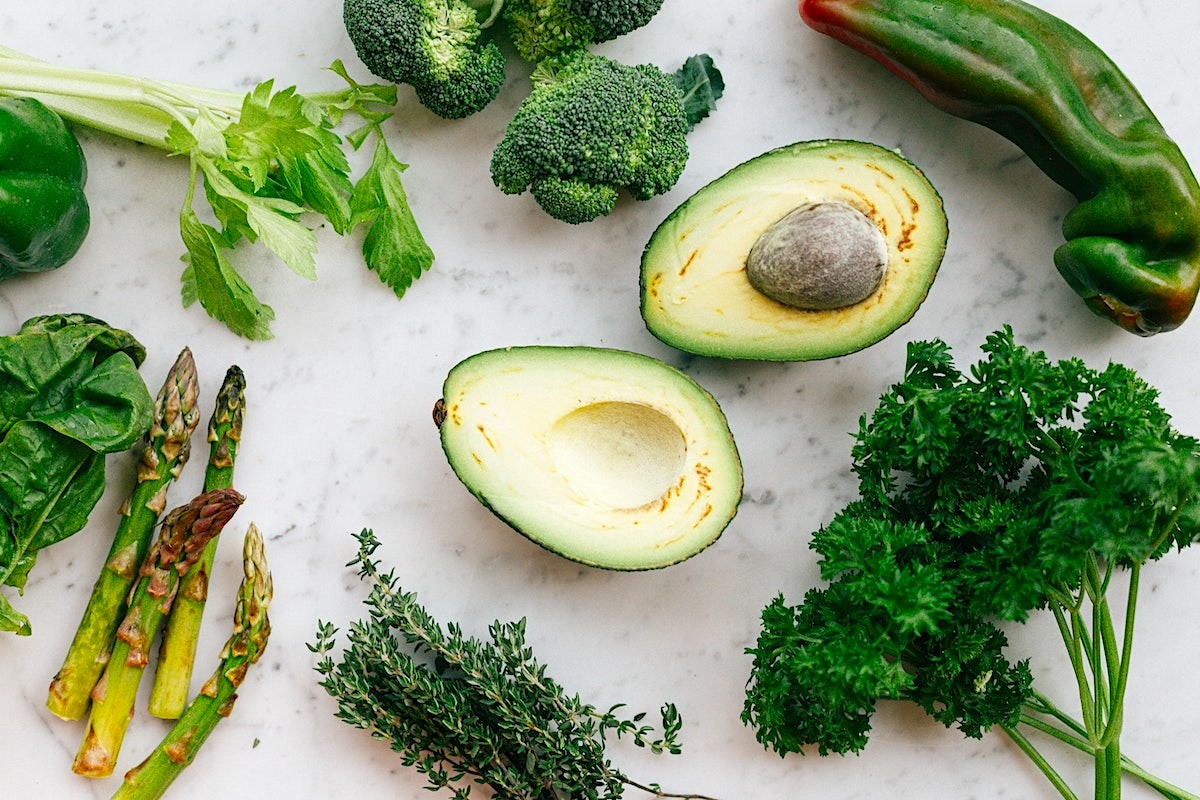
Green Is Always A Good Choice

If your way of eating allows, you can also make scrambled eggs with cheese. We love cheese. Of course, we do.

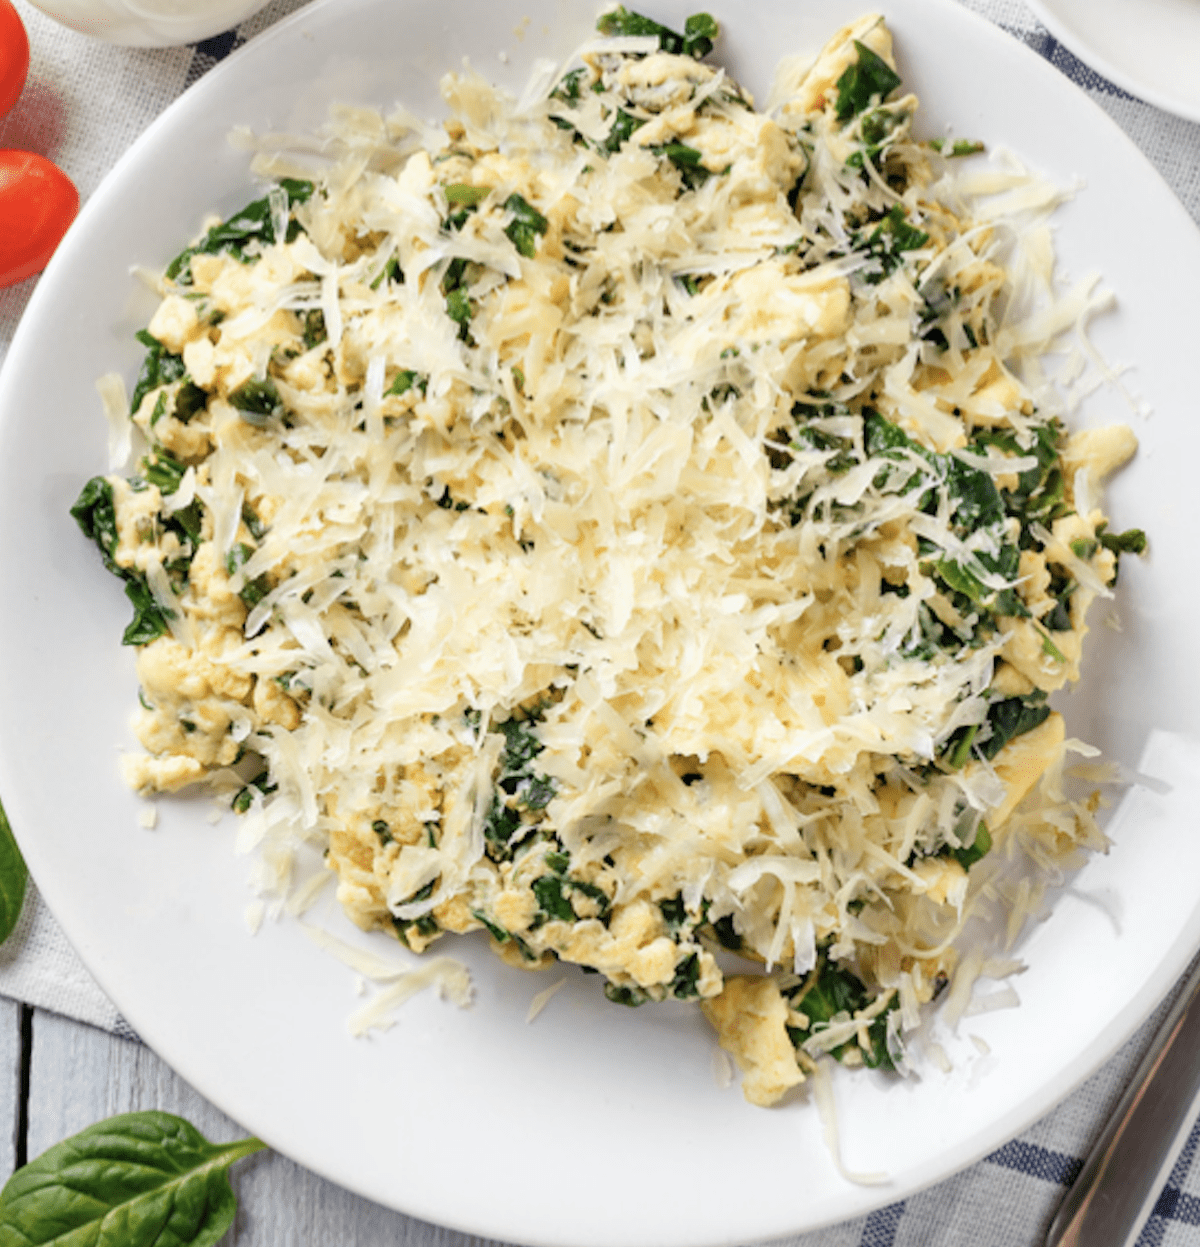
Scrambled Eggs With Cheese On Top

Keto Eggs

The way to make these low carb breakfast ideas pay off is to make sure your eggs are perfect. And we have a way to make them turn out fluffy and gorgeous every time. Our approach is good for keto eggs as well as for any regular egg breakfast you want to taste delicious and provide great nutrition.

Simple Ingredients For A Low Carb Breakfast

Easy Keto Breakfast Ideas

It’s not difficult to make our easy keto breakfast ideas, but it does take a little bit of care. So we’ll give you the method and some low carb breakfast ideas that you can use as a jumping-off point. Let your personal preferences and eating style be your guide.

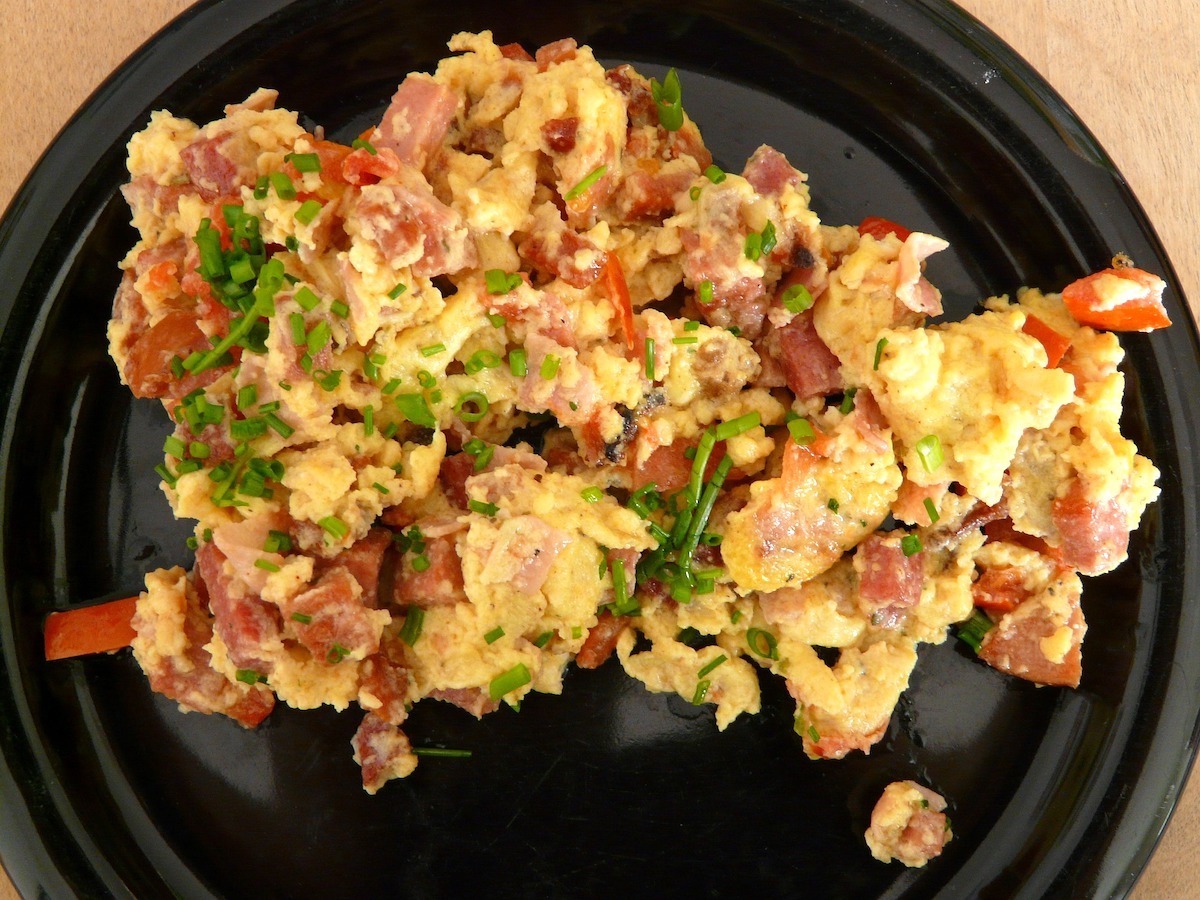
Low Carb Breakfast Ideas Can Add Meat

Low Carb Breakfast Scramble

Here is how you make the eggs fluffy and delicious. We’ll give you some low carb breakfast ideas for what to add, but you can choose your own favorites to make just how you like them.

Easy Keto Diet Breakfast

Ingredients

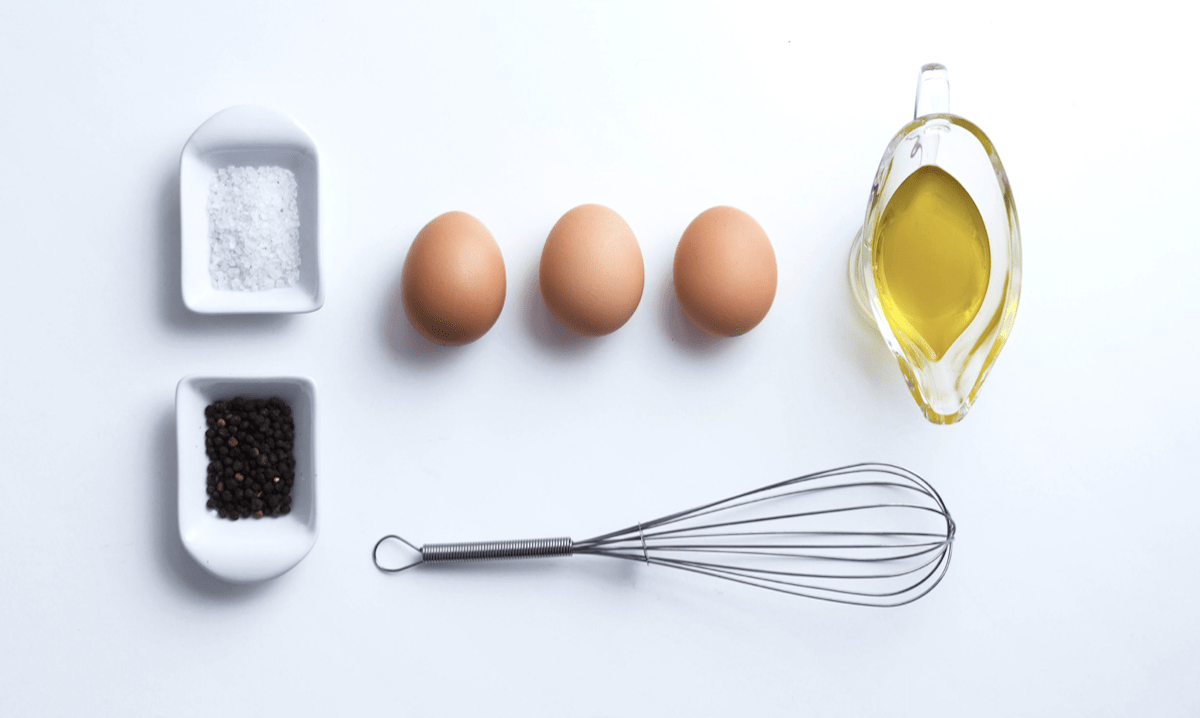
2 large eggs per person
1 Tablespoon extra virgin olive oil or unsalted butter
2 Tablespoons water or heavy whipping cream
1 clove garlic, minced (or 1 teaspoon granulated onion, optional)
2 Tablespoons onion, diced (or dried minced or granulated onion, optional)
Fresh or dried herbs of choice such as parsley, basil, oregano, thyme, sage, marjoram, etc.
1/2 cup chopped vegetables of choice such as broccoli, asparagus, zucchini, spinach, tomato, bell pepper, etc.
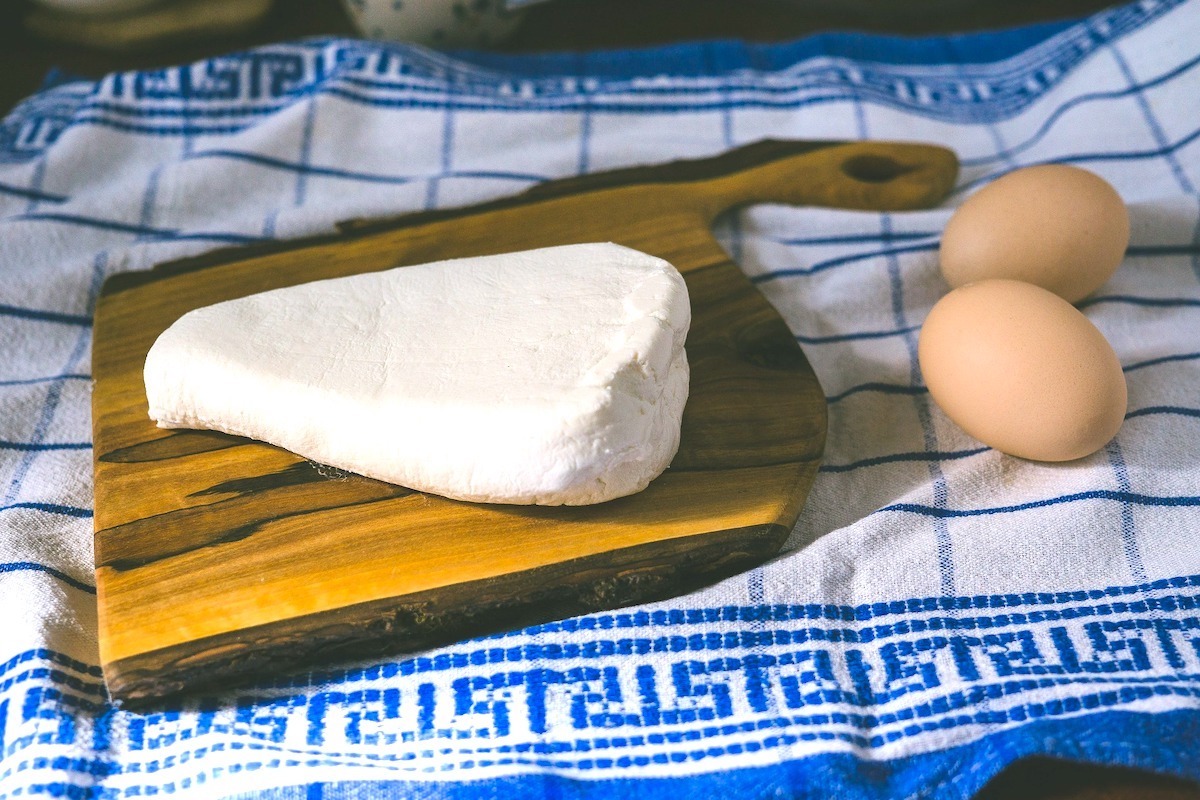
2 Tablespoons cheese of your choice (optional)
Salt and pepper to taste
Note: Use of dairy varies for a low carb breakfast, keto diet breakfast, or other approaches. This low carb breakfast recipe is flexible enough to go where you want it for you.

Add Your Favorite Low Carb Cheese

Directions

  1. Place oil or butter into a nonstick skillet over medium heat.
  2. Break eggs into a bowl, add cream or water, and beat together vigorously with whisk or fork. You want to see some bubbles form getting air into the mixture.
  3. When oil or butter is hot or melted, add onion and garlic if using. If not, add chopped vegetables. If fresh let cook till crispy-soft. If frozen or canned, just heat to warm through.
  4. Turn heat down to low and wait for a minute. Add herbs.
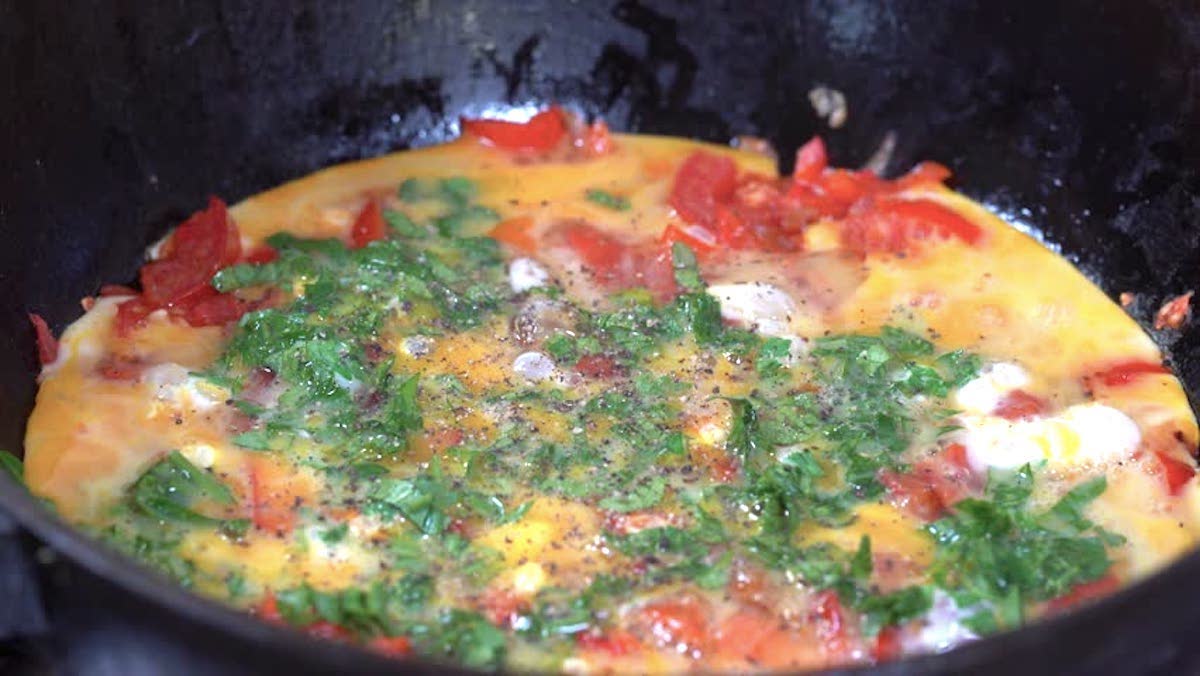
  5. Pour beaten eggs into the pan. When they start to cook, stir gently in a circular motion with a spatula or wooden spoon. Be sure to keep scraping from the bottom to avoid browning or burning.
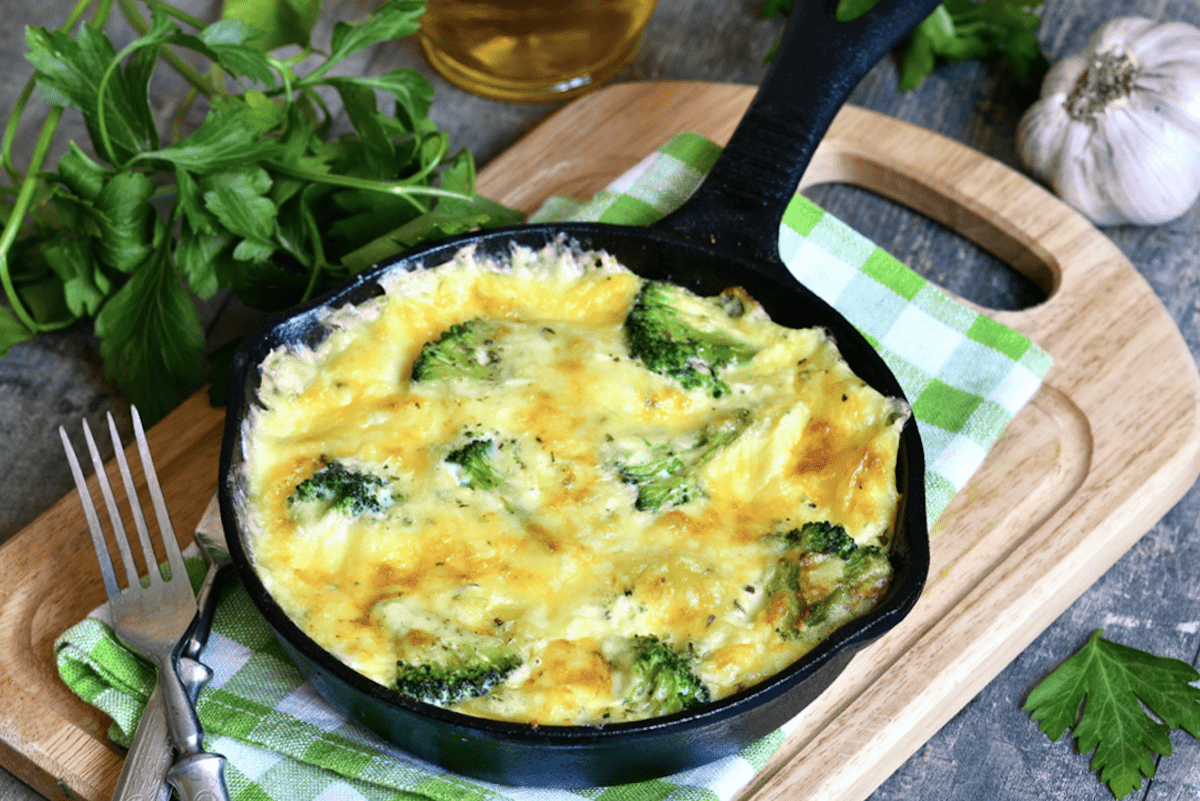
  6. When eggs are done to your desired consistency, add cheese if you like and stir gently for a minute until melted. You can also top with cheese when using cast iron or oven-proof pan and put under the broiler for a minute to melt. This gives you a nice cheesy top. Of course, this will depend upon your personal low carb breakfast preferences.
  7. Enjoy!

Keto Breakfast Ideas

We love giving you options, so choose whatever vegetables you like that fit into your eating plan. We provide you with some of our favorite easy keto breakfast ideas because we know many of us are looking for ways to freshen up our diets. However you choose to enjoy them, eggs are a great tool in every low carb breakfast arsenal.

Broccoli And Cheese Go Great For Keto Eggs

If you’re looking for other low-carb ideas, check out our Low Carb Folios Cheese Wraps Ideas, Crispy Cauliflower Crust Pizza, and Easy Chicken Kebab Recipe for more great eating!

Pin to your favorite recipe board on Pinterest

.   

Choux A La Creme AKA Profiteroles

Choux a la creme, also known as profiteroles, is one of the most impressive and delicious desserts among many memorable French pastries. Although some French desserts take lots of time, patience, and technique, some are surprisingly simple, once you know a few secrets. We’ll share with our choux pastry recipe as well as ideas for profiteroles filling. You will be happy to know that we’ve got aa few profiteroles recipe secrets too.

Choux A La Creme Is A French Favorite

A Simple But Impressive Dessert

When eating and entertaining friends, sometimes we just want to finish with something sweet without having to spend days making a homemade dessert. But we also don’t want to buy a dessert and leave the last part of our meal to someone else’s hands, no matter how skilled. After all, part of the joy of entertaining is sharing our love and skill with those we care about.

Make A Splash
Make A Splash

A French Classic

The French, of course, have elevated the art of dining, whether at home or in a restaurant, café, or patisserie into a delight for all the senses. We love the idea of replicating that experience at home. One of the best ways we can think to do that is to finish off with an impressive dessert such as choux a la creme.

Serve With A Flourish

Chou A La Creme

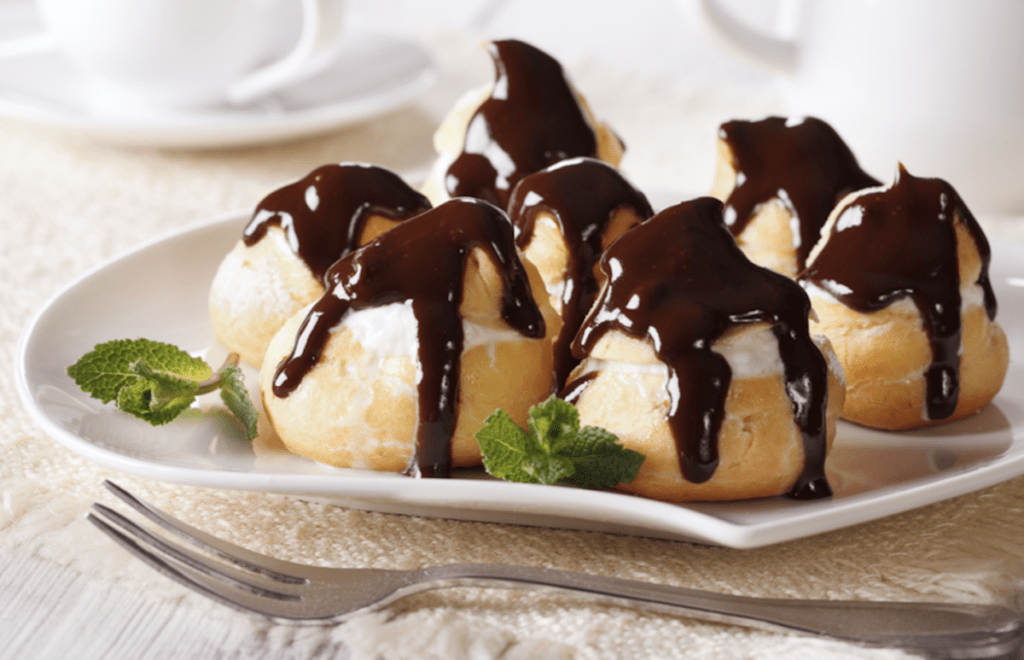
Choux a la creme, sometimes in English spelled chou a la creme, is the perfect go-to dessert. You may also know them as profiteroles. Yep, profiteroles. Those delicious little pastry puffs filled with ice cream, custard, pastry cream, or whipped cream.

Choux Pastry Recipe Is Good For Plain Cream Puffs Too

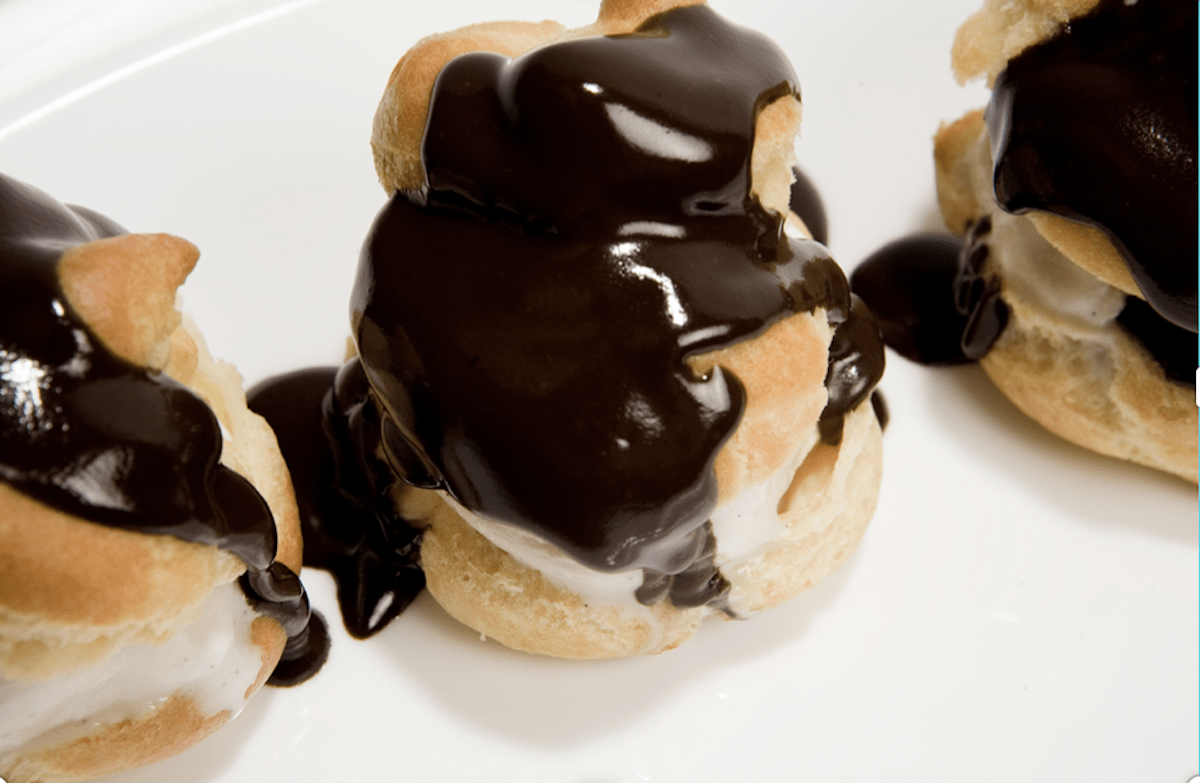
Chocolate Profiteroles

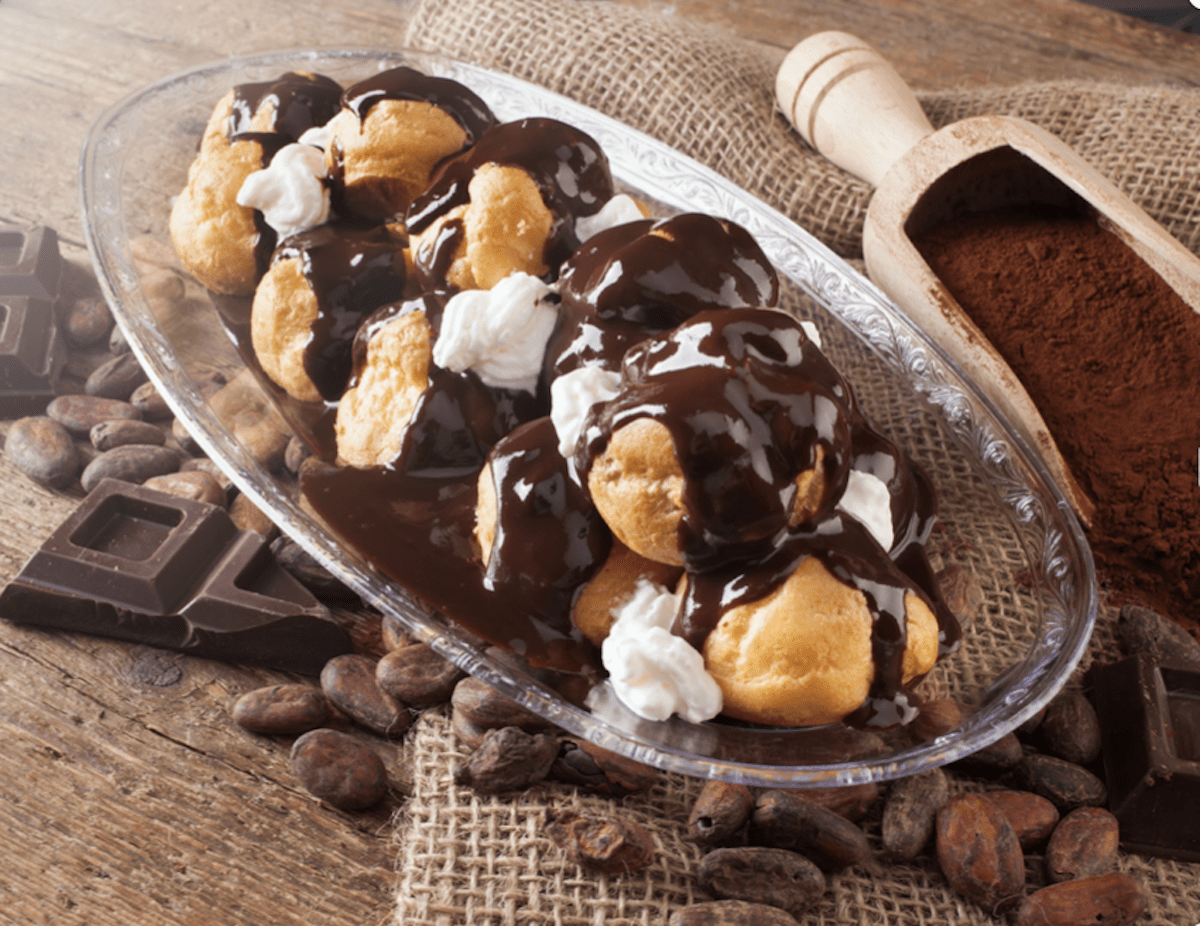
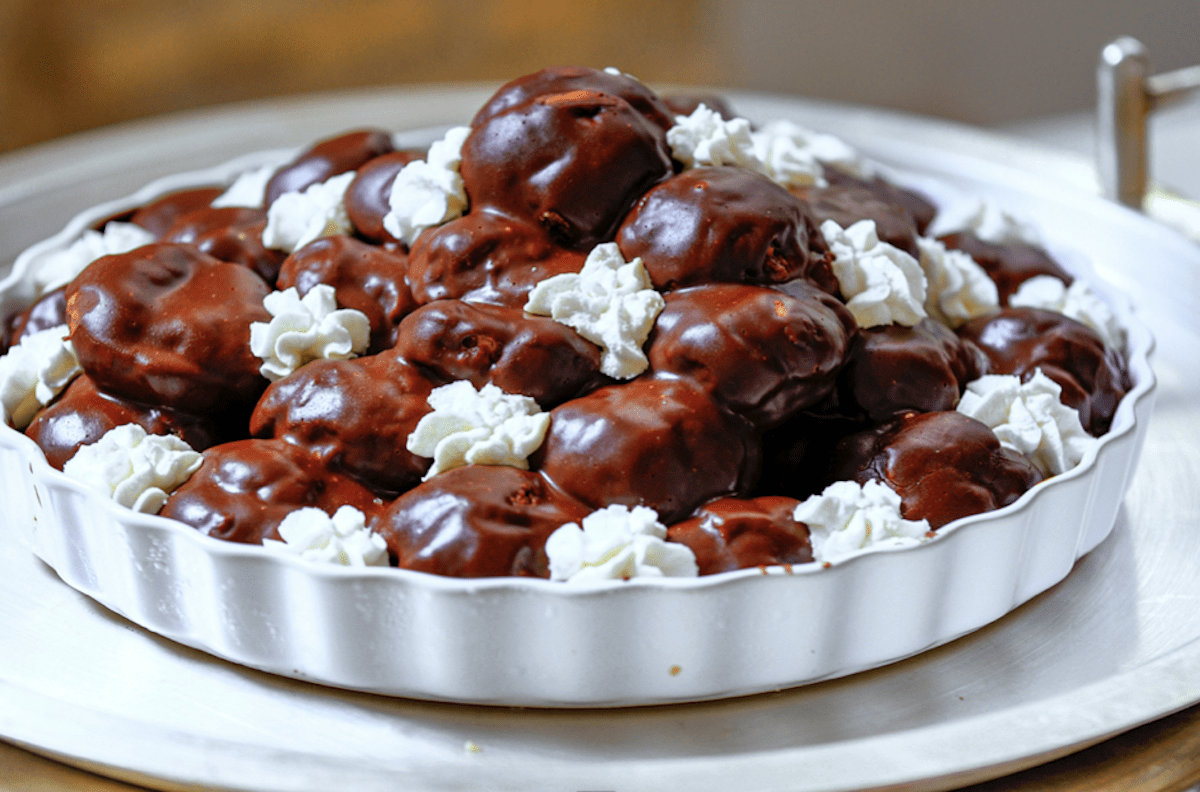
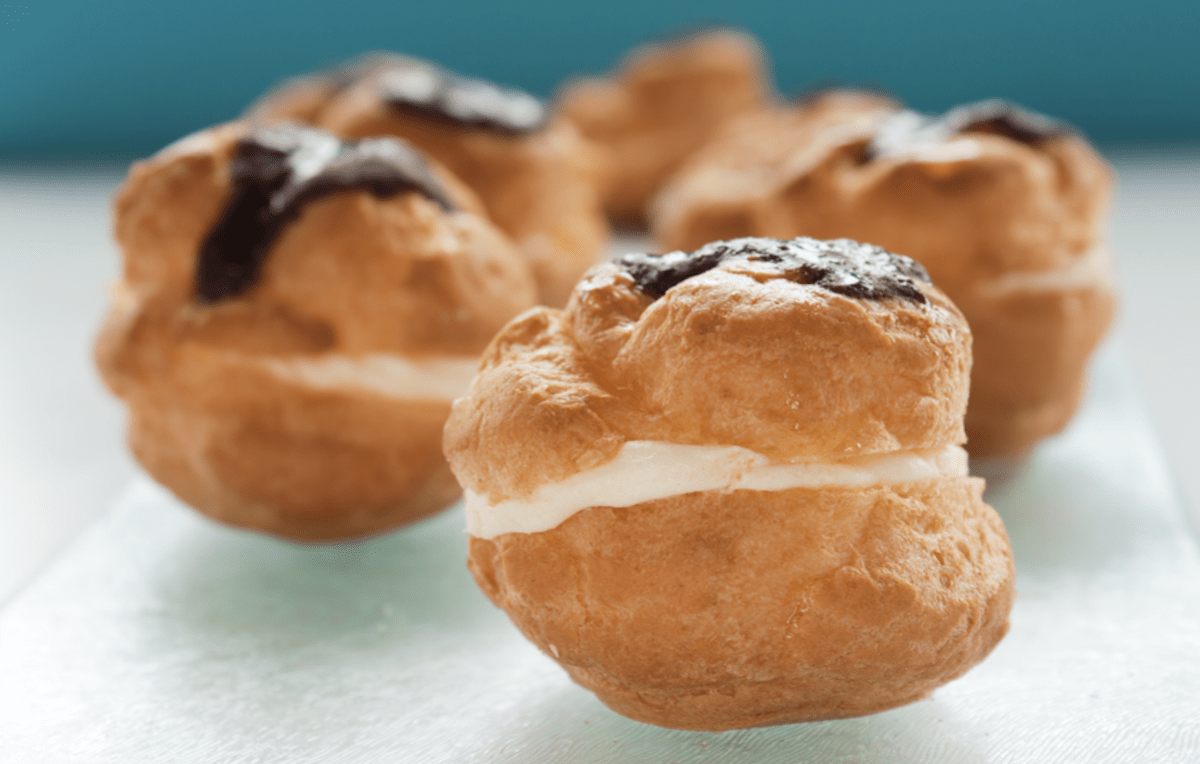
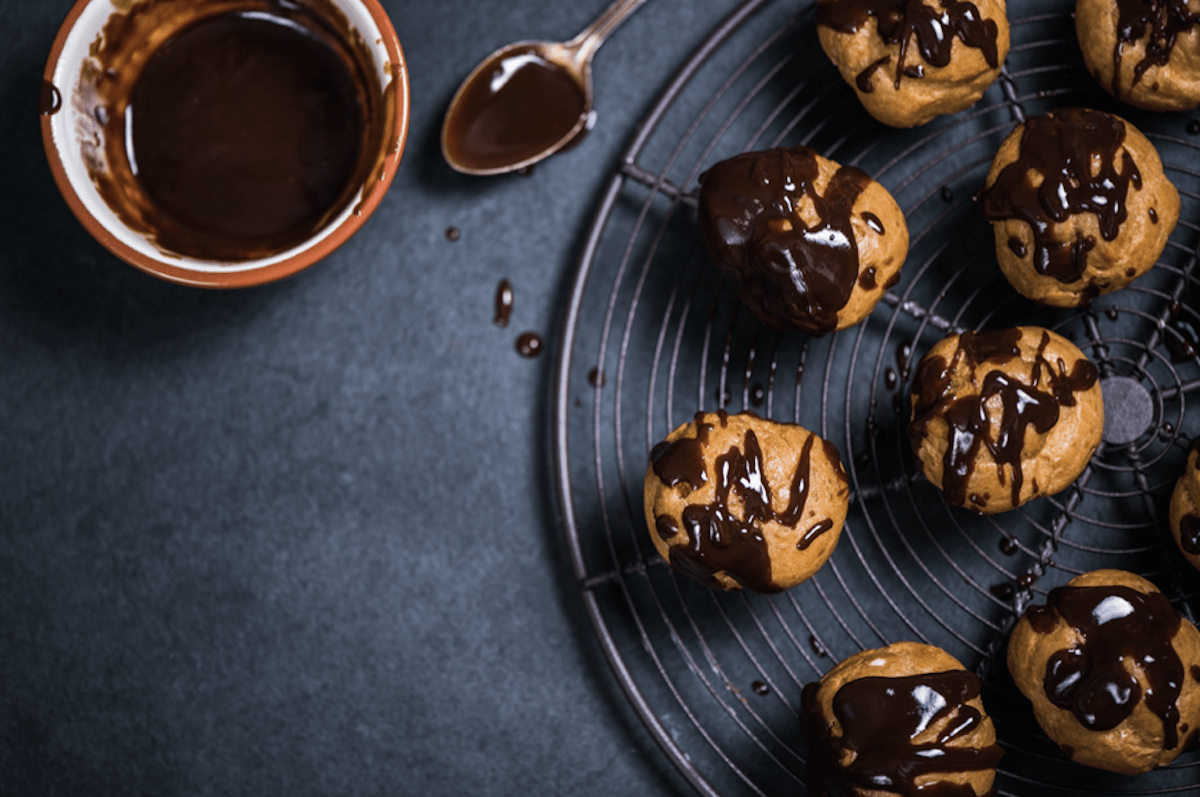
They’re often made as chocolate profiteroles, topped with chocolate ganache or sauce.

Chocolate Ganache Makes A Good Topping Too

Choux a la creme is an absolute show-stopper. And besides being delicious it’s easier to make than you think.

How To Make Profiteroles

We’re going to teach you how to make profiteroles by giving you our choux pastry recipe and walking you through the process. Once you have the pastry down, the profiteroles recipe is a breeze.

A Classic French Dessert

Ice Cream Puffs

The neat thing about choux a la creme is that the choux pastry can be made in advance. You can freeze it and use it whenever you want. And it’s perfect if you want to make ice cream puffs. Just slice them and use ice cream as your profiteroles filling and keep them in the freezer until serving. What could be easier?

Choux A La Creme Also Known As Profiteroles

In reality, choux a la creme is a simple recipe. When learning how to make profiteroles, you look at the profiteroles recipe in two parts. The first part is the choux pastry recipe. The second part is the profiteroles filling and the toppings. For an easy classic chocolate profiteroles recipe, yoou can even top with your favorite chocolate syrup. Yes, it really is that easy. Here’s one variation (for a dozen of the little critters):

Choux Pastry Recipe

Ingredients

1/2 cup (65 grams) all-purpose flour
1/2 teaspoon sugar
1/4 teaspoon salt
1/4 cup (57 grams) unsalted butter, cut into pieces
1/2 cup (120 ml) water
2 large eggs, lightly beaten

Try Our Easy Choux Pastry Recipe

Directions

1. Preheat your oven to 400 F (200 C) and put a rack in the center. Line a baking sheet with parchment paper or lightly grease the pan with butter or non-stick spray.
2. Sift to combine flour, sugar, and salt in a bowl.
3. In a heavy saucepan over medium heat, add the butter and water and bring to a boil.
4. Remove from heat, add flour mixture, and stir with a wooden spoon until combined.
5. Return saucepan to the heat and stir constantly until the dough comes away from sides of the pan and forms a thick smooth ball (about 2 mins.) 6. Transfer the dough to your stand or electric mixer and beat on low speed to release the steam from the dough for about a minute. When the dough is lukewarm, slowly add the lightly beaten eggs and continue to mix until you have a smooth thick paste.
7. Spoon 12 small mounds of dough onto the baking sheet about 2 inches (5 cm) apart and gently brush the tops of dough with a lightly beaten egg.

Baking (and while baking!)

8. Bake for 15 minutes and reduce the oven temperature to 350 F (180 C). Continue baking for 30 to 35 minutes or until the shells are golden and almost dry inside.
9. Turn off the oven, poke a few holes in each puff with a fork, and allow the shells to cool and dry out in the oven with the door open.

Profiteroles Filling

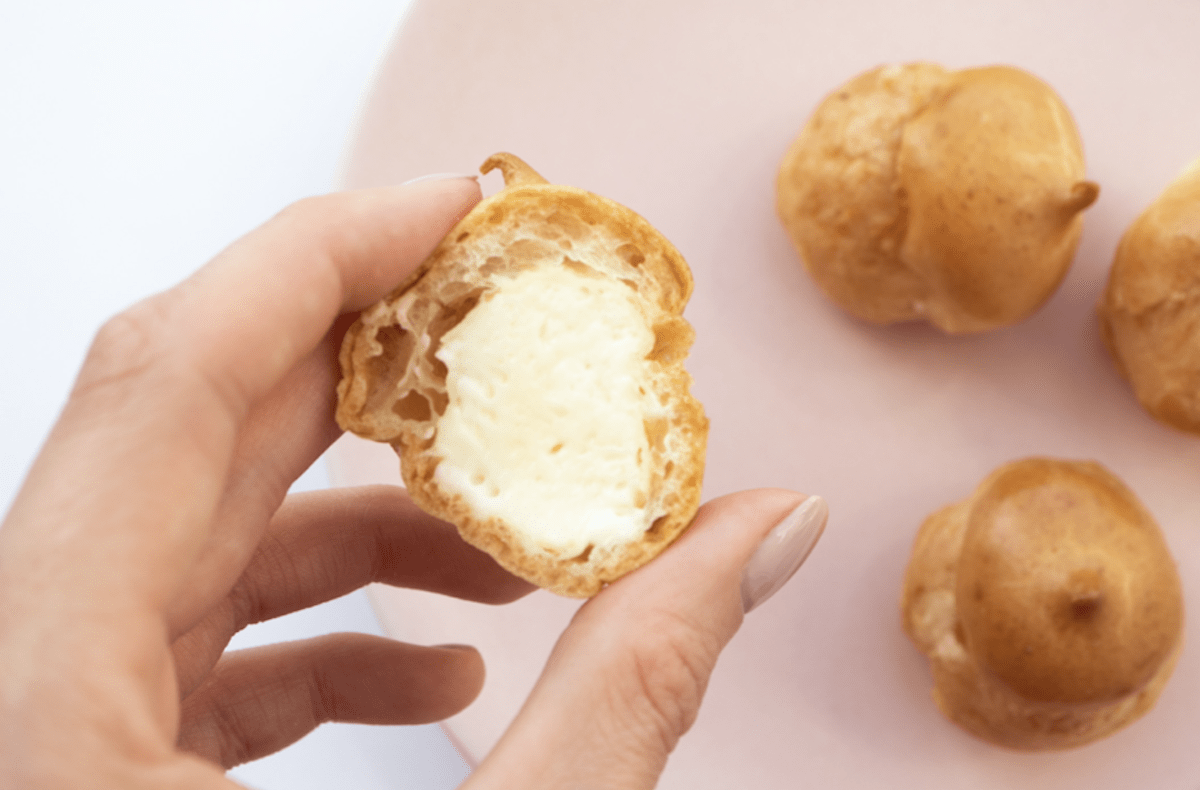
Profiteroles Filling Can Be Custard, Pastry Cream, Whipped Cream or Ice Cream

Have Them Your Way

When it comes to completing your choux a la creme, you have a lot of options. You can use your favorite custard, whipped cream, pastry cream, or ice cream for profiteroles filling. For the chocolate topping, you can create your own melted chocolate syrup or use your favorite ready-made chocolate syrup.

Perfect Sauce For Chocolate Profiteroles

Choux A La Creme Complete

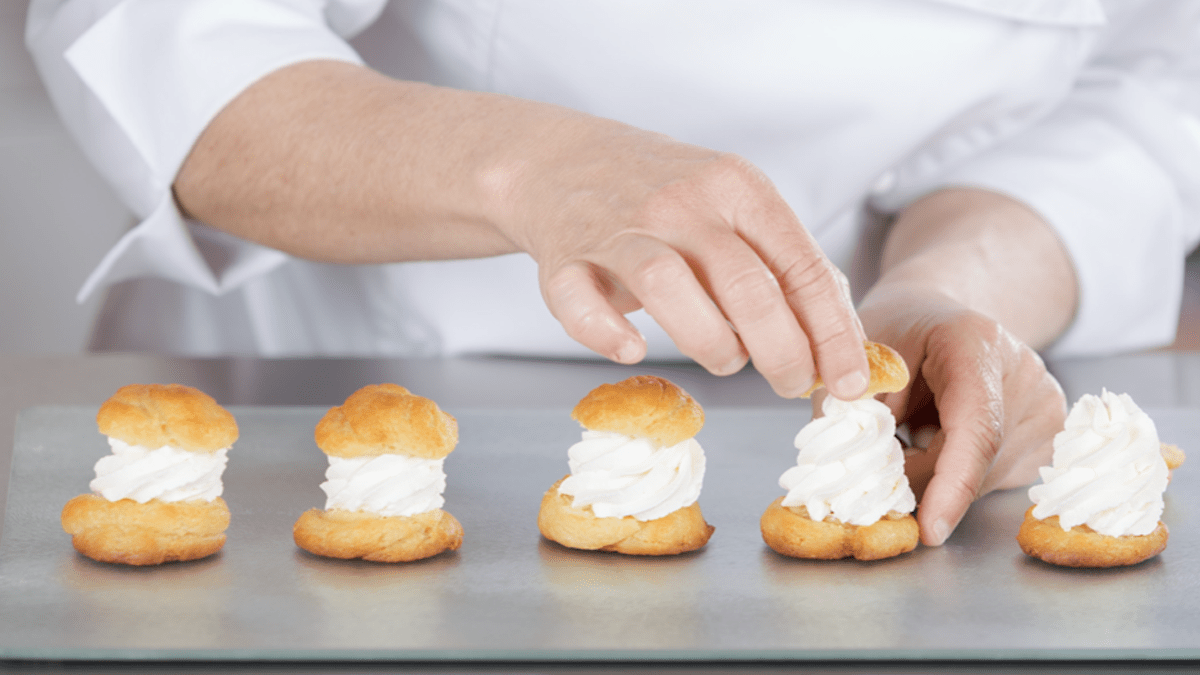
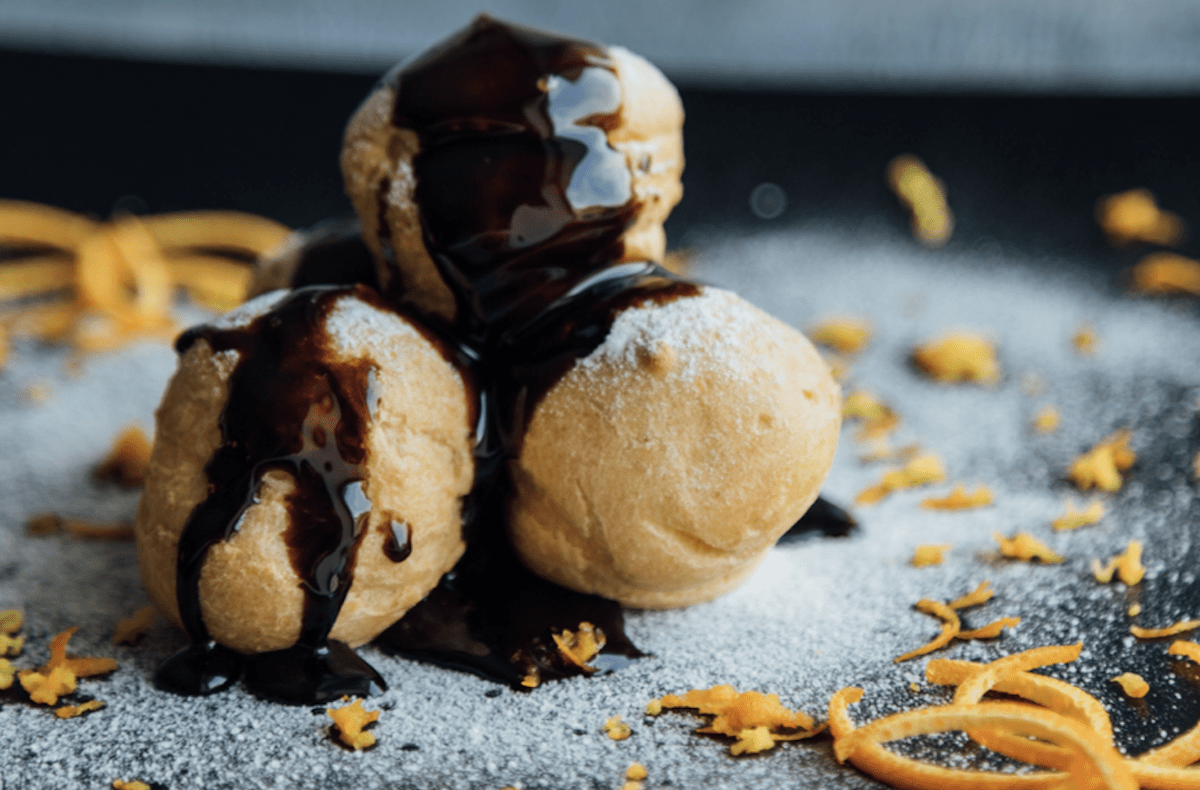
When you’ve completed the choux pastry recipe and your puffs are ready, split the shells in half.  Whether you want ice cream puffs, custard, or another cream for profiteroles filling, place a small scoop of the profiteroles filling of your choice on the bottom and top with the top half of the shell. For chocolate profiteroles, drizzle chocolate syrup over the top or dust with powdered sugar. Choux a la creme are often served in threes, but you can make and eat any number that you like. Fresh mint or small strips of orange peel make a lovely complimentary garnish.

Garnishes Like Mint And Orange Compliment Well

We’re sure that whatever you’re serving for dinner will be finished off brilliantly by this easy and tasty visit from the art of French pastry.

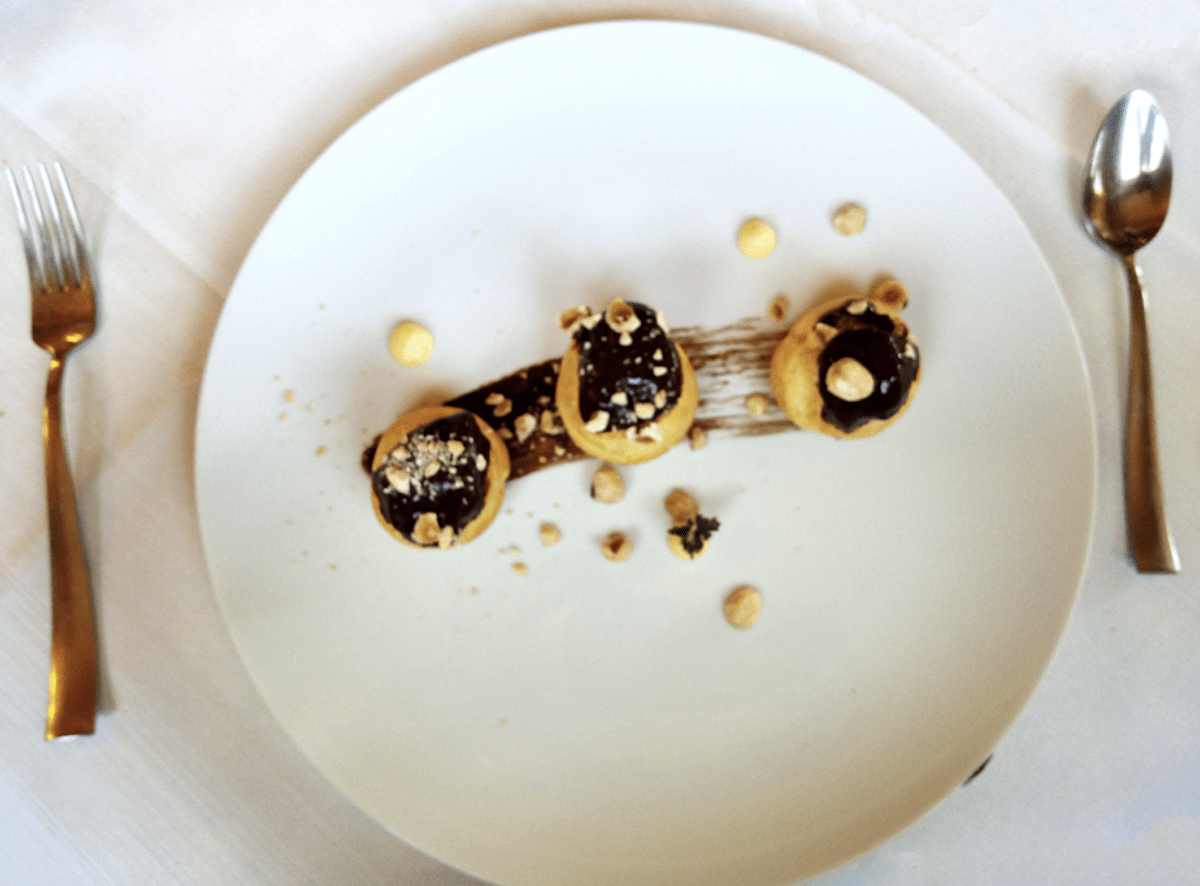
Three Is The Perfect Personal Serving Size

If you like our choux a la creme French dessert recipe, try our delicious and easy Portokalopita Greek Orange Cake recipe too.


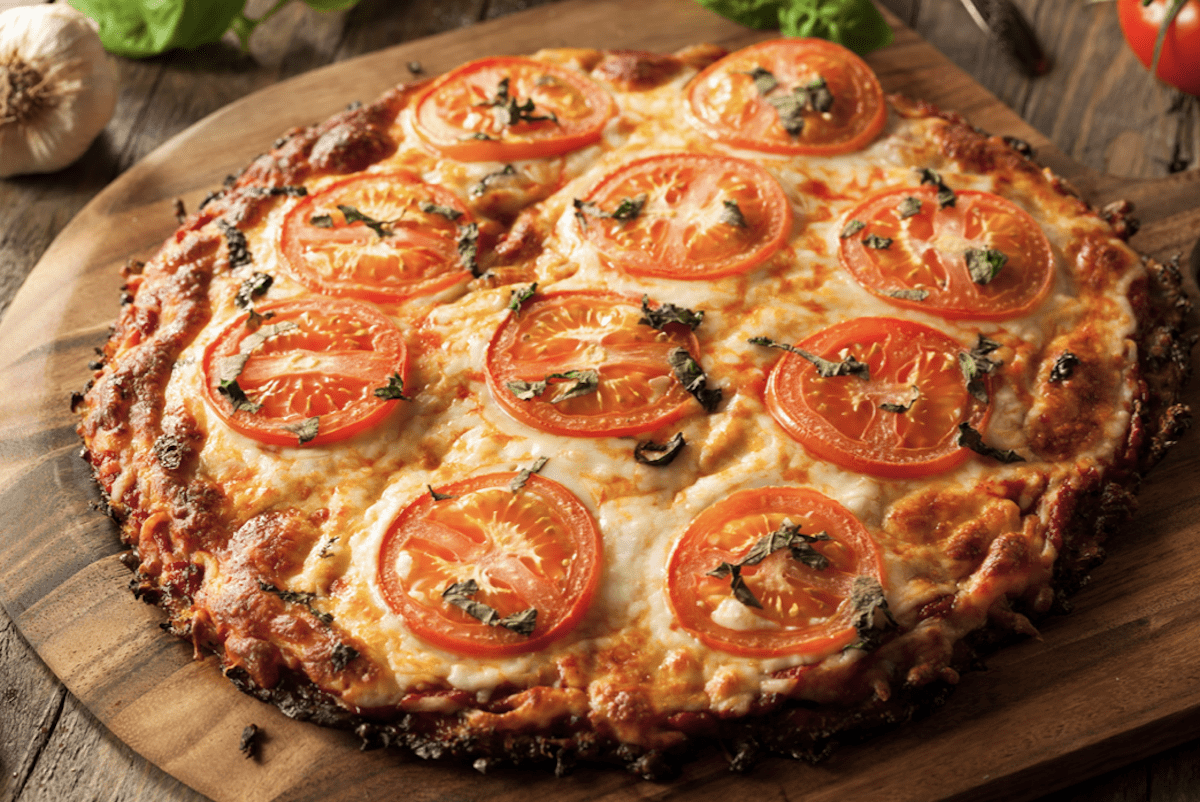
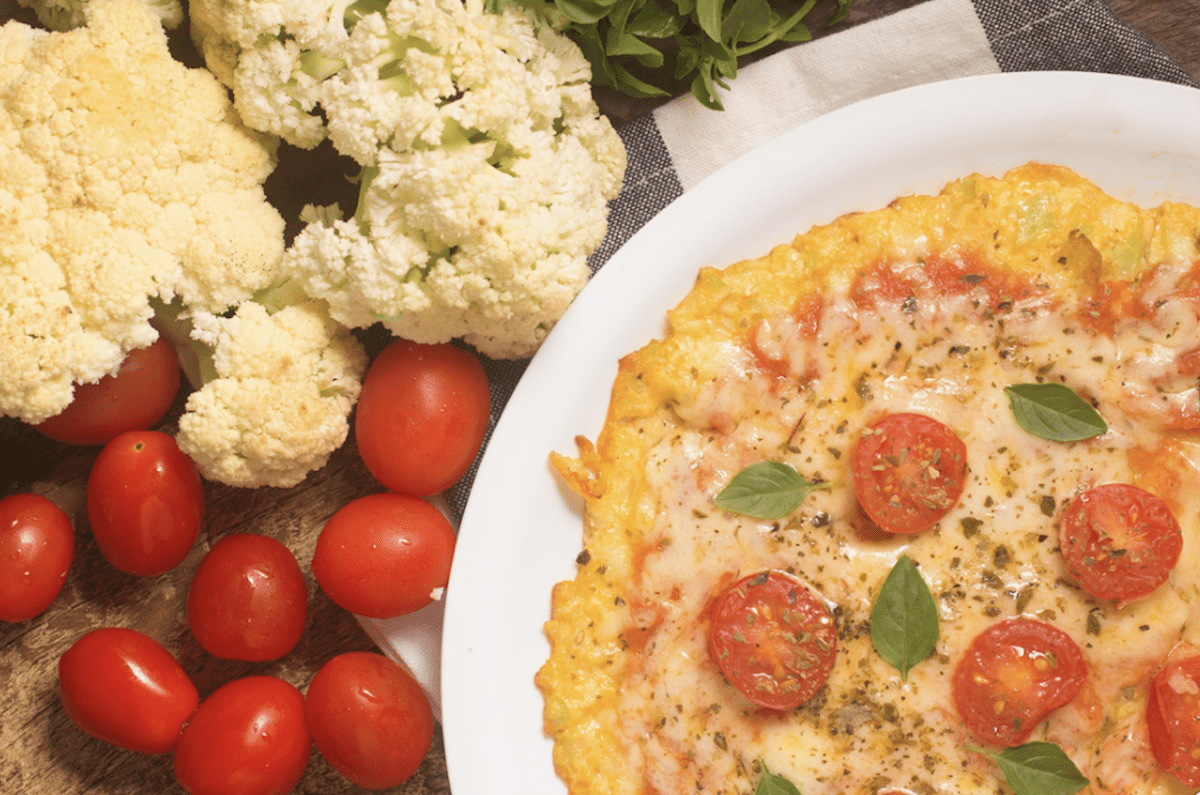
Sometimes we want all the flavor and chew of a really good pizza without giving having the crust hangover that sometimes comes with it. Here’s our solution. An alternative cauliflower crust pizza that is so close to a doughy crust you will not miss the flour.

Cauliflower Crust Is Low Carb And Gluten Free

Your waistline will be so thankful that you’ll be tempted to make it for family and friends as well. Cauliflower makes a great low-carb pizza crust for Paleo, Keto, and other low-carb lifestyles. It’s perfect for those following a gluten-free diet too! Making it is a little time-consuming, but so worth it. Add your own personal touches to create the perfect blend of naughty and nice. Our cauliflower pizza recipe is sure to become one of your family favorites like it is ours.

You Can Get A Crispy Crust

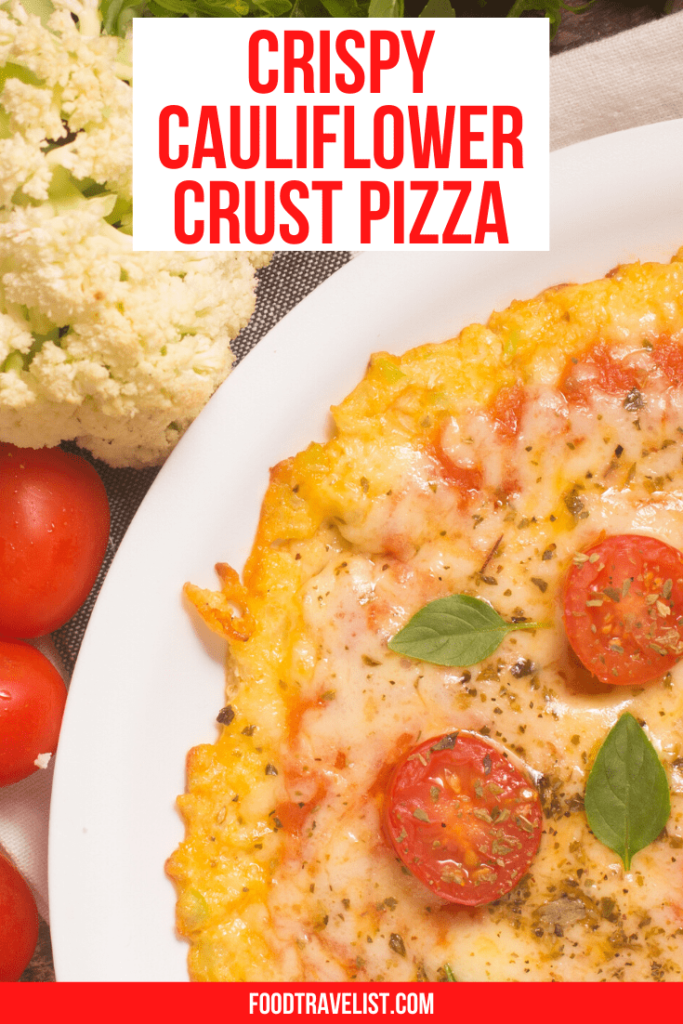
Crispy Cauliflower Crust Pizza

Ingredients

  • 1 head Raw cauliflower (5-6 inches in diameter)
  • 1 Cup Shredded part-skim mozzarella or Italian blend cheese
  • 2 tbsp Finely grated parmesan cheese
  • 1 Large Egg
  • 1/2 tsp Salt
  • 1 tbsp Dried Italian Blended Herbs
  • 1/2 to 3/4 Cup Pizza sauce (homemade or prepared, as you choose)
  • 12-16 oz. Cup Shredded Mozzerella cheese / divided
  • Pizza toppings of your choice (Sausage, pepperoni, onions, mushrooms, peppers, olives, etc.)
  • 1/3 Cup Grated parmesan cheese
  • Dried Italian blend herbs and granulated garlic (optional) to sprinkle on top

Instructions 

  • Preheat oven to 425 degrees F.
  • Cut out the core of cauliflower and divide the head into large chunks. Grate the cauliflower chunks with a grater and put in a microwave-safe bowl.
  • Microwave cauliflower crumbles on high in the microwave oven for 8 minutes until limp and soft. Remove from the oven and let cool until slightly warm.
  • Place crumbles in a kitchen towel or cloth napkin, gather corners, and hold over the sink. Twist the ends together and squeeze out as much moisture as possible. There will be a surprising amount of it and when done the cauliflower will resemble a dough ball!
  • Place cauliflower in a mixing bowl and add the egg 1 cup of shredded mozzarella or Italian blend cheese, salt, Parmesan, and Italian herbs. Mix together thoroughly.
  • Line two jelly roll pans or large baking sheets with parchment paper and spray the parchment liberally with nonstick spray or grease well with olive oil. The spray or oil will keep the crust from sticking – very important!
  • Place the cauliflower-cheese mixture on one of the sheets and pat out to a thin, even layer in either a circle or rectangle, as you prefer. Be sure to make the edges and the corners just as thick as the rest or they will burn when cooking. Use a paper towel to absorb any extra moisture and bake on the middle rack for 15 -20 minutes until the top is brown but not burned. If it doesn’t brown, broil on high for 3-4 minutes or until it does turn brown.
  • Remove from oven and dab with a paper towel to absorb any moisture and let cool for a couple of minutes. Then place the second baking sheet with parchment over the one with the crust and flip the crust onto the second baking sheet. Remove the parchment on top and dab to remove any excess oil or moisture.
  • Place crust under the broiler for 5-10 minutes until it browns, again being careful not to burn the edges. Remove when the crust is brown and solid. Let cool for a few minutes and the top with sauce, mozzarella, vegetable and/meat toppings, mozzarella, parmesan and sprinkle with dried herbs and granulated garlic, if desired.
  • Place under broiler for 4-5 minutes until the cheese starts to bubble and get brown spots. Remove from oven and place on a cooling rack and let settle for about 5 minutes. You can then use a regular pizza cutter to slice as you like.
Course: Main Course
Keyword: Pizza, Vegetarian

Paleo, Primal, Or Keto

Add meats, cheese, mushrooms, and fresh garlic.

Topping Ideas

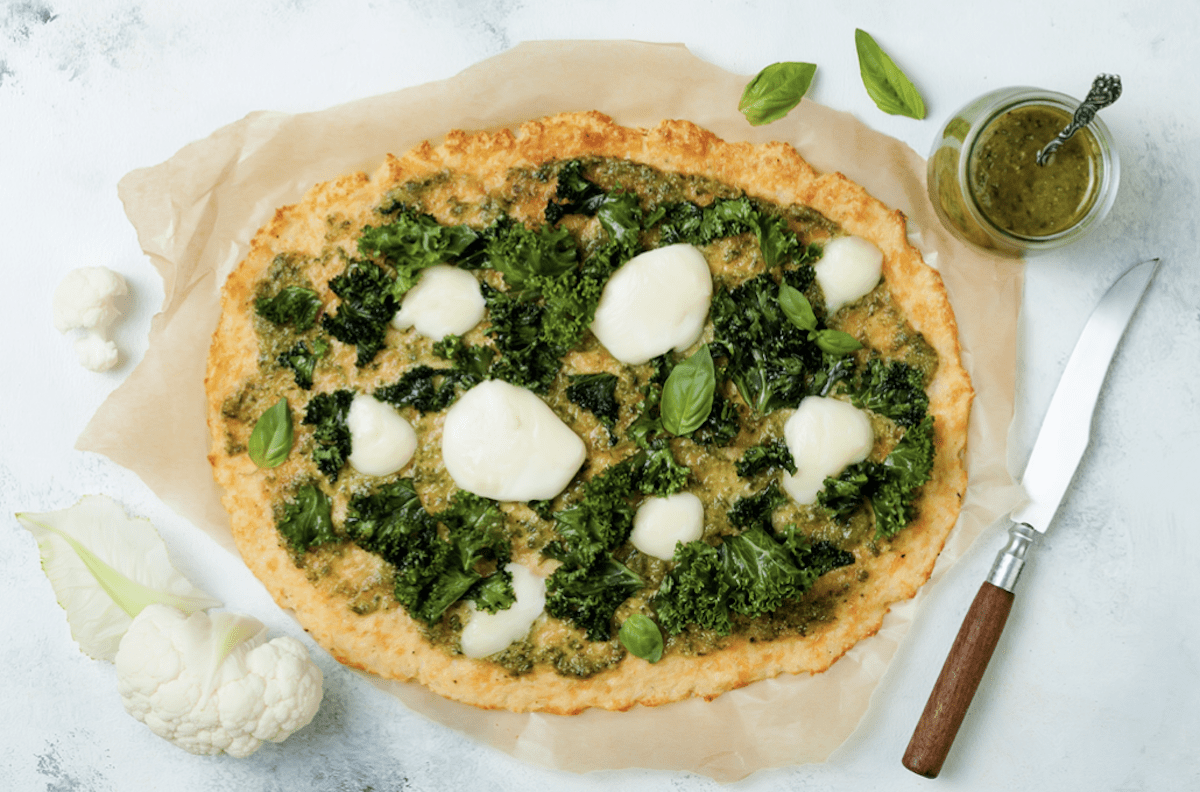
Use pesto instead of tomato sauce and top with fresh mozzarella cheese and herbs.
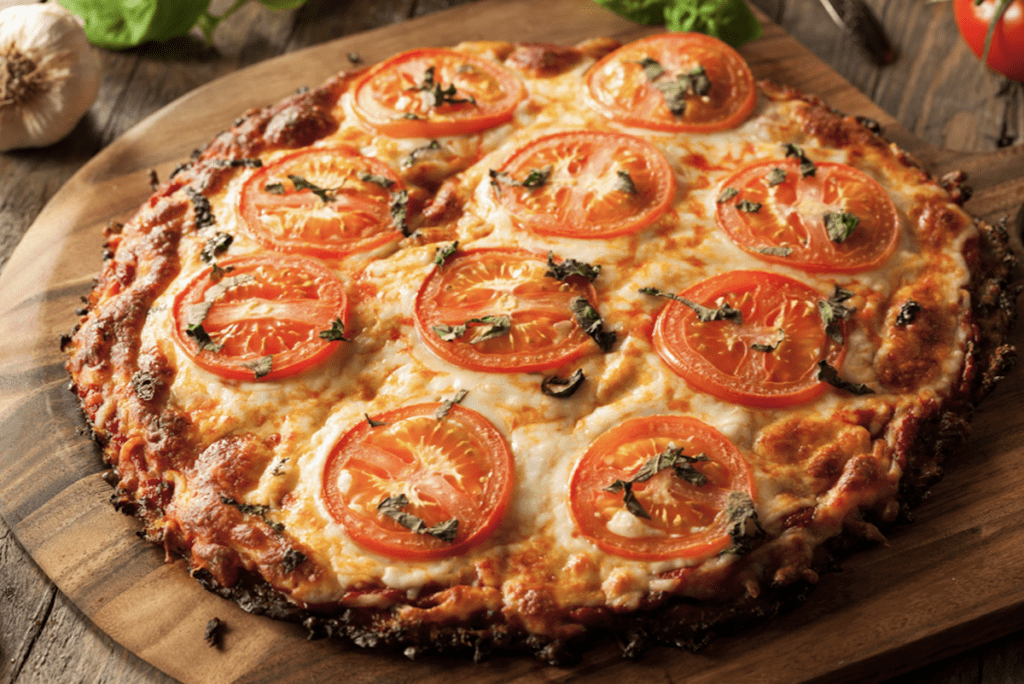
You can use fresh mozzarella for the topping (but do not use it in the cauliflower pizza crust) and add fresh basil and sliced grape, cherry, or meaty Roma tomatoes for a Caprese pizza.

A Great Cauliflower Pizza Base

Pizza Combos

Add small bits of bbq chicken, cilantro, and red onion toppings for a California-style bbq chicken pizza.
Use as many veggies as you like and can think of for a veggie deluxe version.
Add sausage, pepperoni, meatball, bacon, and any other meat you like for a meat-lovers version.
Top with ham slices and pineapple for a Hawaiian special.

Mini Pizzas

You could also make several individual pizzas rather than one large cauliflower pizza.  Each could be topped as you choose – it’s up to you!

More Low Carb Cooking

If you like our cauliflower pizza crust recipe check out our Folios Cheese Wraps Low Carb Ideas and our Veggie Noodles Like Zucchini Spaghetti recipes.

Pin To Your Favorite Pinterest Board

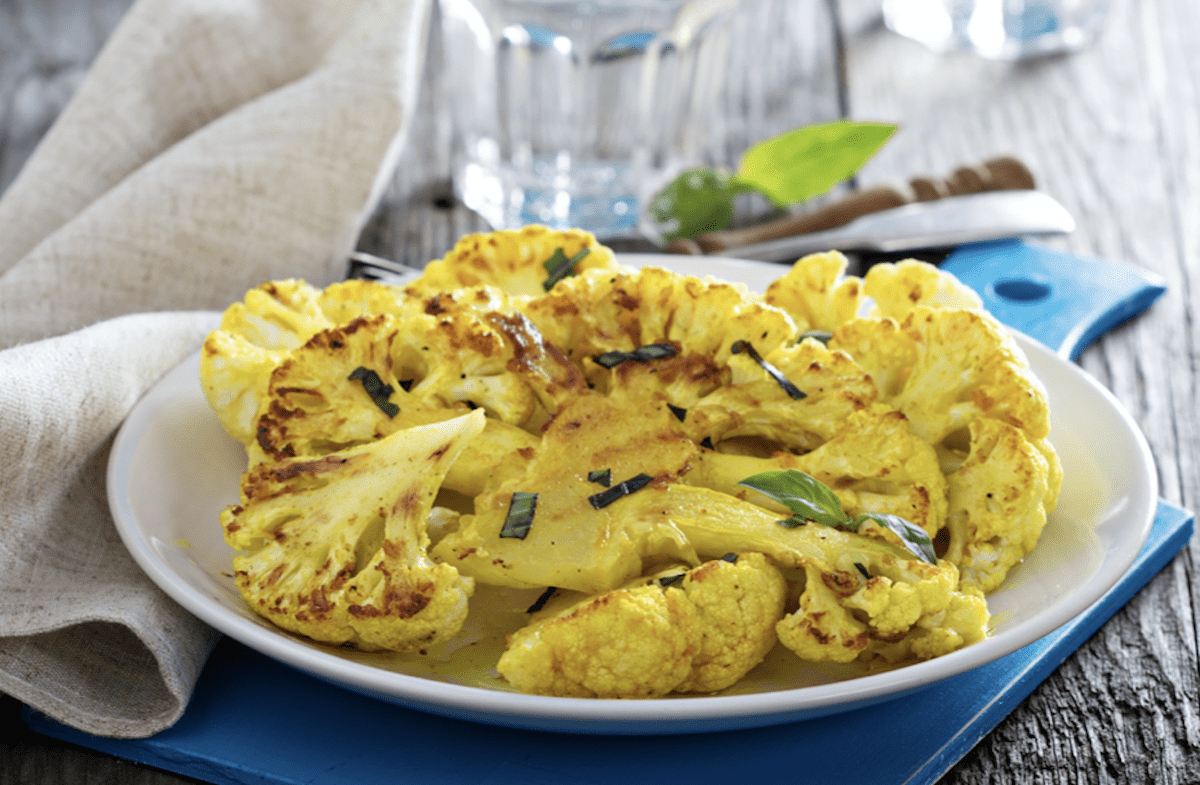
Roasted Cauliflower Steaks Don't Have To Be Perfect
Ready For Something New?

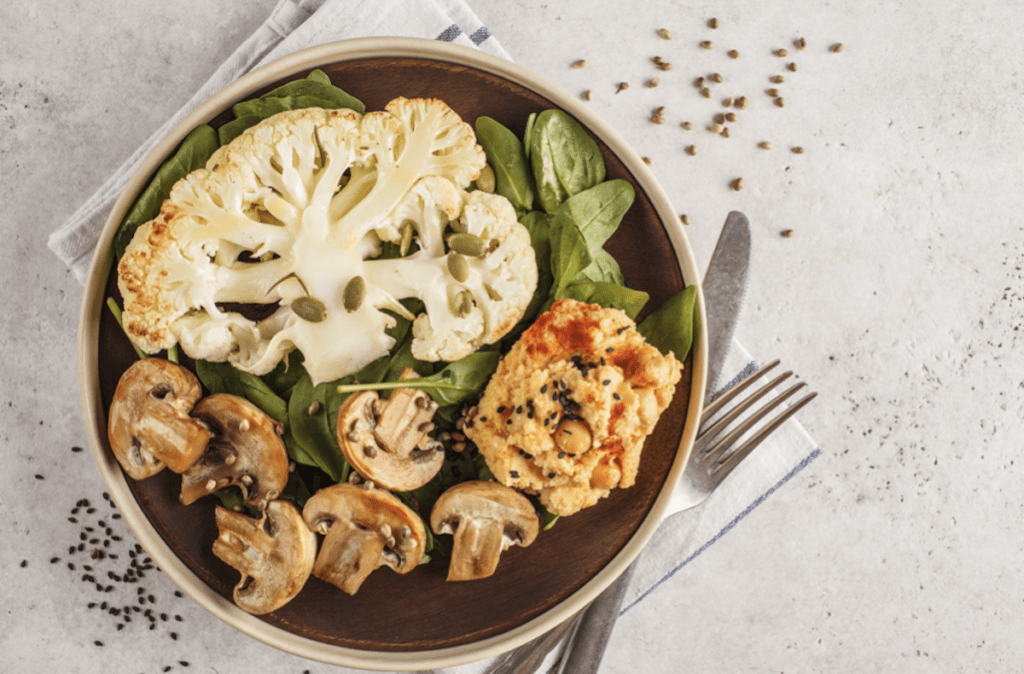
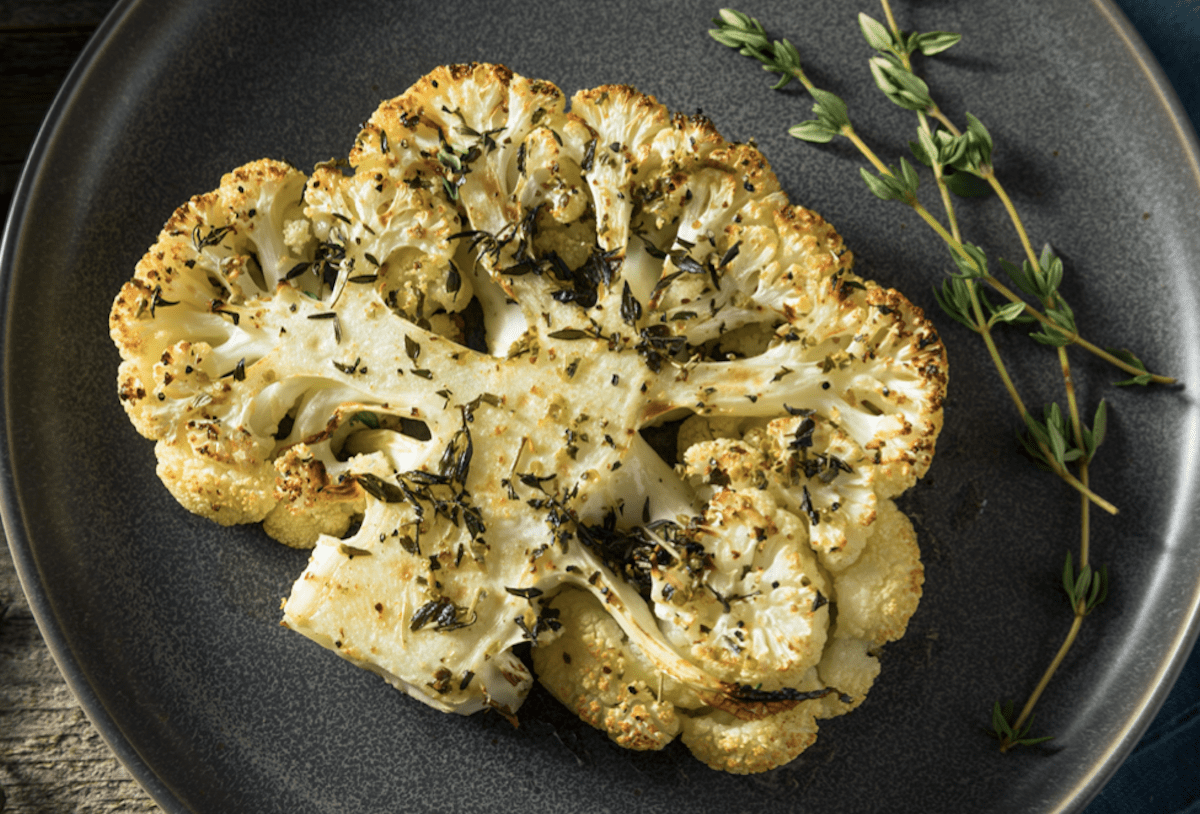
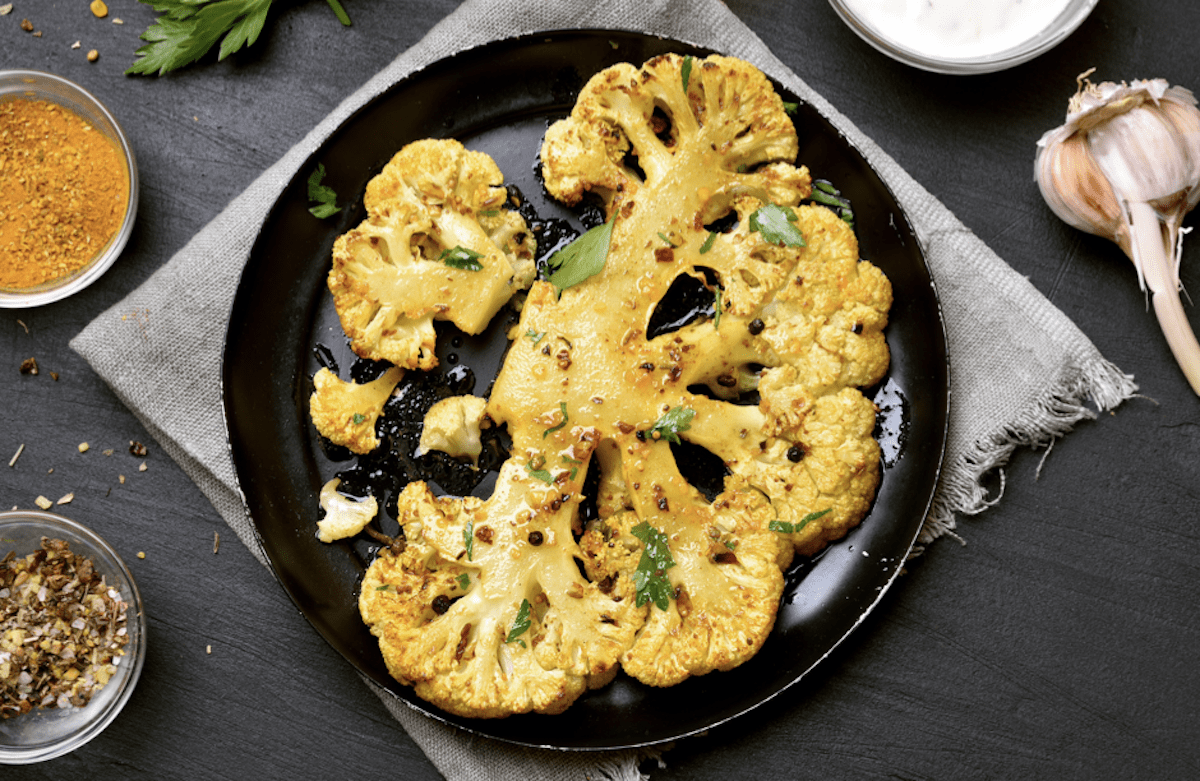
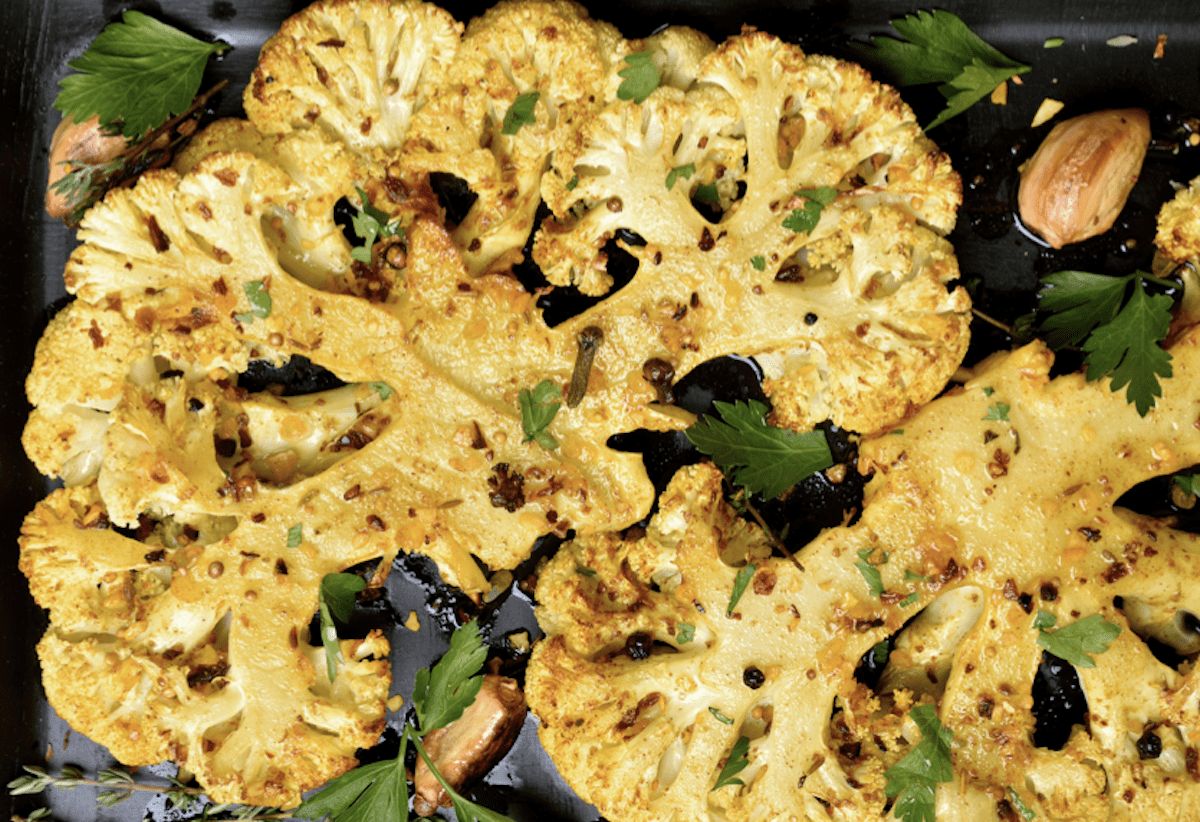
Cauliflower steak is a great option for a plant-based main ingredient when you’re trying to cut back on meat. We often think of cauliflower as a tasty side dish, but cutting it thick and whole and roasting it in the oven lets cauliflower take on a central role in your plant-forward meal.

"<yoastmark

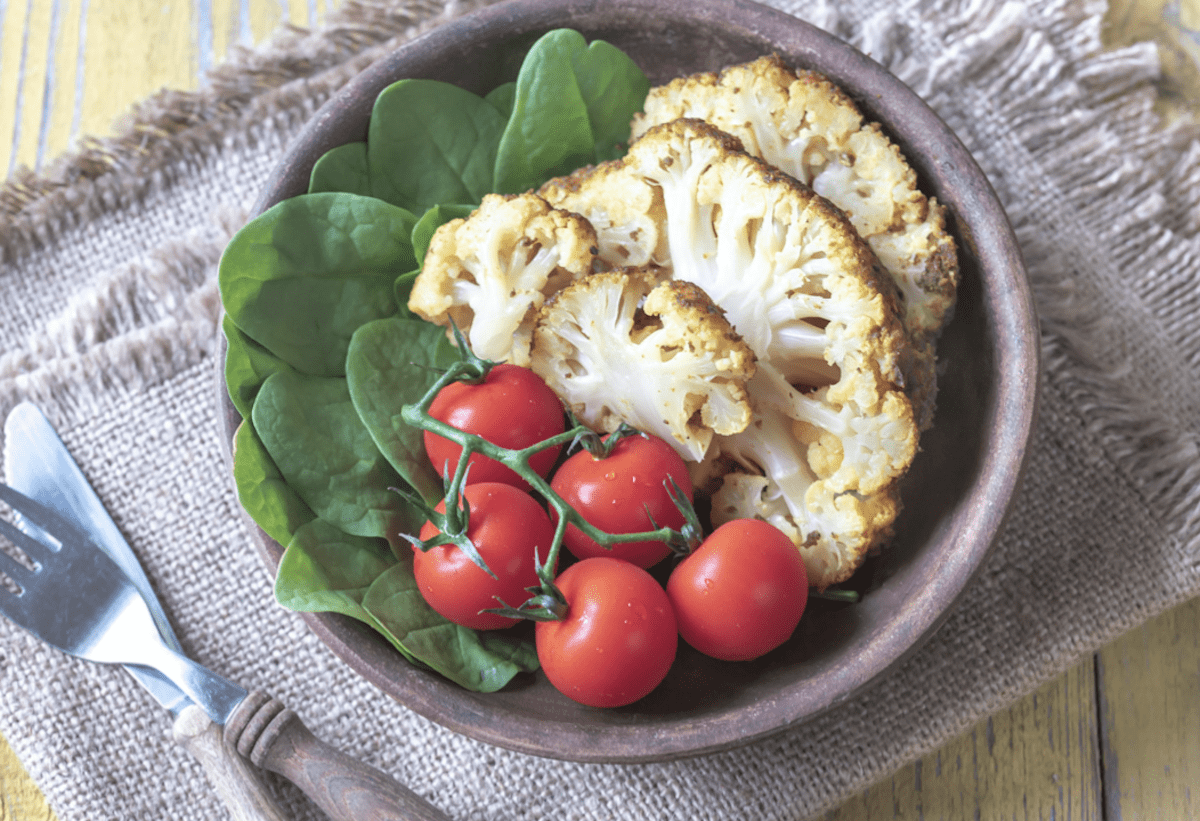
Cauliflower Steak Salad

It’s a flexible option you may not have thought about before. Put your cauliflower on some greens and add tomatoes to make a delicious cauliflower steak salad.

"<yoastmark

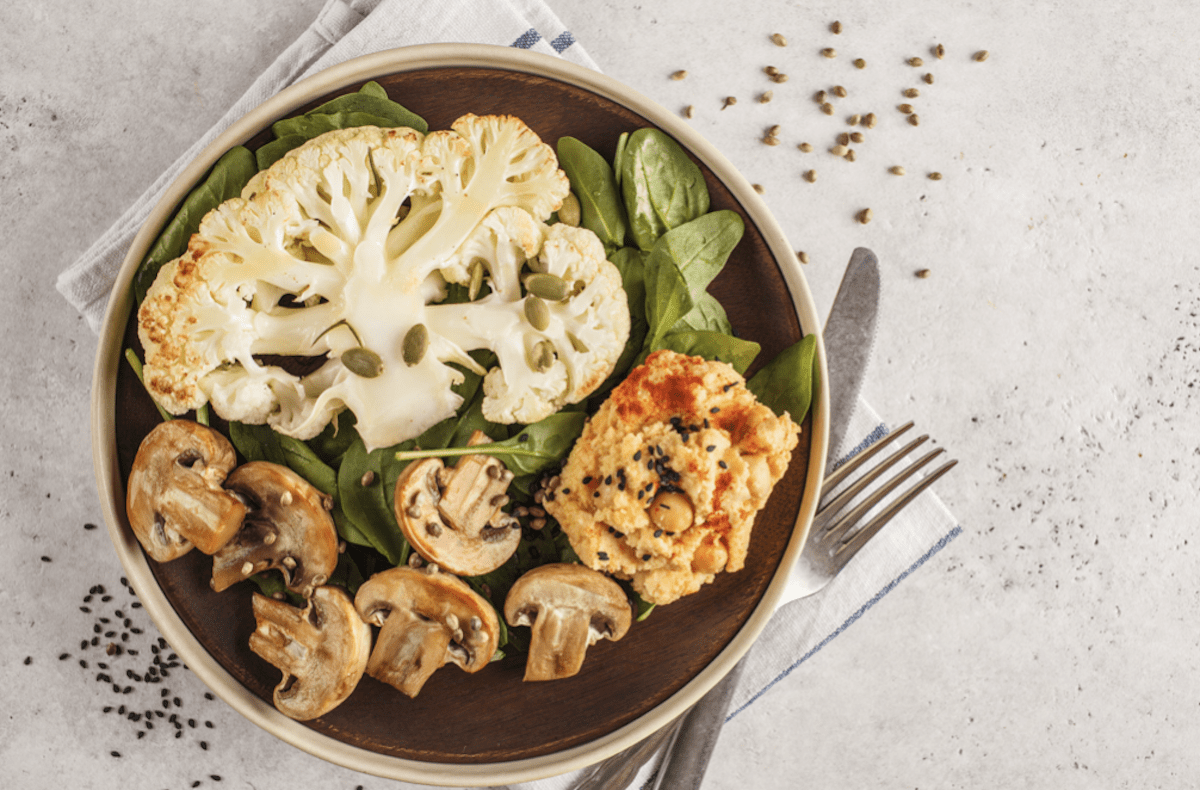
Serve it with some sauteed mushrooms, mashed sweet potatoes, grilled tomatoes, or other sides to round out your meal.

"<yoastmark

Top With Your Favorite Protein

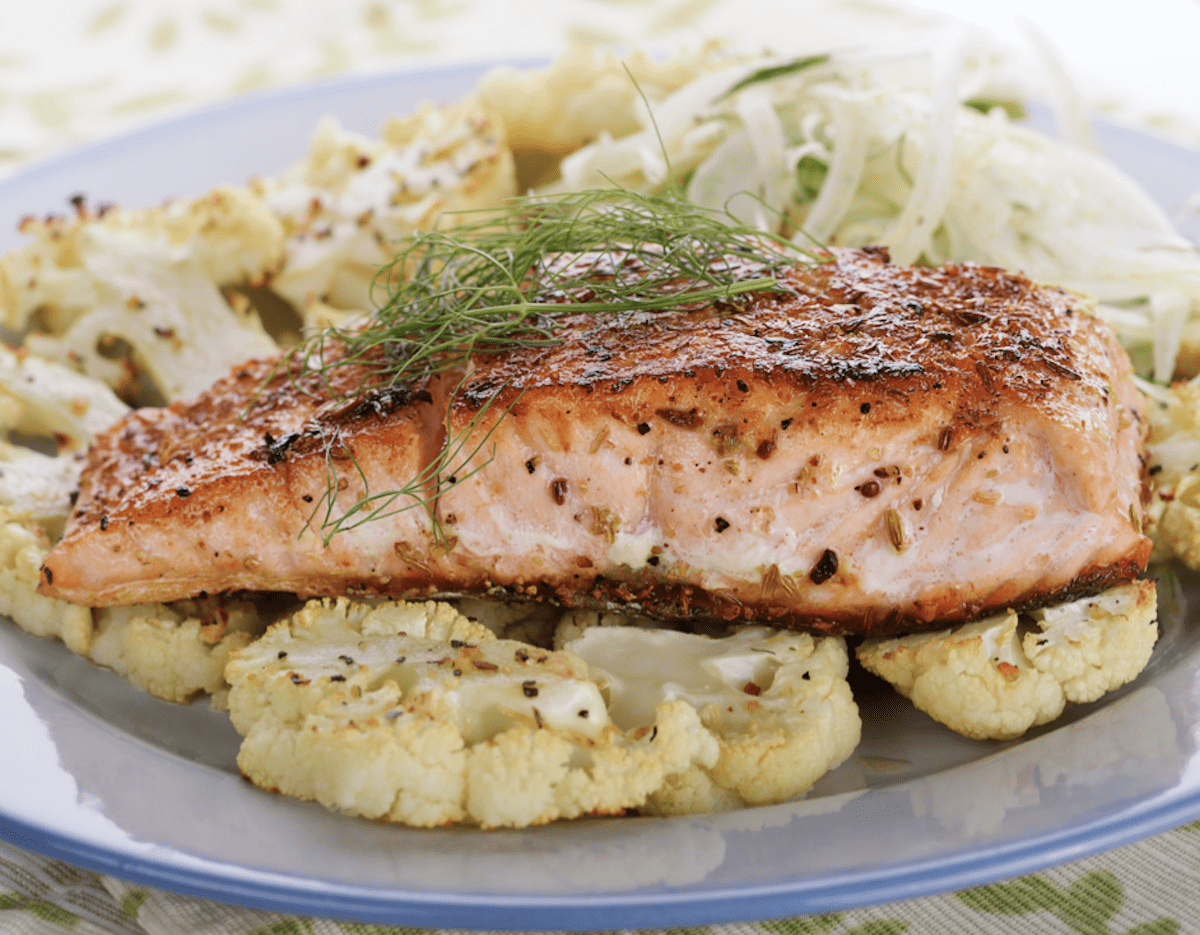
You can also use it as a unique base and place a piece of salmon, chicken, or other meat on top.

Serve Fish Or Meat On Top

Roasted cauliflower steaks also make a great side dish by offering another option than the usual starchy sides.

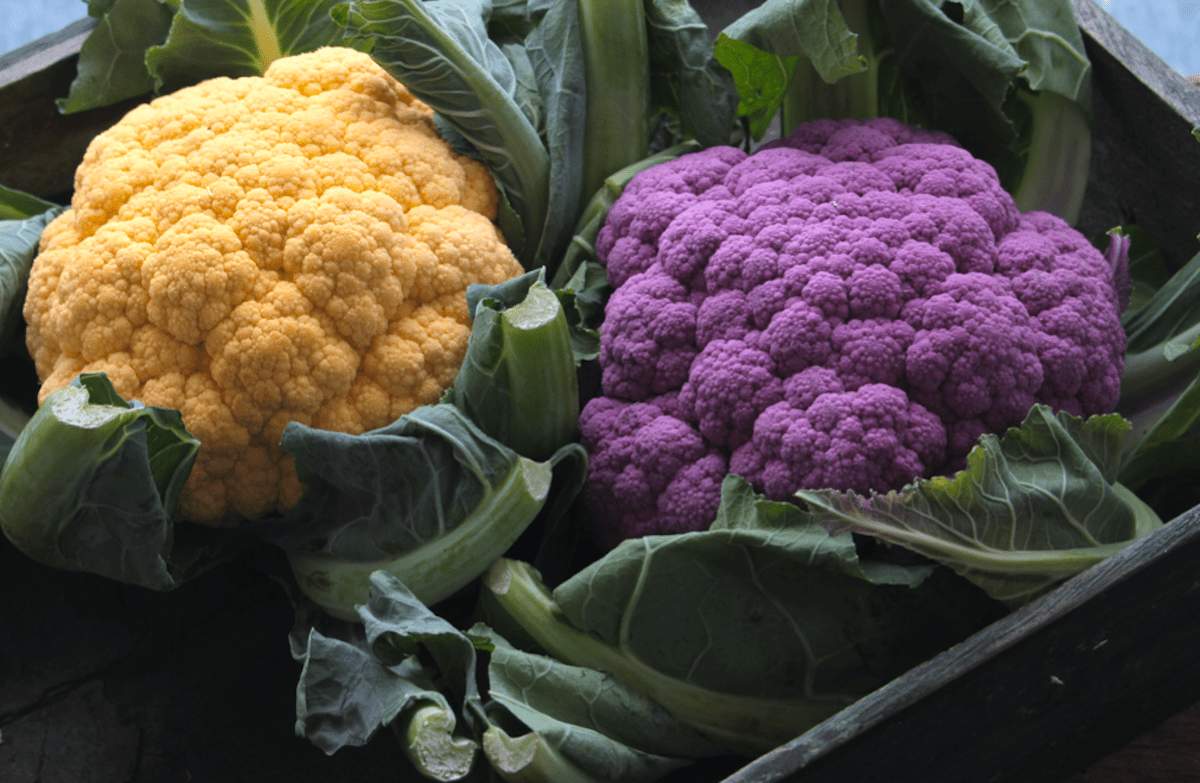
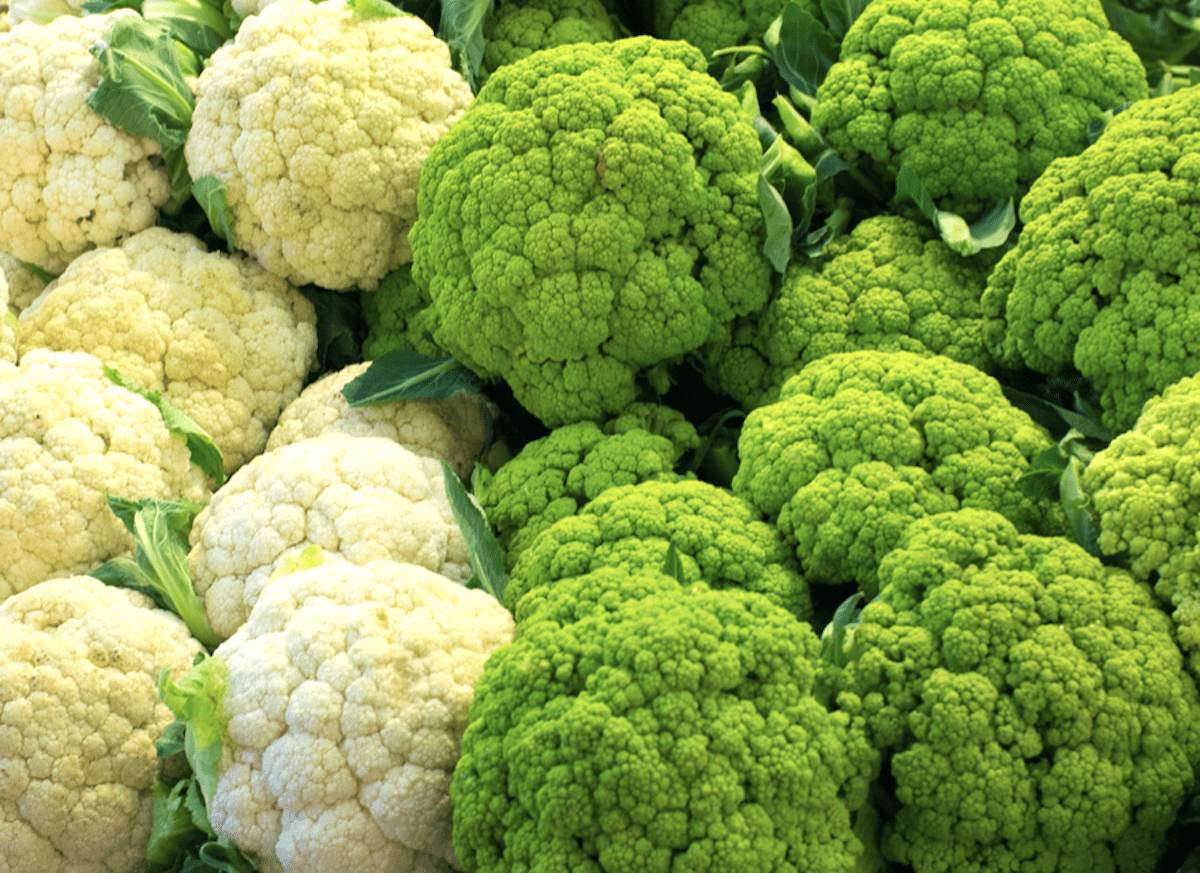
These days you can also find cauliflower in brilliant colors, which adds a whole other dimension to the look of your cauliflower steak.

Fun Cauliflower Colors

Roasted Cauliflower Steaks Are Easy And Delicious

Our recipe is a simple bit of preparation and technique. You can spice it, add herbs or top it with a sauce of your own favorite ingredients.

We’ll provide you with one of our favorite suggestions, a Mediterranean tomato, olive, and feta cheese sauce. But you can use your imagination to create roasted cauliflower steaks that use Indian, Thai, Spanish, Italian, French, or any other type of spices that appeal to you. Give it a try and let us know what you think!

Add Herbs Spices Or Sauces You Love

Cauliflower Steak Recipe

Our cauliflower steak recipe is easy and deliciously different. Try it with our Mediterranean tomato, olive, and feta cheese sauce or make up a topping of your own. It’s also perfect simply spiced and fresh out of the oven. So now you have a few different ways to enjoy this tasty and filling recipe.

Spice It How You Like It

Ingredients

For Cauliflower

1 large head of cauliflower
3 Tablespoons extra virgin olive oil
2 Tablespoons fresh flat-leaf parsley, chopped (or substitute 1 Tablespoon dried parsley)
1/2 teaspoon of up to four dried herbs you like or an Italian or Greek blend (we like oregano, marjoram, and basil to go with our Mediterranean sauce)
Salt and pepper to taste

Fresh And Vibrant Cauliflower

For Mediterranean Sauce

Our  Mediterranean sauce is one tasty option to serve over your cauliflower steak.

1/2 cup pitted Kalamata olives, roughly chopped or sliced
2 sun-dried tomatoes, sliced thin
1 can petite diced tomatoes (or regular diced or crushed tomatoes, or 3 fresh tomatoes, diced)
3 large cloves garlic, minced (or 1 teaspoon granulated garlic instead)
1 Tablespoon fresh chopped parsley (or 1 teaspoon dried parsley)
1 Tablespoon dried herbs or herb blend (use the same ones you’ve used on the cauliflower steaks)
1/2 cup onion, chopped
1 scallion, sliced
2 Tablespoons extra virgin olive oil
1/2 cup feta cheese, crumbled
Flat-leaf parsley or other fresh herbs for garnish

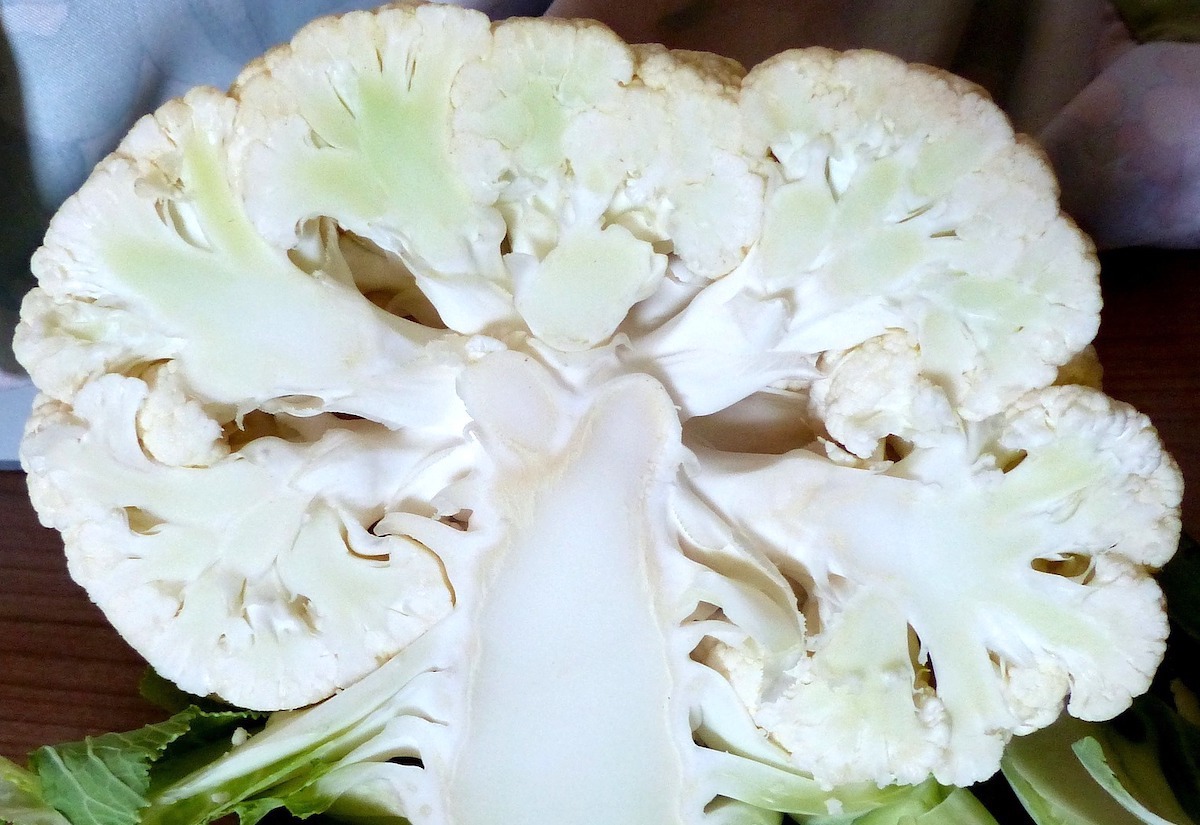
Slice Cauliflower In Half First

Directions

  1. Preheat the oven to 400 degrees F.
  2. Spread 1 Tablespoon of olive oil on a large rimmed baking sheet.
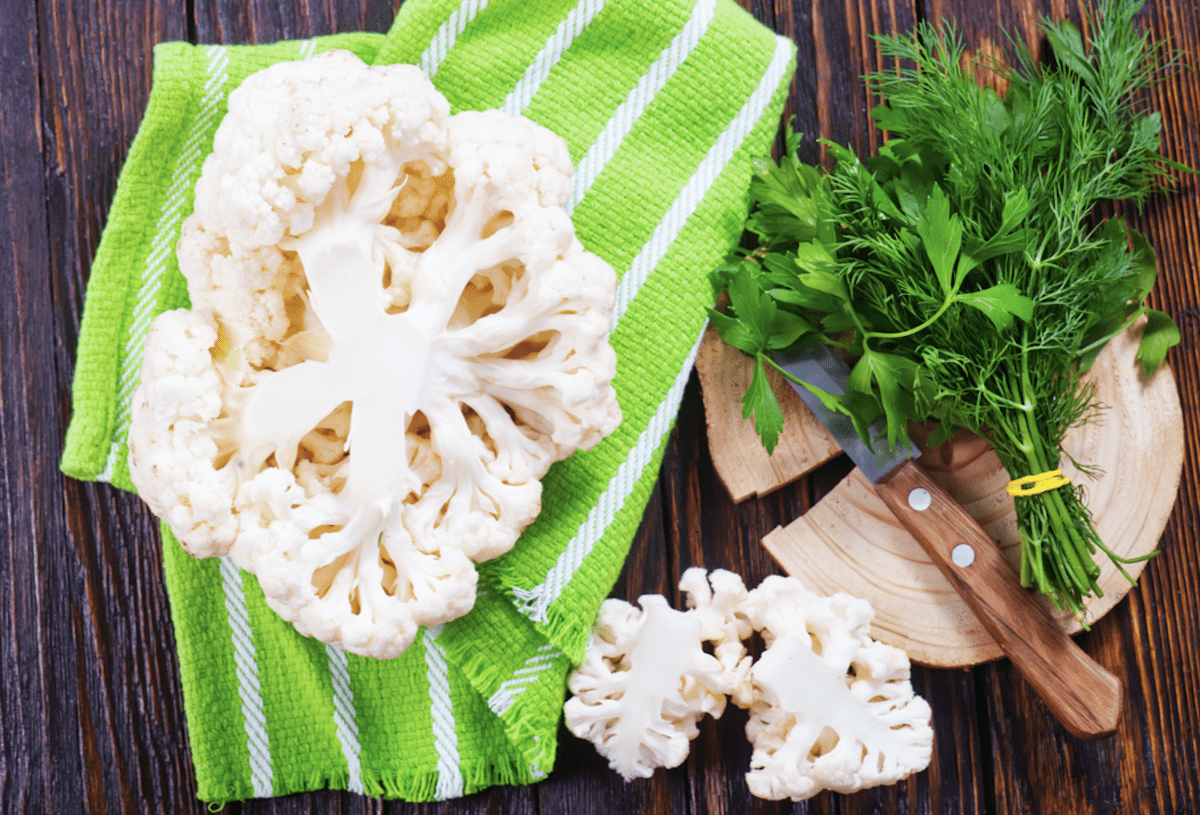
  3. Clean cauliflower by removing leaves and trimming the stem but keep the core uncut.
  4. Place the core side of the cauliflower on the cutting board and using a large knife cut straight through the whole cauliflower to cut it in half.
  5. Cut cauliflower steak slices 1/2 – 3/4 inch thick working from the center of each side. Some of the florets will fall off and some of the steaks will separate. Don’t worry about it. Just try to get four complete cauliflower steaks if you can. You can save the pieces for another cauliflower dish!
  6. Place 2 Tablespoons olive oil in a large skillet and heat on medium-high.
  7. When the oil is hot, place one or two cauliflower steaks in the pan and cook until they are golden brown on one side. Then flip and cook until golden brown on the other side. It should take about 2 minutes for each side.
  8. Place the cooked cauliflower steaks on the baking sheet and repeat cooking the other cauliflower steaks. Then add the others to the baking sheet.
  9. Roast cauliflower steaks in the oven for about 15 minutes or. until fork tender all the way through.

"<yoastmark

While the steaks are roasting, try our Mediterranean sauce if you’d like to top them off.

To Make The Sauce

  1. Heat 2 Tablespoons of olive oil in a skillet on medium heat.
  2. Add chopped onions and cook till clear, about 3-4 minutes.
  3. Place minced garlic and chopped scallion with onions in the pan and stir together until fragrant, 1 to 2 minutes.
  4. Stir in sun-dried tomatoes and canned tomatoes, or whatever tomatoes you’re using.
  5. Turn heat to medium-low, cover, and let sauce heat thoroughly so flavors blend. Stir occasionally to keep from browning.
  6. When sauce begins to thicken, add chopped Kalamata olives, parsley, and other herbs if desired.
  7. When the roasted cauliflower steaks are ready,  take them out of the oven and put them on the serving plate or plates.
  8. Top each cauliflower steak with sauce.
  9. Sprinkle crumbled feta cheese over the sauce.
  10. Garnish with fresh chopped parsley or herbs of your choice.

You don’t have to make this or any other sauce. Roasted cauliflower steaks are delicious on their own.

If you like our different approach in this cauliflower steak recipe, try some of our other plant-forward meal options like Mushroom Bourguignon and Santorini Tomato Keftedes.

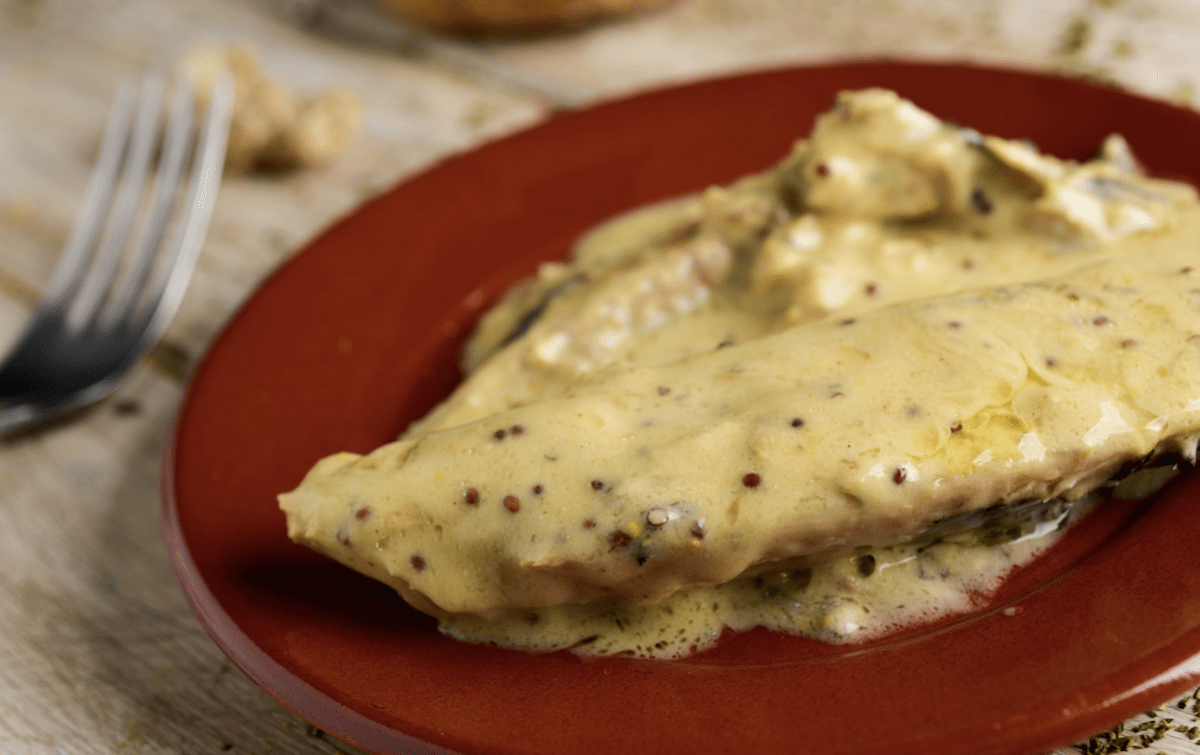
We’re always looking for new ways to turn simple chicken breasts into a delicious meal. We also don’t want to spend too much time doing it. Fortunately, our easy honey mustard chicken recipe fits the bill perfectly. We have made it a couple of different ways so we know that it’s an easy-t0-make recipe that has a honey mustard sauce that you’ll love.

An Easy Flexible Dish

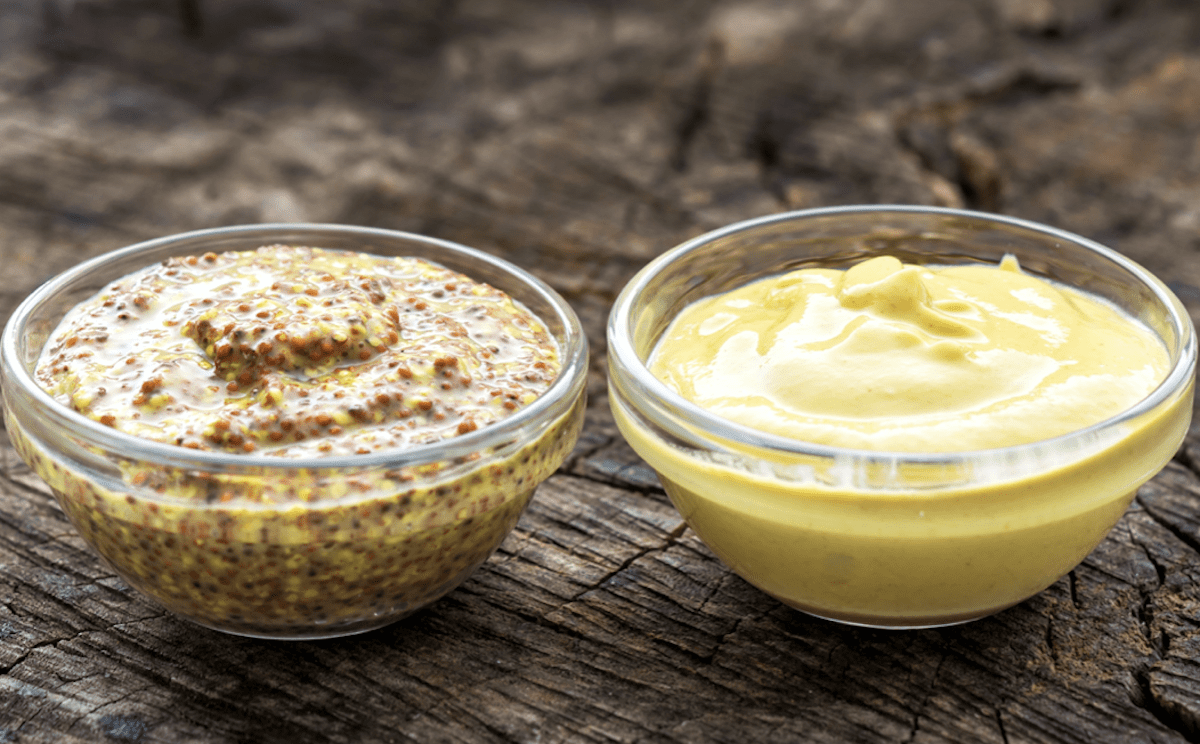
We also had a virtual dinner with friends recently. Both of us made this honey mustard chicken recipe, each with the ingredients we had on hand. We used traditional stone-ground mustard and traditional dijon mustard and ours came out great. They used regular mustard and a grainy dijon and theirs came out great too. So don’t stress too much about the specific details of the mustards. What you want is some dijon, which is infused with that nice white wine flavor and another mild mustard without the wine. When you put the two together, they balance out perfectly. Then adding the honey takes it over the top.

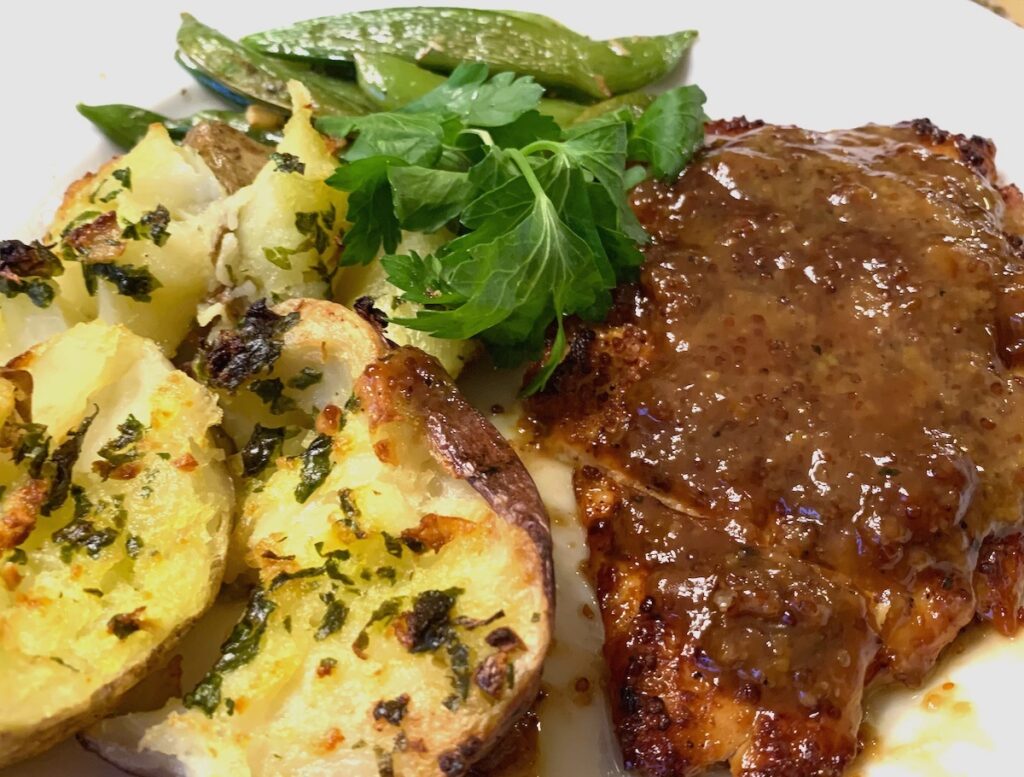
Honey Mustard Chicken Is Deliciously Easy

Use Honey Mustard Sauce For Other Dishes

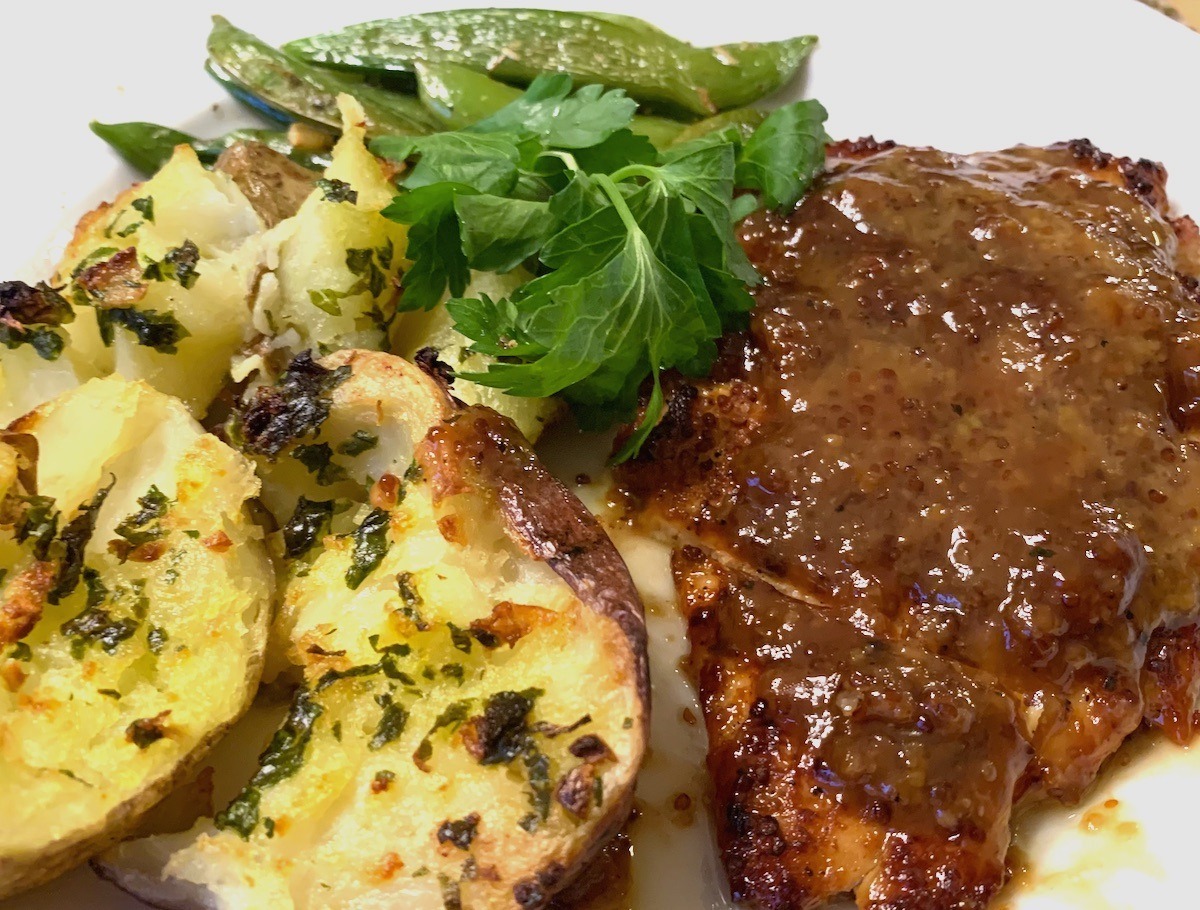
You can also serve this honey mustard chicken recipe with whatever you want. Smashed garlic potatoes and snap peas are a great choice. Or mashed potatoes and asparagus or broccoli work well too. If you prefer, use quinoa or rice instead of potatoes. Or put your chicken breast on top of a green salad.  Anything goes if it sounds good to you.

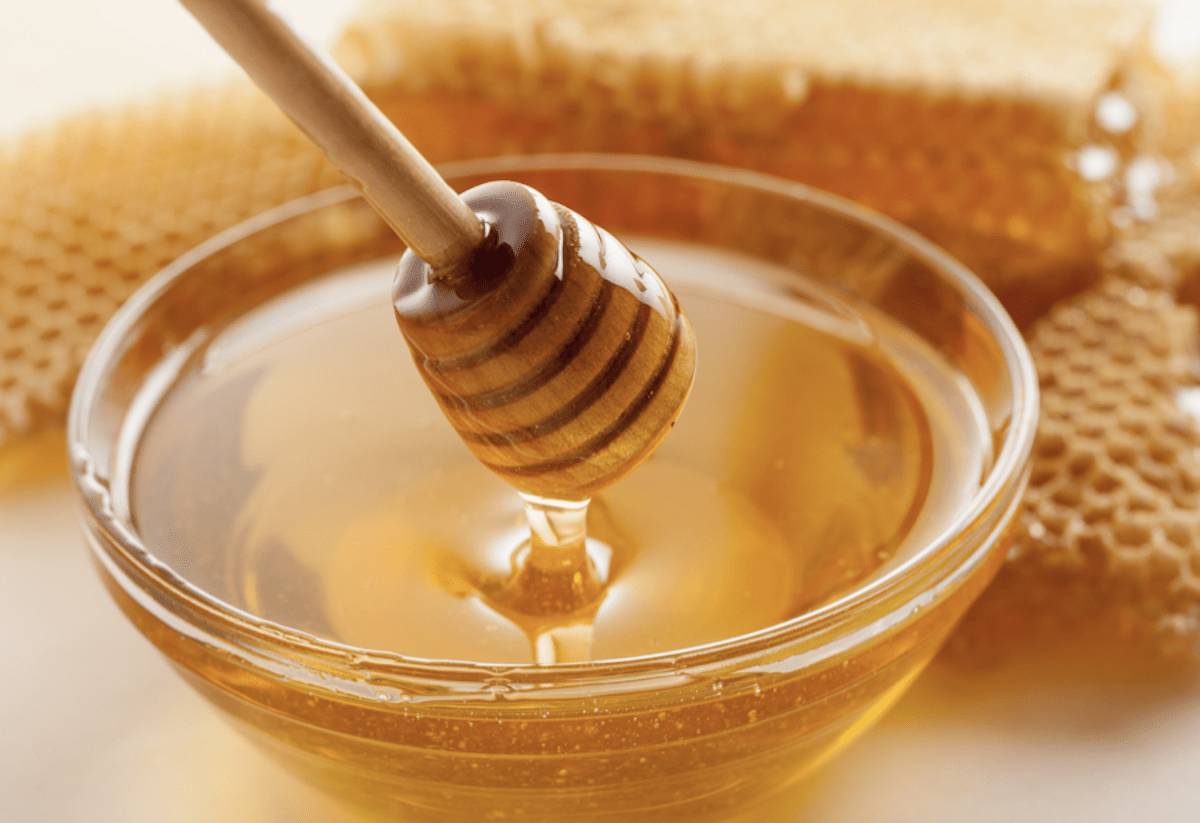
Honey
Honey

The most important thing is to like the flavors of honey and mustard. They are distinct and will be an important part of the dish. You can also use the recipe for the honey mustard sauce to glaze any other meat or fish you like. We think it would go smashingly well on salmon, for example.

Grainy And Dijon Mustard

Honey Mustard Chicken Recipe

Ingredients

2 boneless skinless chicken breasts
2 teaspoons olive oil
1 teaspoon garlic powder
Salt and pepper to taste
1/4 cup grainy or deli mustard (you can use any mild mustard for the honey mustard sauce)
2 Tablespoons dijon mustard (you can use smooth traditional or grainy dijon mustard)
5 tablespoons honey
3 Tablespoons butter, melted (or ghee or olive oil…)
1 Tablespoon chopped fresh parsley (or omit)
Olive oil or cooking spray

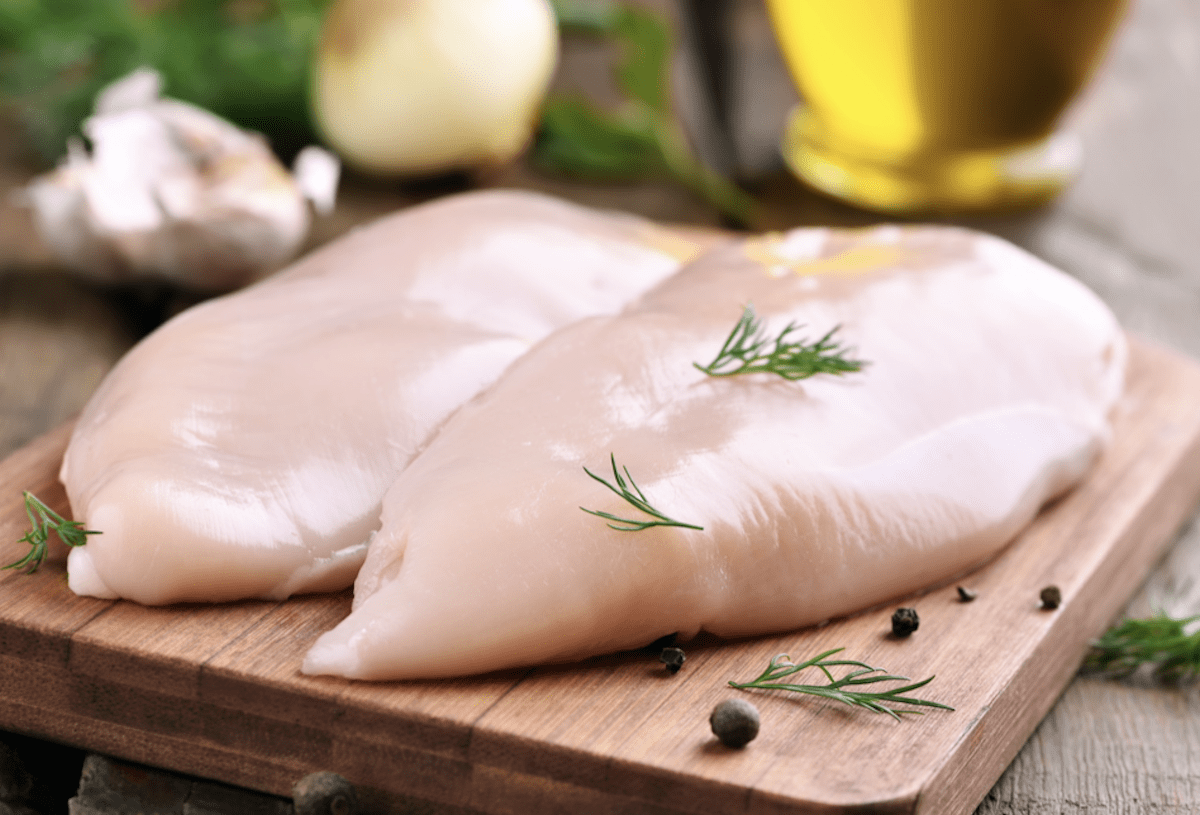
Chicken Breasts
Chicken Breasts

Directions

1. Preheat the oven to 375 degrees F.
2. Heat the olive oil in a pan over medium-high heat. Season the chicken breasts on both sides with garlic powder, salt, and pepper.
3. Place the chicken in the pan and sear on both sides until golden brown.
4.  To make the honey mustard sauce, in a small bowl, whisk together the grainy mustard, dijon mustard, honey, and melted butter.
5. Coat baking dish with olive oil or cooking spray.
6. Spread half of the sauce onto the bottom of the dish.
7. Place the chicken breasts on top of the sauce, then drizzle the remaining sauce over the top of the chicken.
8. Cover with foil and bake for 20 minutes. Uncover and bake for an additional 10 minutes or until chicken is cooked through. If you prefer, you can slice the breasts longways into half. They will likely take about 5 minutes less to cook but check to be sure they’re done all the way through.
9. Plate the chicken and drizzle any extra honey mustard sauce over the cooked breasts
10. Garnish with parsley if you like and serve.

Honey Mustard Chicken

Note: This honey mustard chicken recipe is quite flexible. While we like the crispy brown crust you get from searing the chicken, you can skip the browning step if you want. Just place the seasoned uncooked chicken breasts directly in the baking dish. You will likely need to add an additional 5-10 minutes to the bake time.

For other great delicious chicken recipes check out our Halal Chicken And Rice and Easy Chicken Kebab recipes.

New York’s famous food carts offer everything from ice cream too gourmet meals. One of the most beloved is the halal chicken and rice served by many food carts and trucks. The most famous of the halal vendors is arguably Halal Guys New York. Begun as a cart in the Big Apple back in 1990, they now serve the Halal Guys menu through trucks as well as some 200 franchised restaurants around the world.

Halal Food Cart
Halal Food Cart

Popular Street Food

Halal chicken and rice is probably the most popular item on the Halal Guys menu. This incredible street meal includes spice Halal chicken, bright yellow turmeric colored rice, and a special Halal white sauce. The best-known sauce for chicken and rice is the Halal white sauce, but food lovers know that you can double up with barbecue or a sriracha type hot sauce for chicken and rice nirvana.

Halal Chicken

Halal is the Arabic word meaning lawful or permissible. It is an Islamic dietary standard similar to the Jewish Kosher dietary standard. The Halal Guys New York and others like them follow the rules about the humane treatment of livestock, high-quality ingredients, and ethical choices in food preparation and service.

Food Cart Treasure
Food Cart Treasure

It’s safe to say that anyone who has ever tried this marvelous street food, whether in New York or elsewhere around the world, wants to know how to make it at home. Fortunately, having lived in New York for several years, I had my fair share of Halal chicken and rice.

Homemade Chicken And Rice

Since those days, I’ve seen many a Halal chicken and rice recipe. Some are great, some are not so great. The fortunate thing for us in our own home test kitchen is that the key ingredients are easy to figure out. For instance, the rice gets its beautiful bright yellow color from turmeric.

Turmeric
Turmeric

Further details come down to a matter of personal taste. This ultimately means you can make your own chicken and rice recipe even better than what you find anywhere else. We certainly make our own sauce for chicken and rice that tastes great to us though it contains some ingredients not likely in the street cart version. You can certainly adjust our version to come up with your own perfect version of halal chicken and rice.

Halal Chicken And Rice Recipe

Here’s our approach to creating the perfect chicken and rice recipe. Give it a try or make some changes to get the version you like best.

Ingredients

For The Chicken

1 pound boned, skinned chicken thighs, cut into 1-inch pieces
2 Tablespoons fresh lemon juice
1 teaspoon dried oregano
1/2 teaspoon turmeric powder
1 teaspoon ground coriander
3 garlic cloves, minced or 2 teaspoons granulated garlic
1 teaspoon onion powder
1/4 teaspoon ground cumin
1/4 olive oil + oil for cooking chicken
Salt and pepper to taste

Halal Chicken And Rice Wit
Halal Chicken And Rice

For The Rice

2 Tablespoons butter
1 teaspoon turmeric powder
1/4 teaspoon ground cumin
1 cup rice (use what you have but long-grain or Basmati work well)
2 cups chicken stock or broth (I use low sodium)
Salt and pepper to taste

Turmeric Rice
Turmeric Rice

For The Halal White Sauce

1/2 cup plain Greek yogurt (full fat is best)
1/2 cup mayonnaise (okay to use light)
1 Tablespoon sugar
2 Tablespoons white vinegar
1 teaspoon fresh lemon juice
1 Tablespoon dried parsley (or 1/4 cup fresh chopped)
1/2 teaspoon dried dill (or 1 Tablespoon fresh chopped)
Salt and pepper to taste

Halal Chicken And Rice With White Sauce

NOTE: The street cart version of Halal White Sauce does not seem to use the herbs, but I think it tastes great with them, so have added them to my recipe.)

Side Salad

This is an area open to wide options. Thre Halal Guys New York chicken and rice and many others come with a side salad of iceberg lettuce shreds with diced tomatoes. Others offer a tabouli side salad, and yet others offer a vegetable salad or grilled vegetables. You can do what you want. The Halal White Sauce also makes for a tasty salad dressing. We also like to have a nice warm pita bread to go with our chicken and rice.

Directions

Chicken

1. Combine the lemon juice, olive oil, and spices together. You can blend in a blender or with a hand blender until smooth or leave as is.

2. Put chicken pieces in a bowl or plastic container with a lid or into a resealable plastic bag. Season as desired with salt and pepper. Then pour juice, oil, and spice mix onto the chicken. Mix chicken with marinade until all pieces are well covered. Place in refrigerator for 1 hour. Do not marinate for more than 3 or the chicken will start to get mushy.

3. When the chicken has marinated for at least 1 hour, heat 1 Tablespoon of olive oil in heavy skillet. Add the chicken pieces in one layer and cook over medium-high heat. Do not disturb for 4 to 6 minutes until side touching skillet develops a golden-brown crust. Then flip and continue cooking until the chicken is cooked all the way through. Move the chicken around after the crust forms to prevent from burning and make sure chicken cooks all the way through.

Halal Chicken Fresh Pita

Rice

1. While chicken is cooking, in a large skillet, melt the butter over medium heat.

2.  Add the spices and stir until fragrant, about 1 minute.

3.  Add the rice and stir with the spices to combine and let get slightly toasted about 3-4 minutes.

4. Pour in the chicken stock or broth and stir to combine.

5. Raise heat to high and bring to a boil.

6. Cover the pan and reduce to a simmer. Cook for 15 minutes or until water is mostly absorbed.

7. Remove from heat and let sit until water is completely absorbed about 10-15 minutes. Fluff to be sure texture is as you like it.

Halal White Sauce

1. In a small bowl or plastic container with a lid, combine all ingredients and use a whisk or fork to blend until smooth.

2. This can be made before cooking chicken and rice. Refrigerate until ready to use.

Homemade Halal Cart Chicken And Rice

Putting It All Together

On a plate or platter place your side salad if any. Then create a thick layer of turmeric rice. Place ample chicken pieces on top of the rice. Top with Halal white sauce. You can also add a squeeze of or substitute bbq sauce, sriracha, or harissa hot sauce as your sauce for chicken and rice. You can also add a side of pickled vegetables like torshi, the bright pickled turnips, for a bright color. Add a warm pita bread and enjoy!

If you like this Halal chicken and rice recipe, bring some other tastes of travel to your table with Israeli Couscous or our Easy Chicken Kebab Recipe.

Pin to your favorite recipe board on Pinterest

  • Signup for our newsletter

    Be the first to see our latest news, deals and articles.

    Please wait...

    Thank you for sign up!