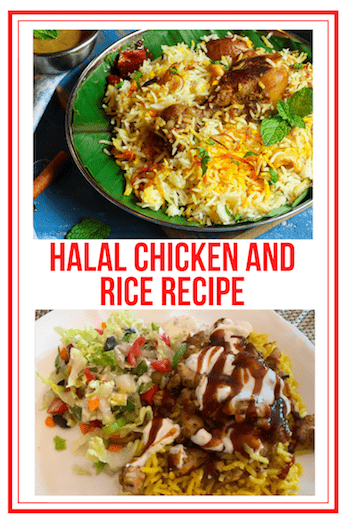
New York’s famous food carts offer everything from ice cream too gourmet meals. One of the most beloved is the halal chicken and rice served by many food carts and trucks. The most famous of the halal vendors is arguably Halal Guys New York. Begun as a cart in the Big Apple back in 1990, they now serve the Halal Guys menu through trucks as well as some 200 franchised restaurants around the world.

Popular Street Food
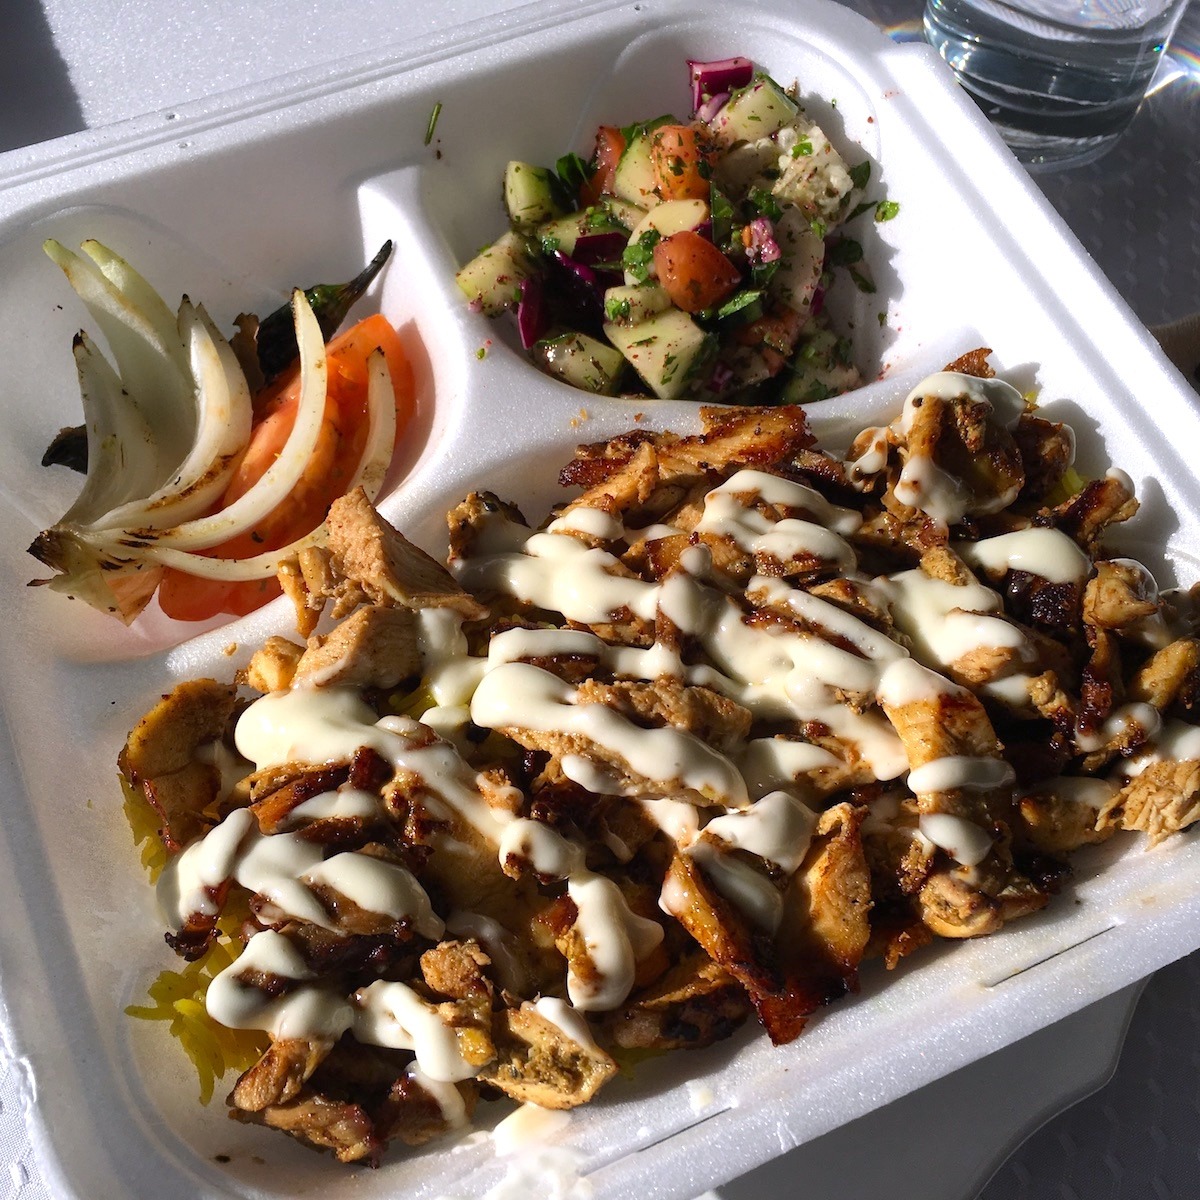
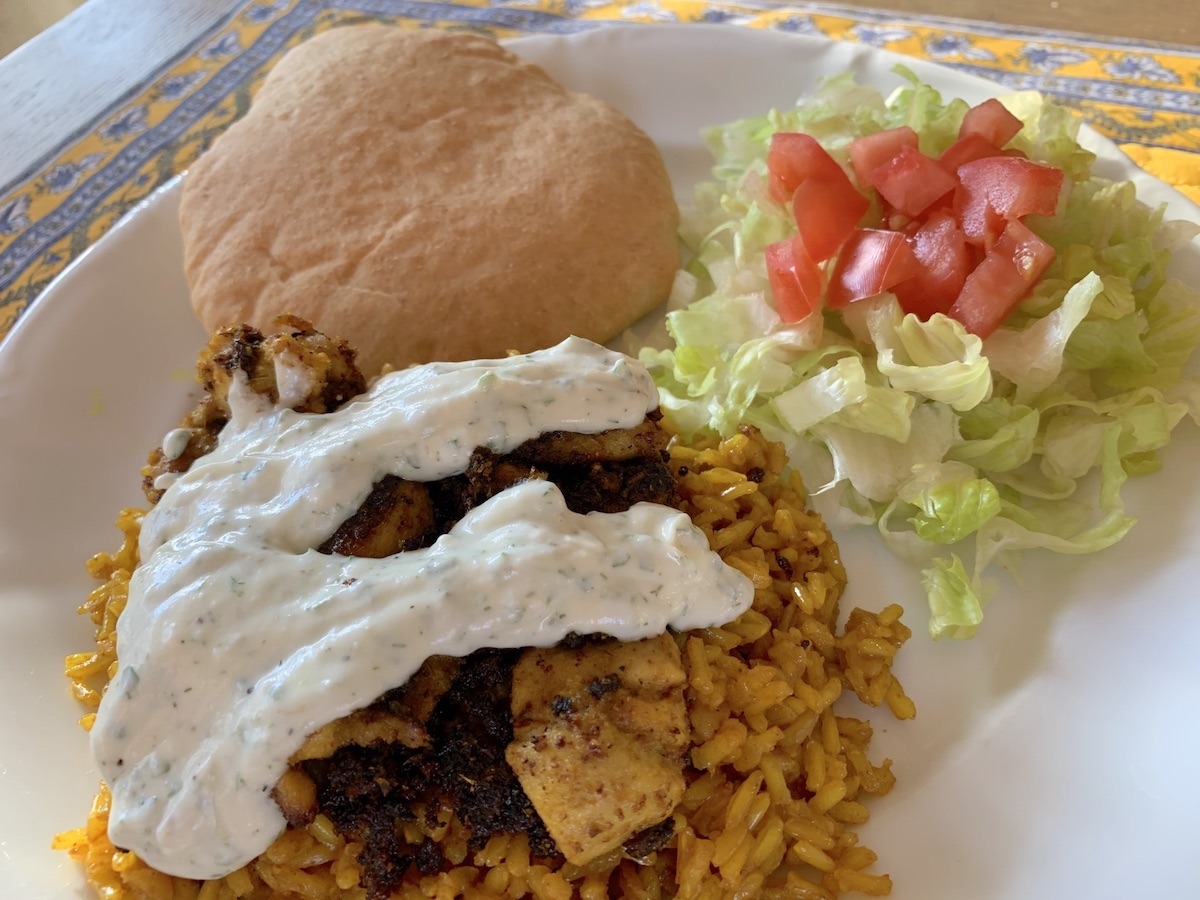
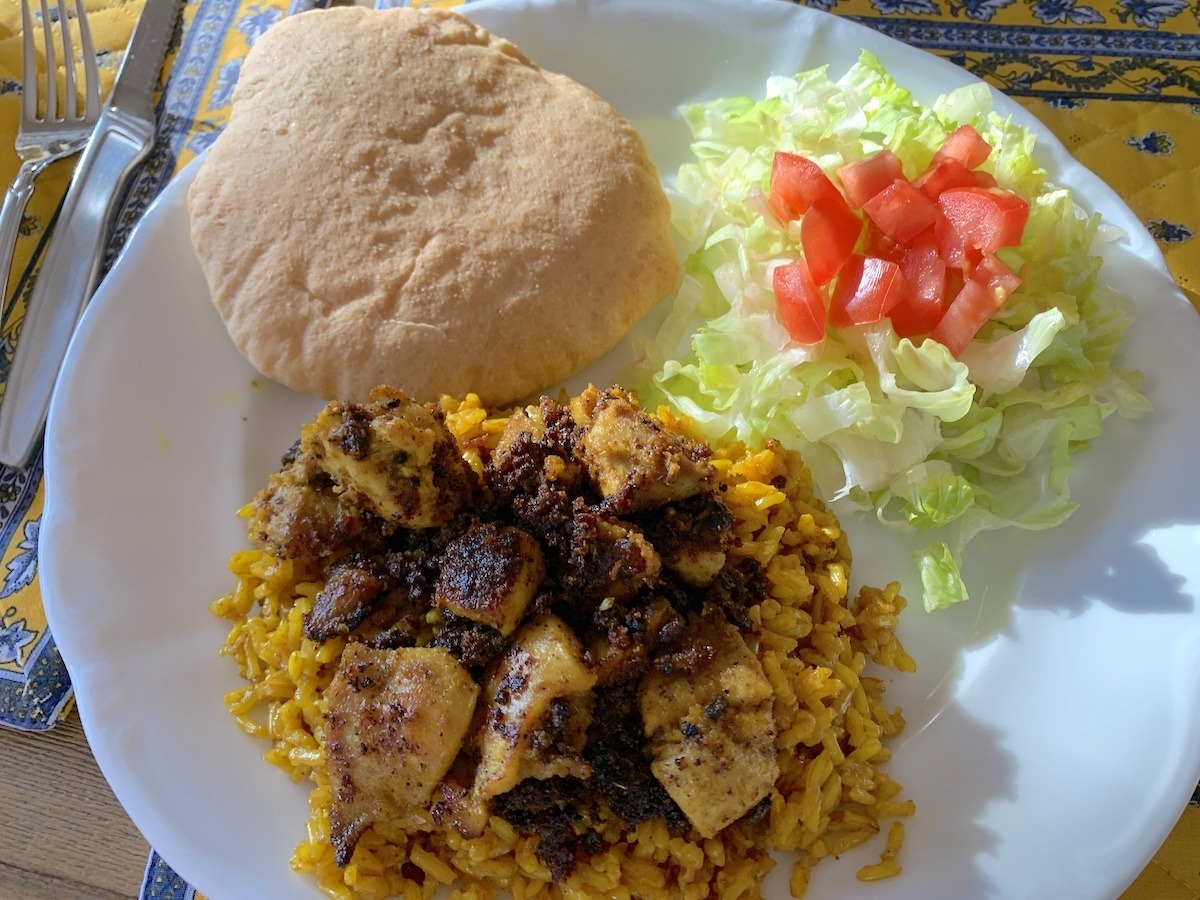
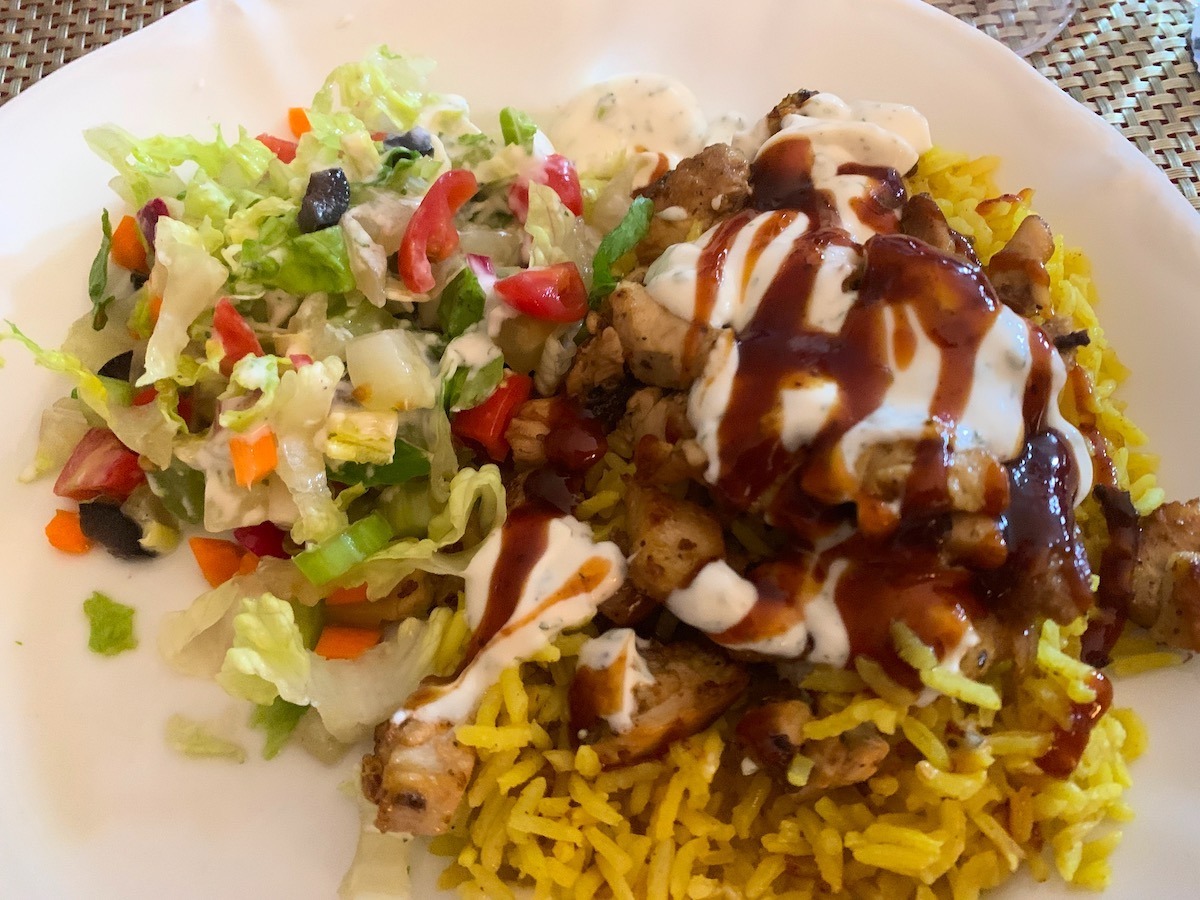
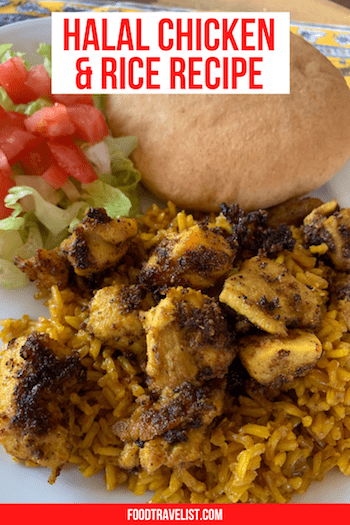
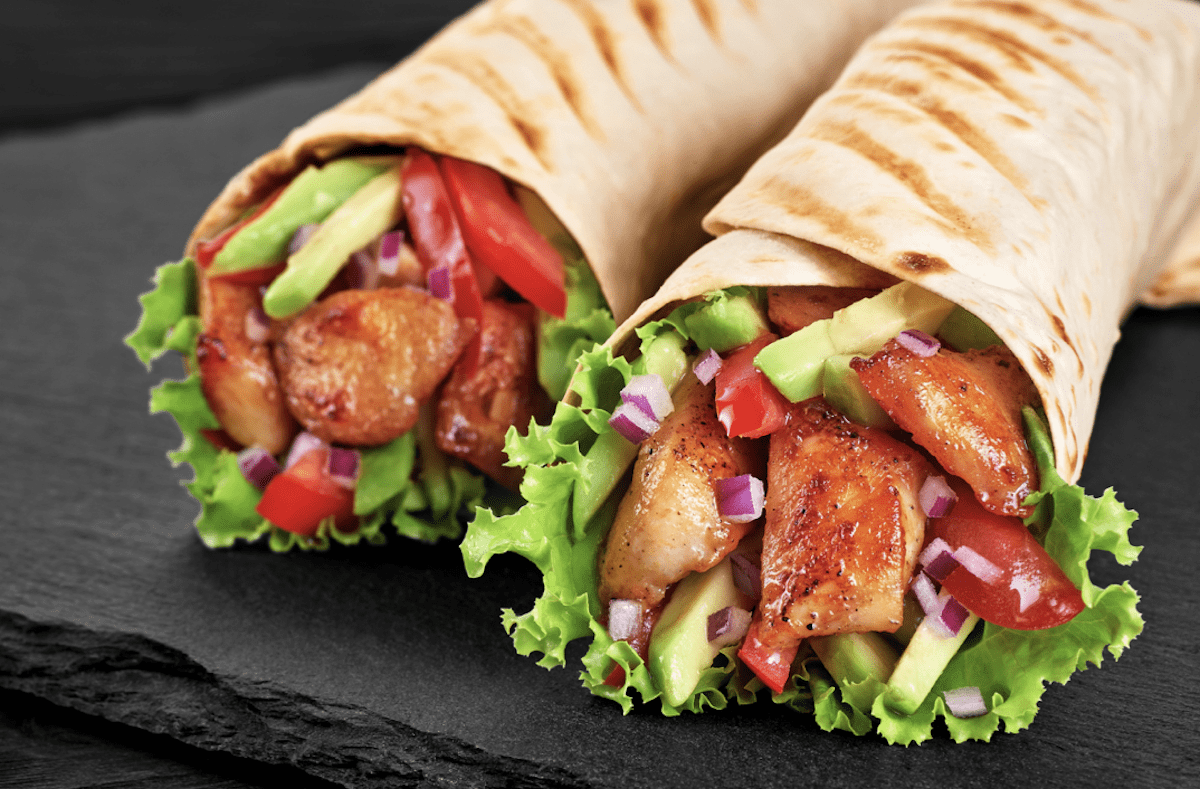
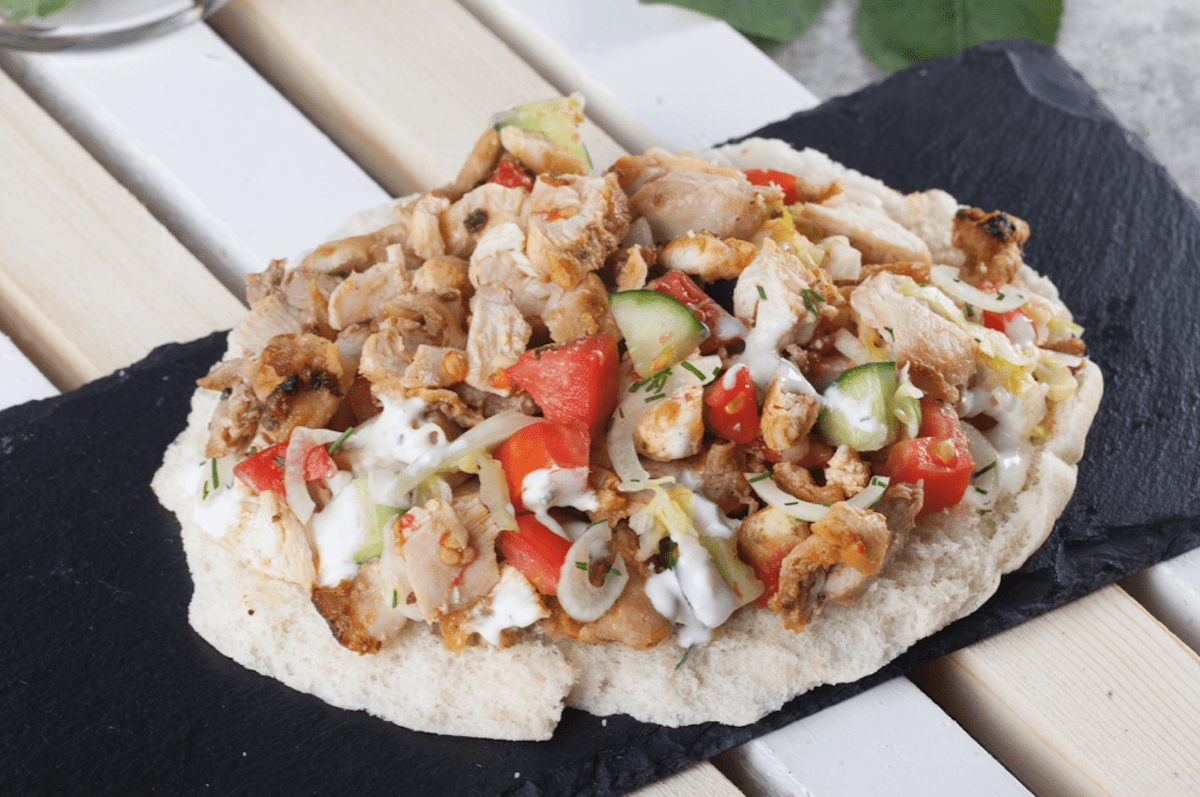
Halal chicken and rice is probably the most popular item on the Halal Guys menu. This incredible street meal includes spice Halal chicken, bright yellow turmeric colored rice, and a special Halal white sauce. The best-known sauce for chicken and rice is the Halal white sauce, but food lovers know that you can double up with barbecue or a sriracha type hot sauce for chicken and rice nirvana.
Halal Chicken
Halal is the Arabic word meaning lawful or permissible. It is an Islamic dietary standard similar to the Jewish Kosher dietary standard. The Halal Guys New York and others like them follow the rules about the humane treatment of livestock, high-quality ingredients, and ethical choices in food preparation and service.
It’s safe to say that anyone who has ever tried this marvelous street food, whether in New York or elsewhere around the world, wants to know how to make it at home. Fortunately, having lived in New York for several years, I had my fair share of Halal chicken and rice.
Homemade Chicken And Rice
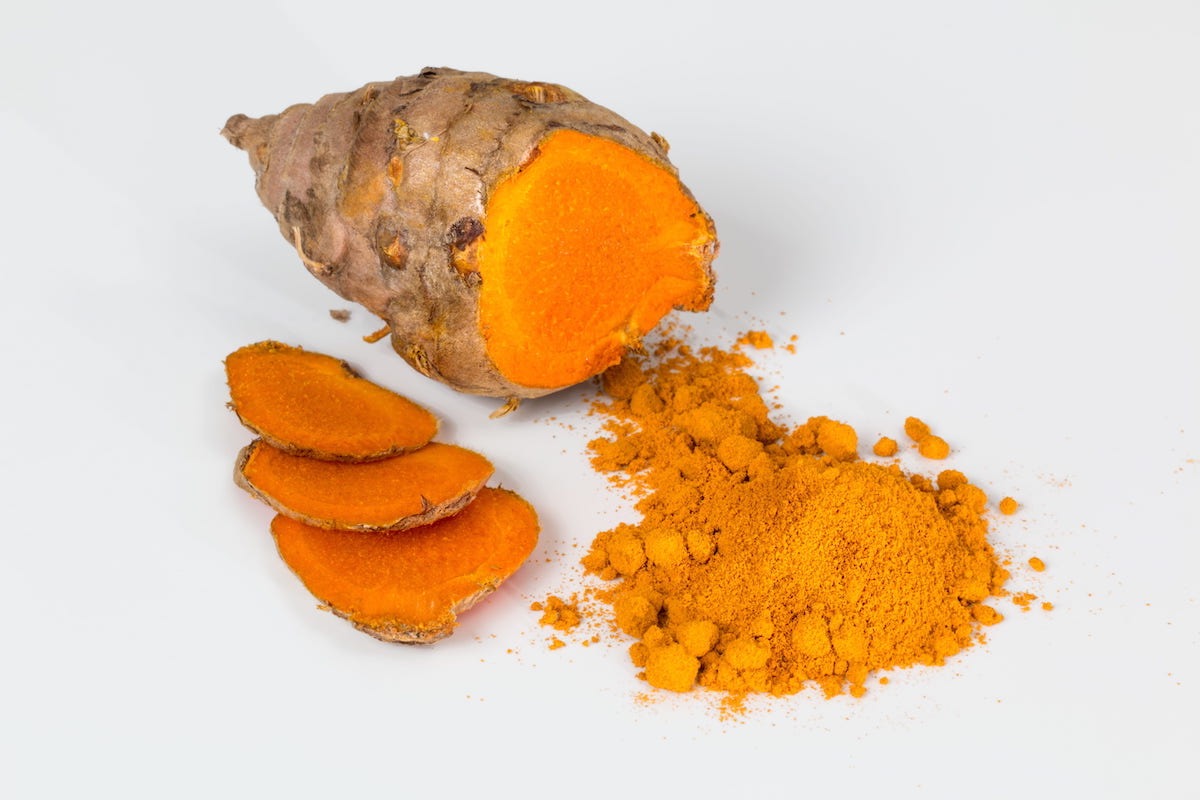
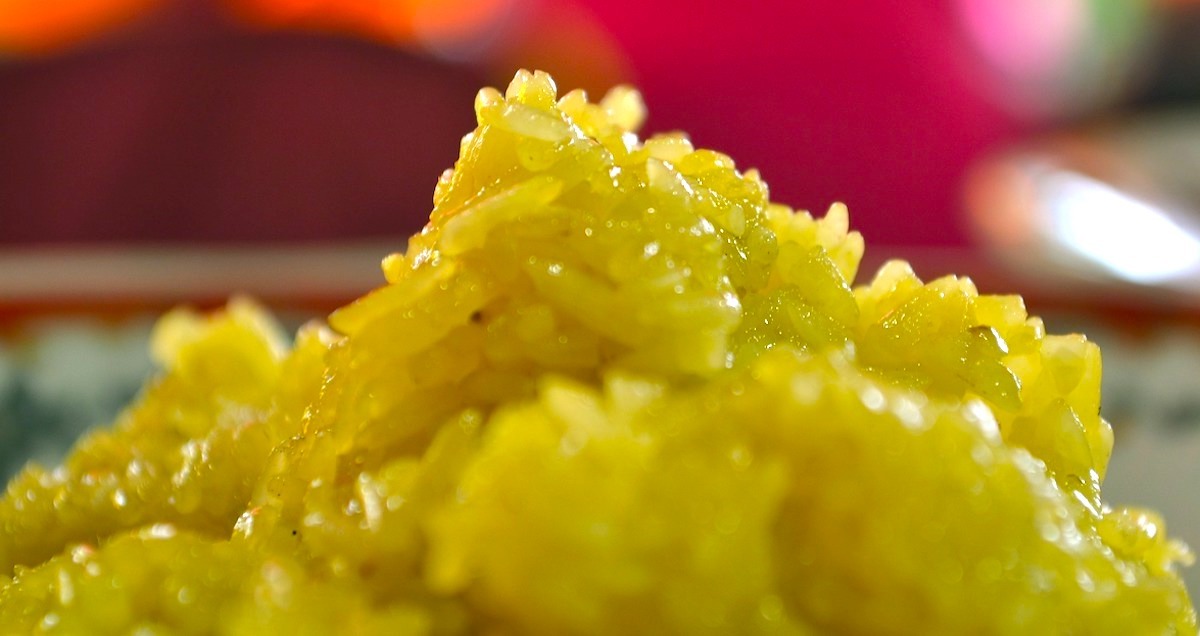
Since those days, I’ve seen many a Halal chicken and rice recipe. Some are great, some are not so great. The fortunate thing for us in our own home test kitchen is that the key ingredients are easy to figure out. For instance, the rice gets its beautiful bright yellow color from turmeric.
Further details come down to a matter of personal taste. This ultimately means you can make your own chicken and rice recipe even better than what you find anywhere else. We certainly make our own sauce for chicken and rice that tastes great to us though it contains some ingredients not likely in the street cart version. You can certainly adjust our version to come up with your own perfect version of halal chicken and rice.
Halal Chicken And Rice Recipe
Here’s our approach to creating the perfect chicken and rice recipe. Give it a try or make some changes to get the version you like best.
Ingredients
For The Chicken
1 pound boned, skinned chicken thighs, cut into 1-inch pieces
2 Tablespoons fresh lemon juice
1 teaspoon dried oregano
1/2 teaspoon turmeric powder
1 teaspoon ground coriander
3 garlic cloves, minced or 2 teaspoons granulated garlic
1 teaspoon onion powder
1/4 teaspoon ground cumin
1/4 olive oil + oil for cooking chicken
Salt and pepper to taste
For The Rice
2 Tablespoons butter
1 teaspoon turmeric powder
1/4 teaspoon ground cumin
1 cup rice (use what you have but long-grain or Basmati work well)
2 cups chicken stock or broth (I use low sodium)
Salt and pepper to taste
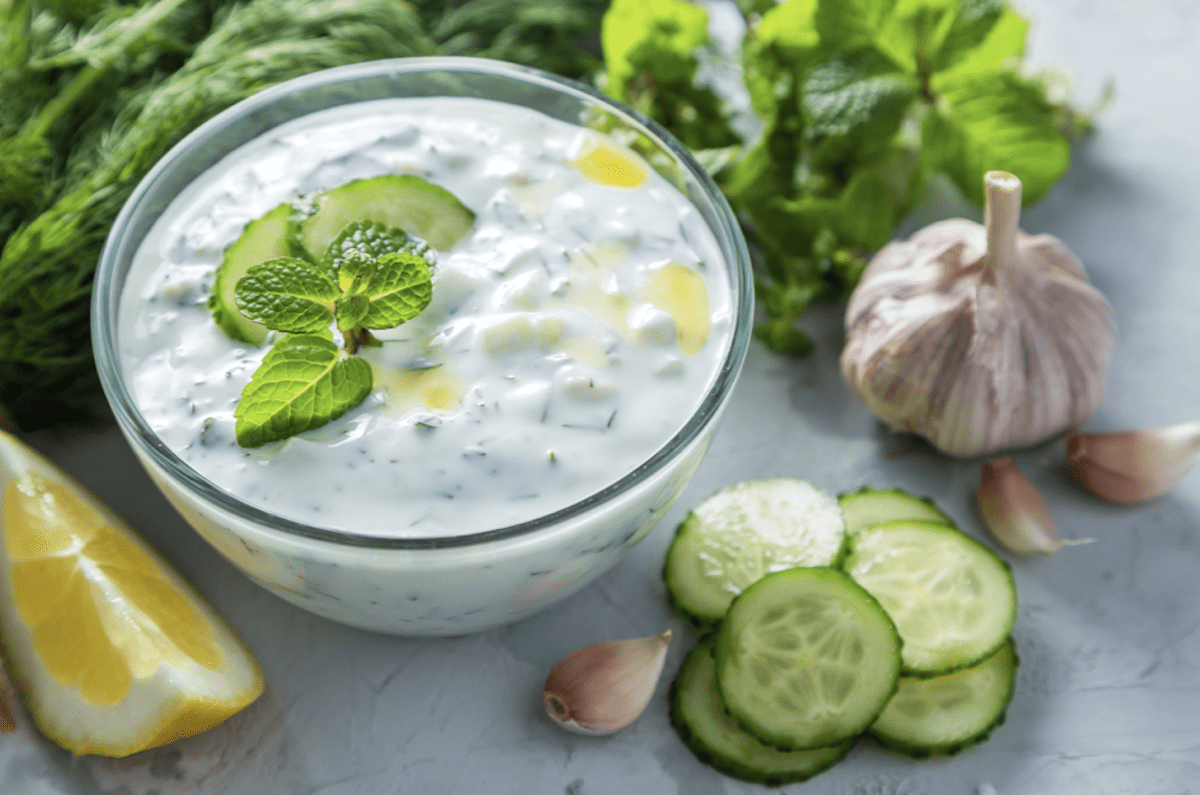
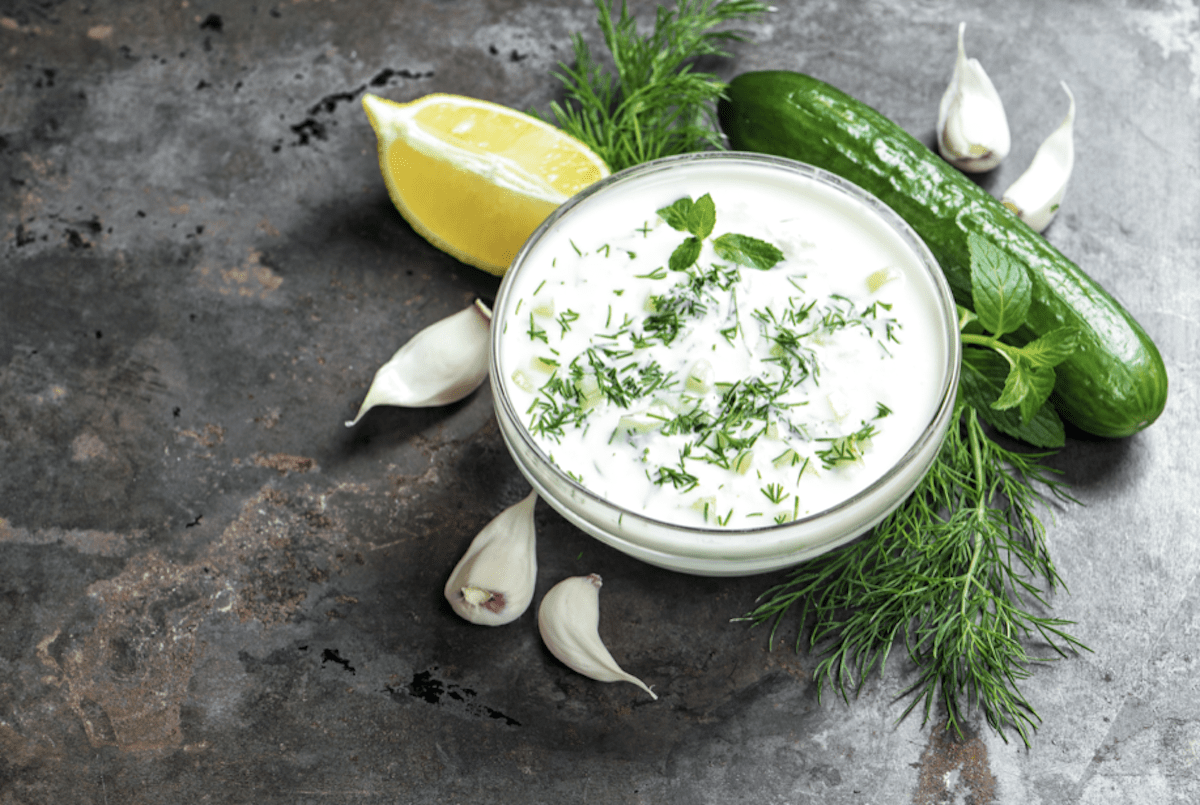
For The Halal White Sauce
1/2 cup plain Greek yogurt (full fat is best)
1/2 cup mayonnaise (okay to use light)
1 Tablespoon sugar
2 Tablespoons white vinegar
1 teaspoon fresh lemon juice
1 Tablespoon dried parsley (or 1/4 cup fresh chopped)
1/2 teaspoon dried dill (or 1 Tablespoon fresh chopped)
Salt and pepper to taste
NOTE: The street cart version of Halal White Sauce does not seem to use the herbs, but I think it tastes great with them, so have added them to my recipe.)
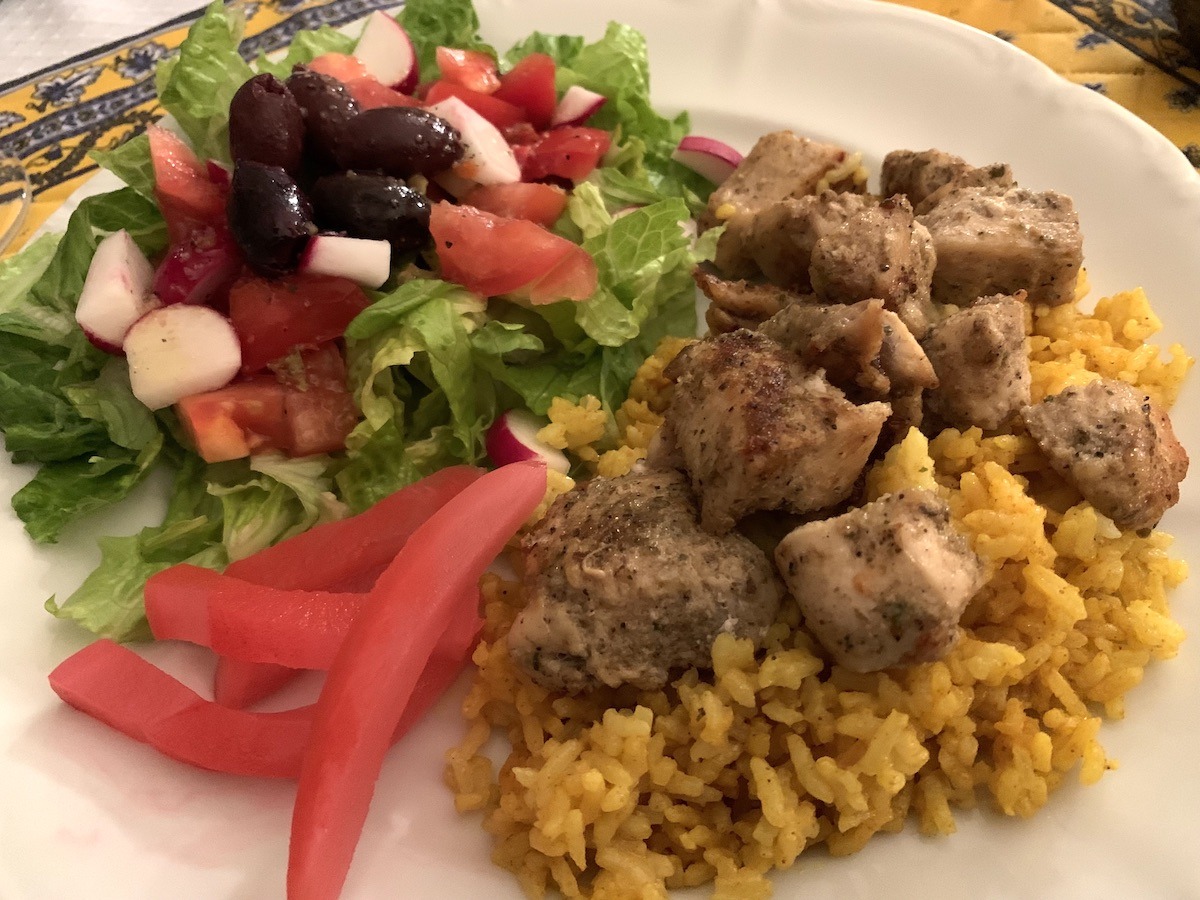
Side Salad
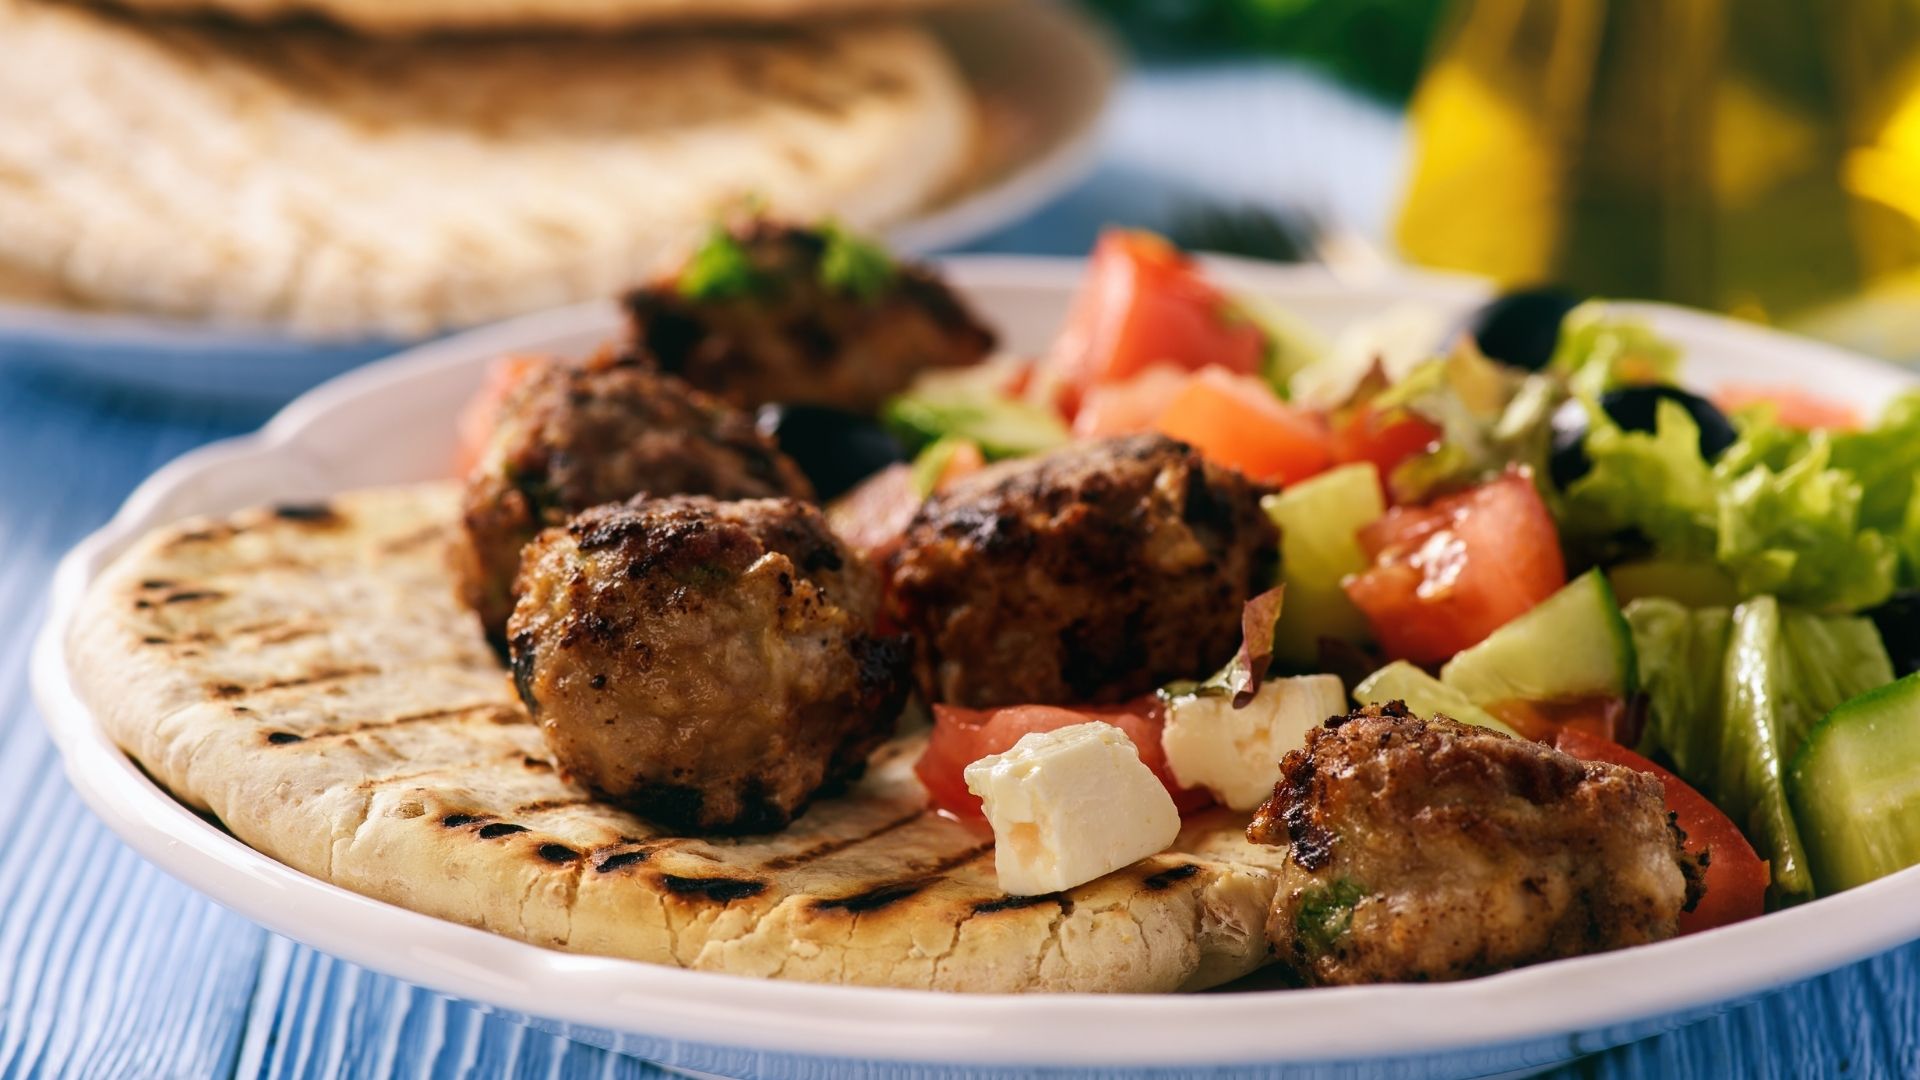
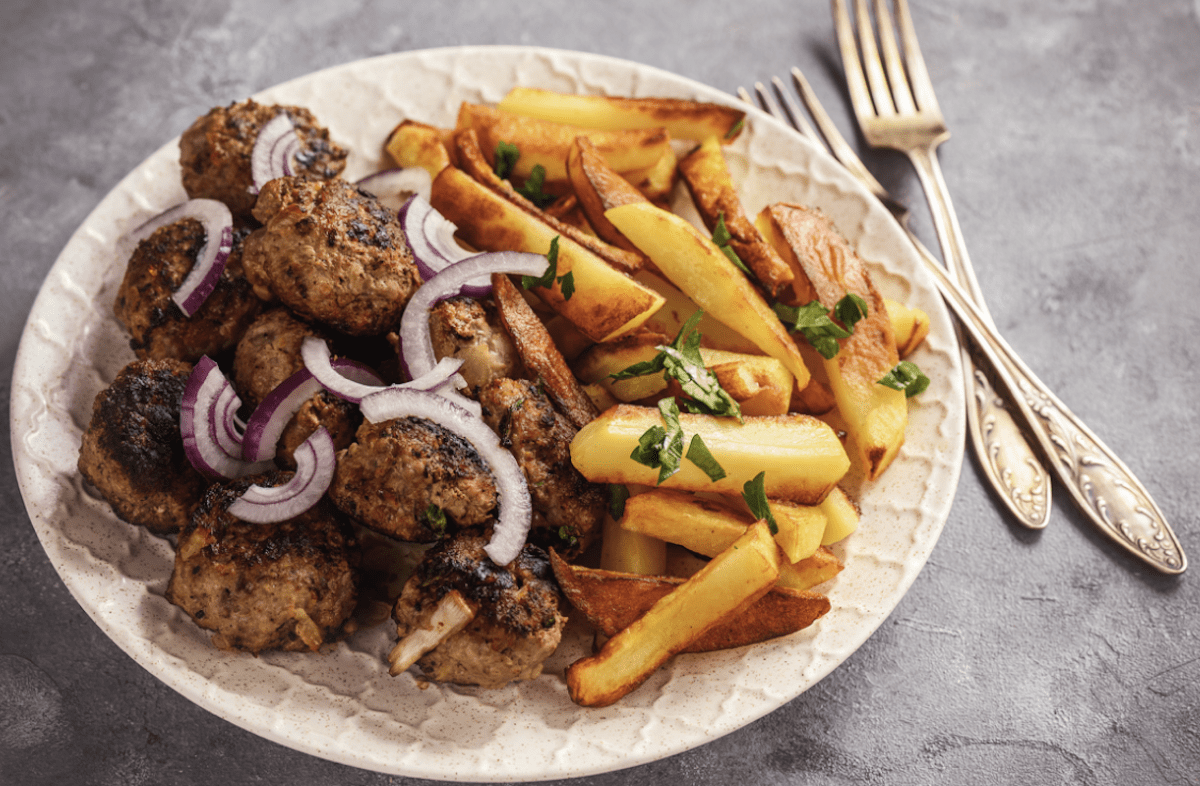
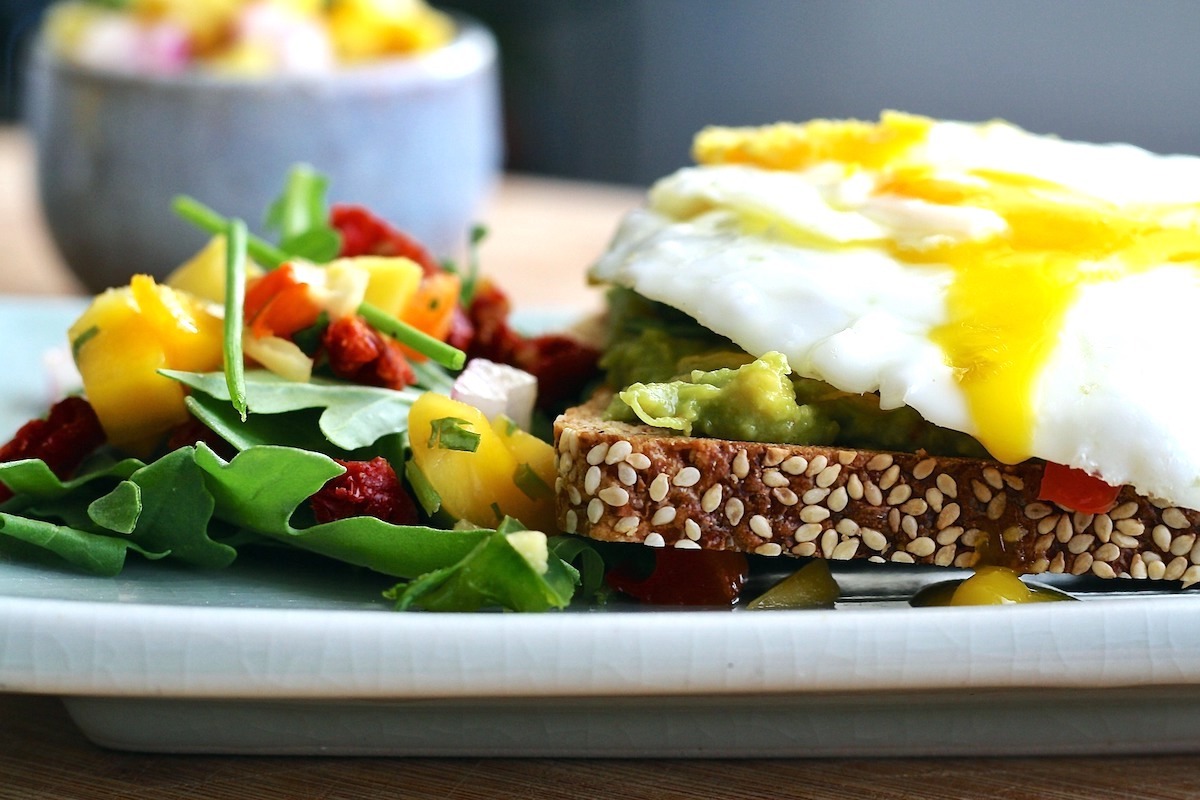
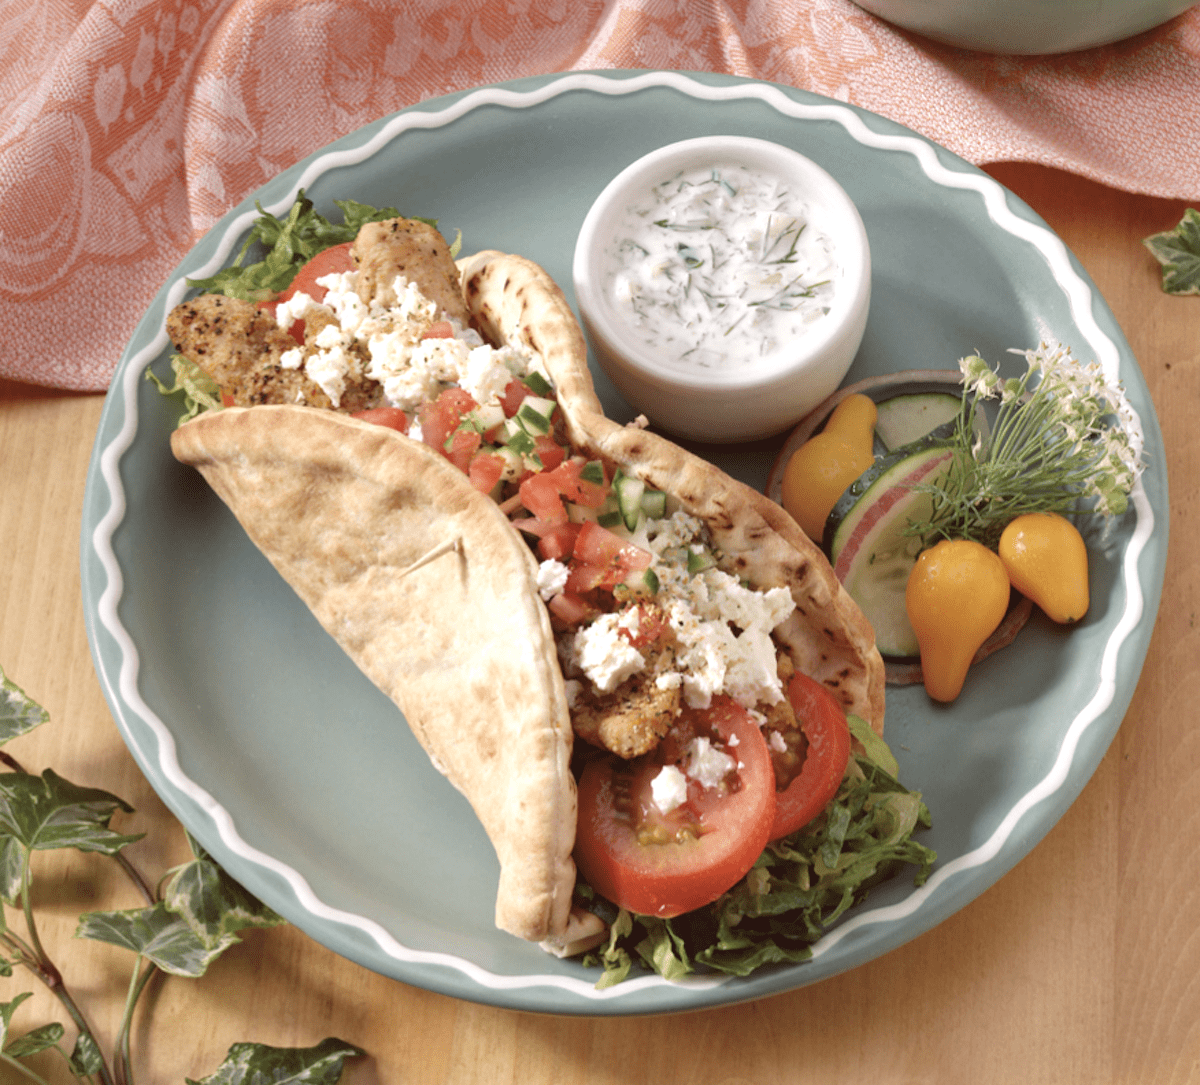
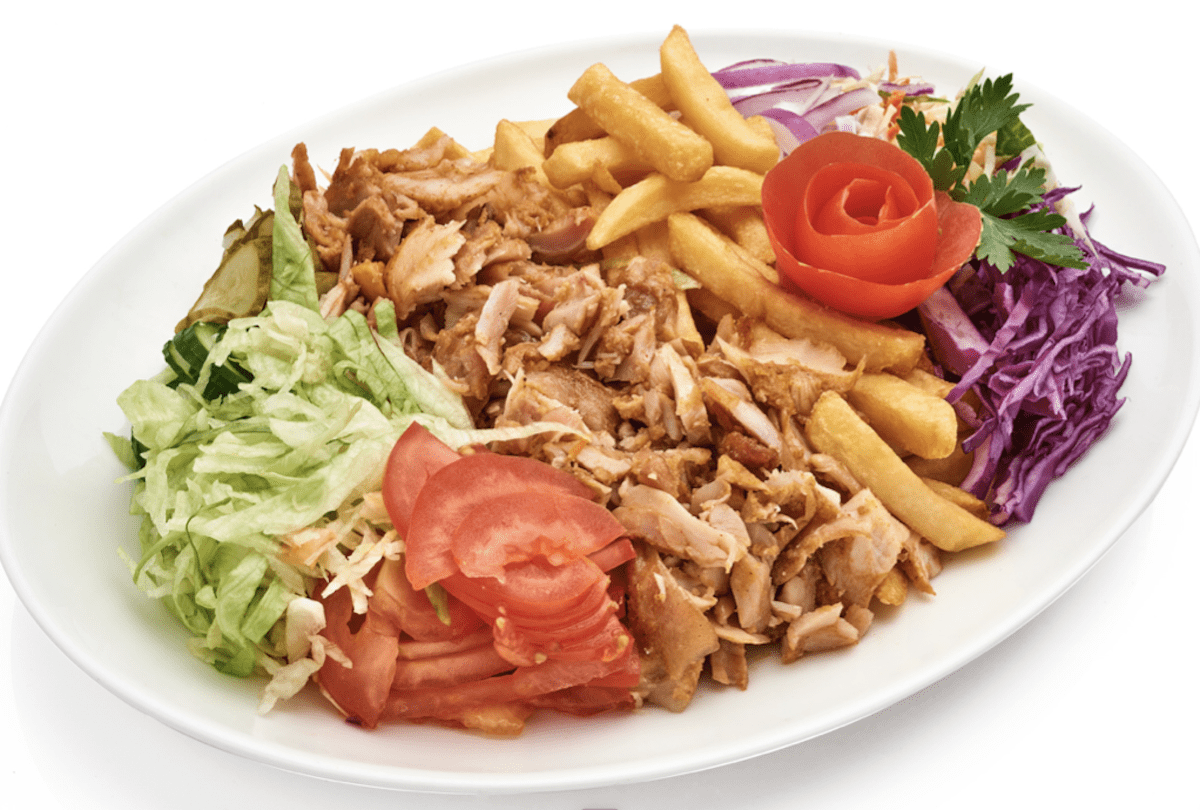
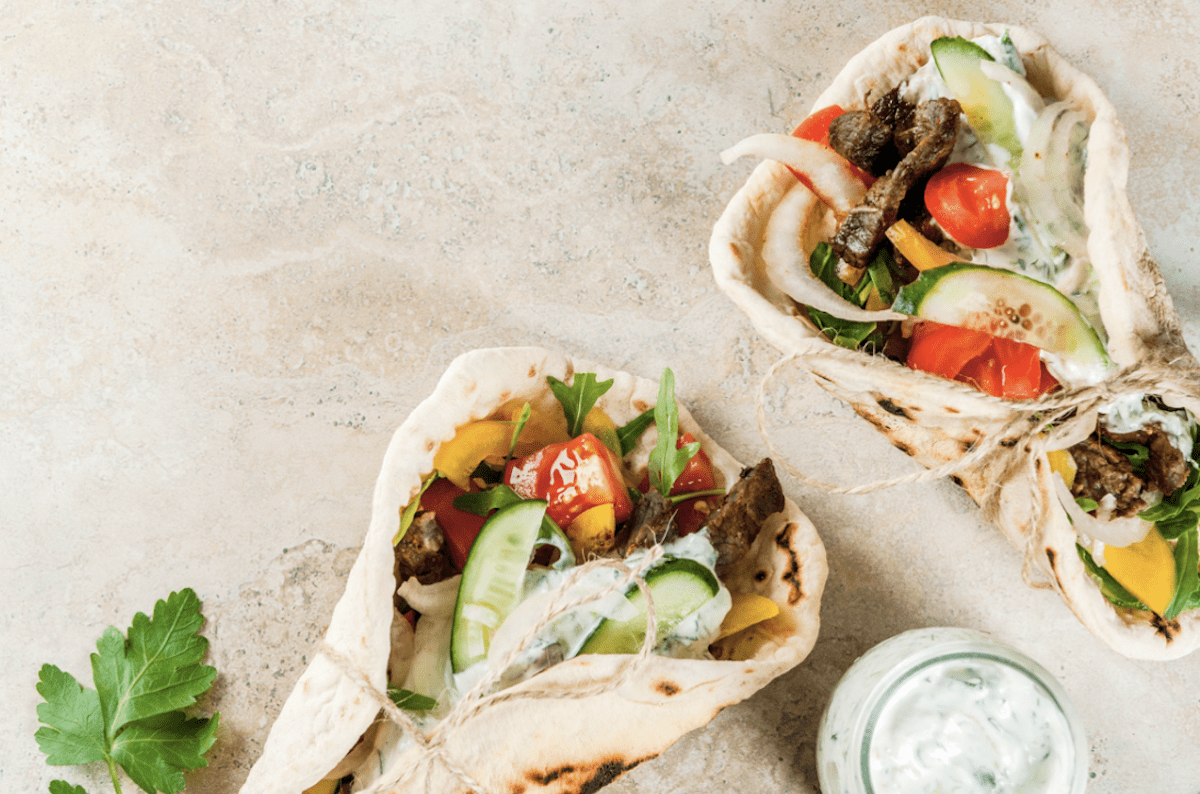
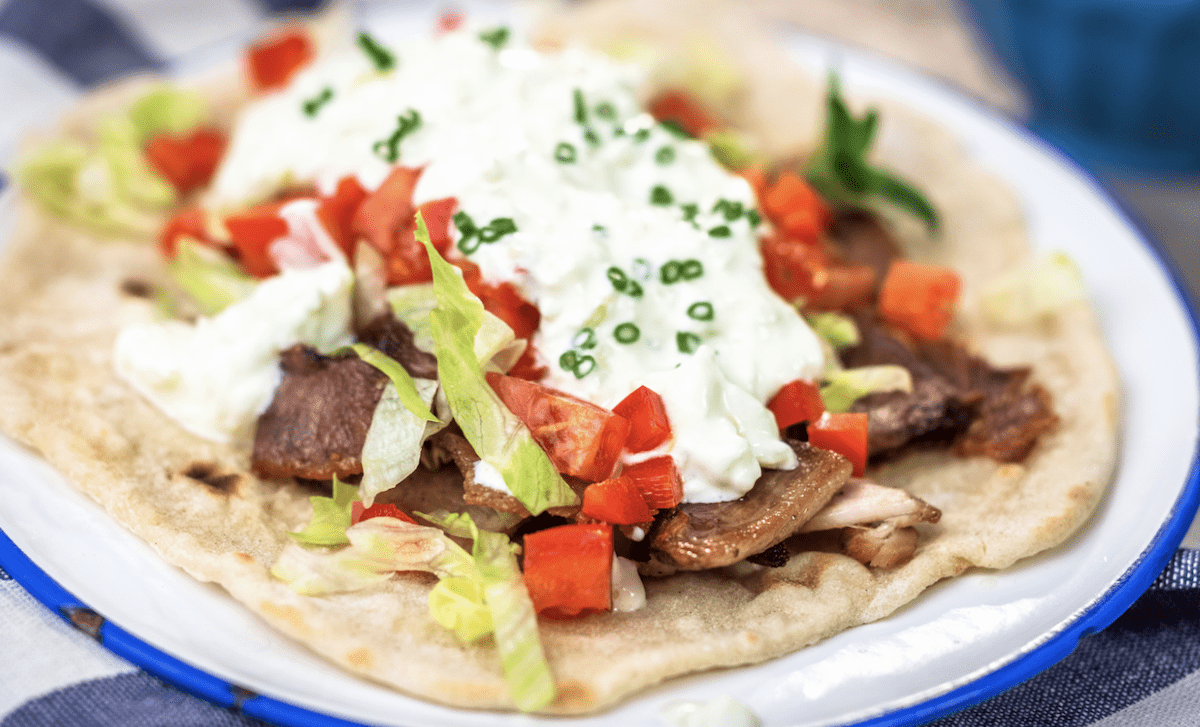
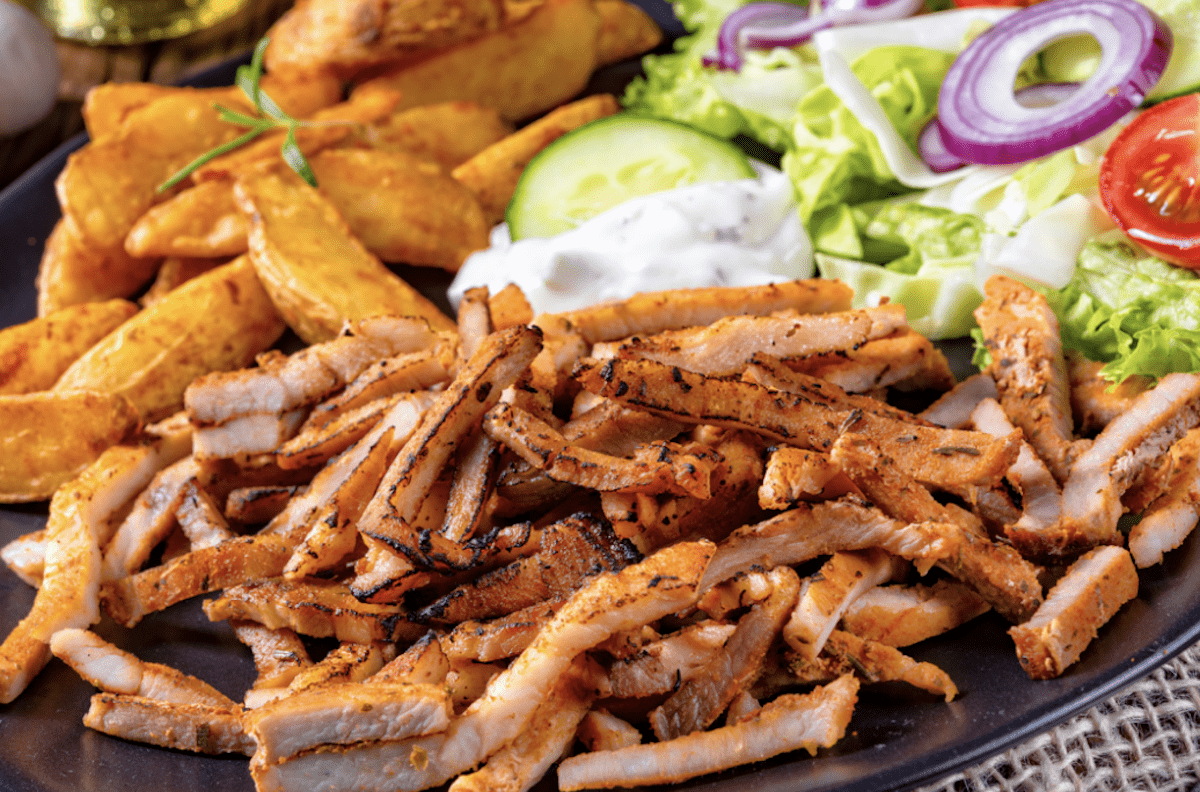
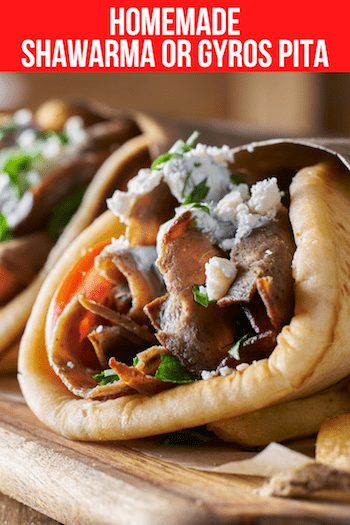
This is an area open to wide options. Thre Halal Guys New York chicken and rice and many others come with a side salad of iceberg lettuce shreds with diced tomatoes. Others offer a tabouli side salad, and yet others offer a vegetable salad or grilled vegetables. You can do what you want. The Halal White Sauce also makes for a tasty salad dressing. We also like to have a nice warm pita bread to go with our chicken and rice.
Directions
Chicken
1. Combine the lemon juice, olive oil, and spices together. You can blend in a blender or with a hand blender until smooth or leave as is.
2. Put chicken pieces in a bowl or plastic container with a lid or into a resealable plastic bag. Season as desired with salt and pepper. Then pour juice, oil, and spice mix onto the chicken. Mix chicken with marinade until all pieces are well covered. Place in refrigerator for 1 hour. Do not marinate for more than 3 or the chicken will start to get mushy.
3. When the chicken has marinated for at least 1 hour, heat 1 Tablespoon of olive oil in heavy skillet. Add the chicken pieces in one layer and cook over medium-high heat. Do not disturb for 4 to 6 minutes until side touching skillet develops a golden-brown crust. Then flip and continue cooking until the chicken is cooked all the way through. Move the chicken around after the crust forms to prevent from burning and make sure chicken cooks all the way through.
Rice
1. While chicken is cooking, in a large skillet, melt the butter over medium heat.
2. Add the spices and stir until fragrant, about 1 minute.
3. Add the rice and stir with the spices to combine and let get slightly toasted about 3-4 minutes.
4. Pour in the chicken stock or broth and stir to combine.
5. Raise heat to high and bring to a boil.
6. Cover the pan and reduce to a simmer. Cook for 15 minutes or until water is mostly absorbed.
7. Remove from heat and let sit until water is completely absorbed about 10-15 minutes. Fluff to be sure texture is as you like it.
Halal White Sauce
1. In a small bowl or plastic container with a lid, combine all ingredients and use a whisk or fork to blend until smooth.
2. This can be made before cooking chicken and rice. Refrigerate until ready to use.
Putting It All Together
On a plate or platter place your side salad if any. Then create a thick layer of turmeric rice. Place ample chicken pieces on top of the rice. Top with Halal white sauce. You can also add a squeeze of or substitute bbq sauce, sriracha, or harissa hot sauce as your sauce for chicken and rice. You can also add a side of pickled vegetables like torshi, the bright pickled turnips, for a bright color. Add a warm pita bread and enjoy!
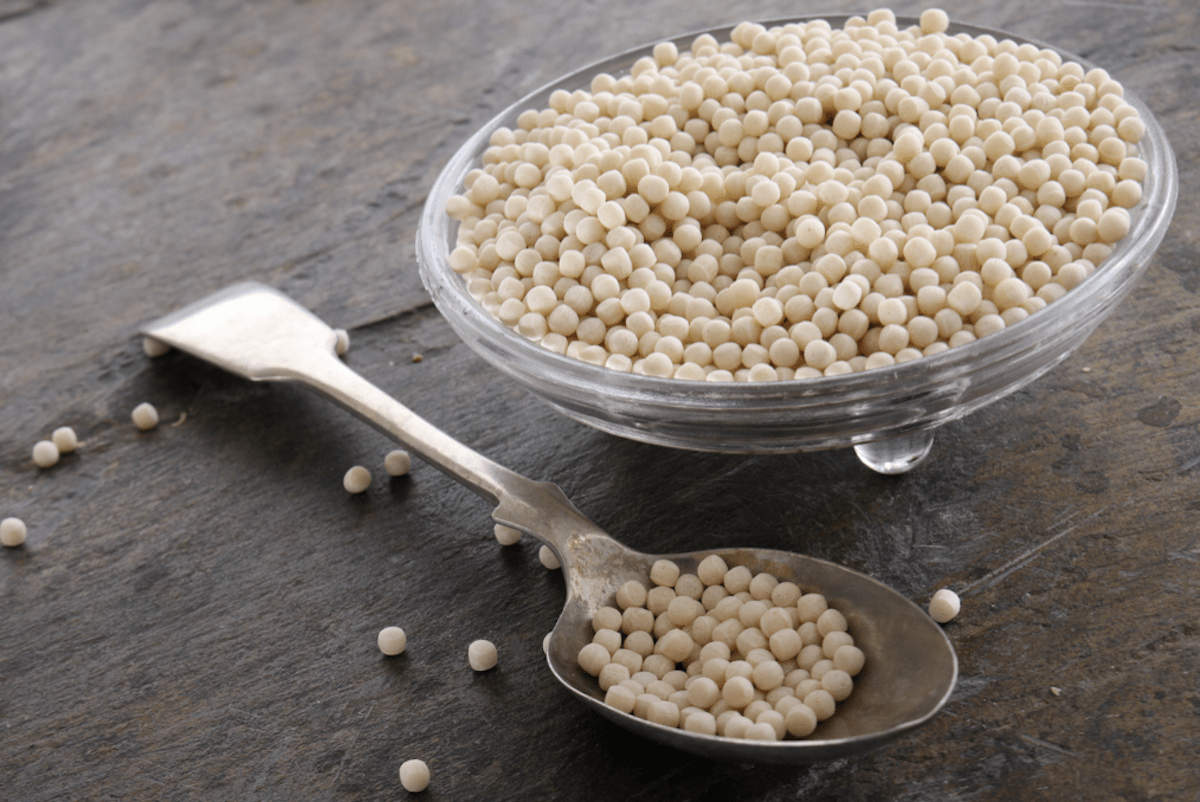
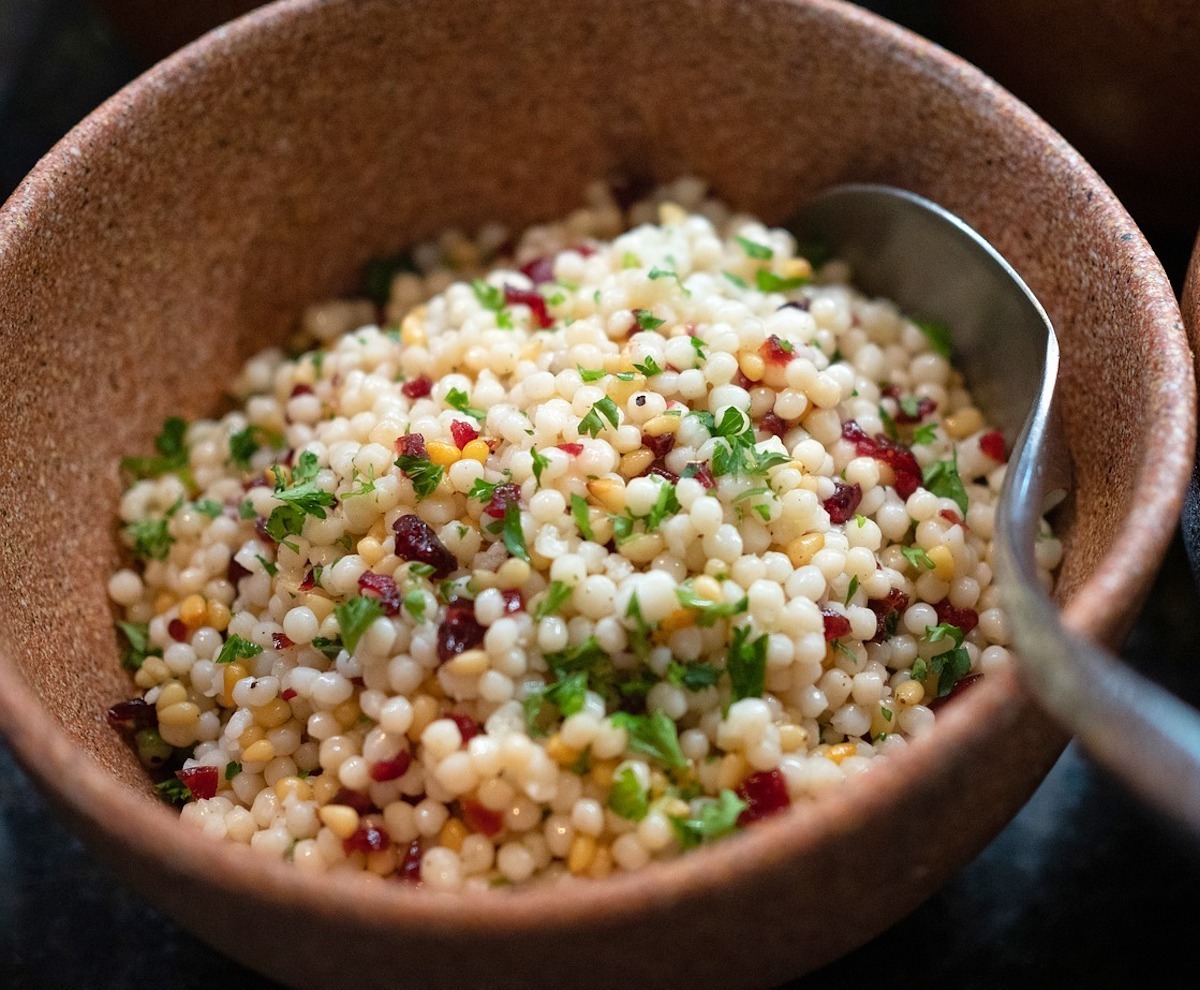
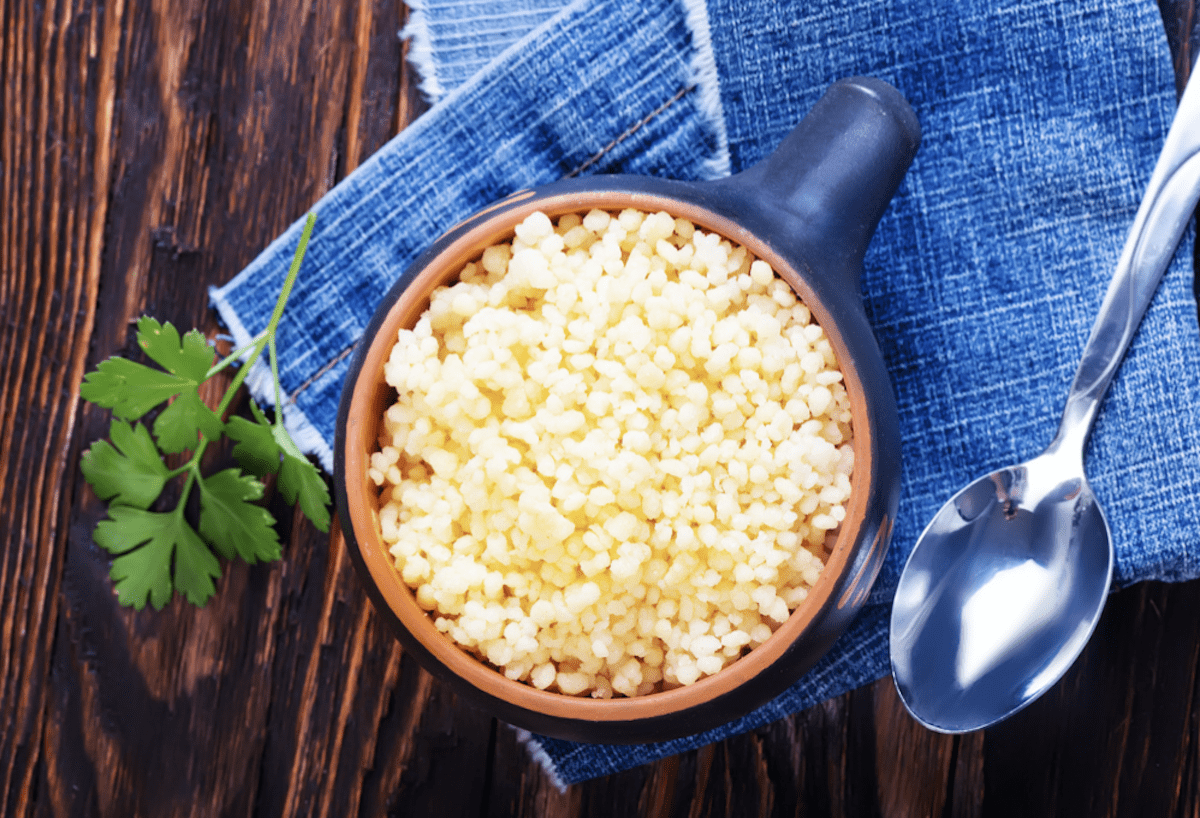
If you like this Halal chicken and rice recipe, bring some other tastes of travel to your table with Israeli Couscous or our Easy Chicken Kebab Recipe.
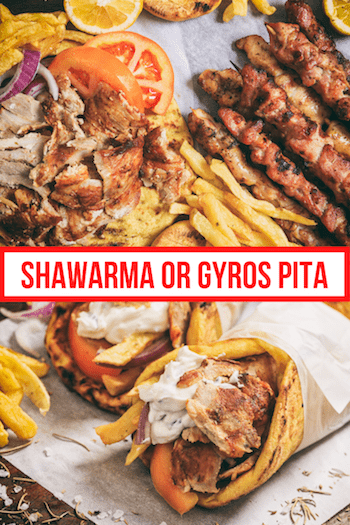
Pin to your favorite recipe board on Pinterest


 .
. 


 .
. 


 .
. 


 .
. 

 .
. 


 .
.