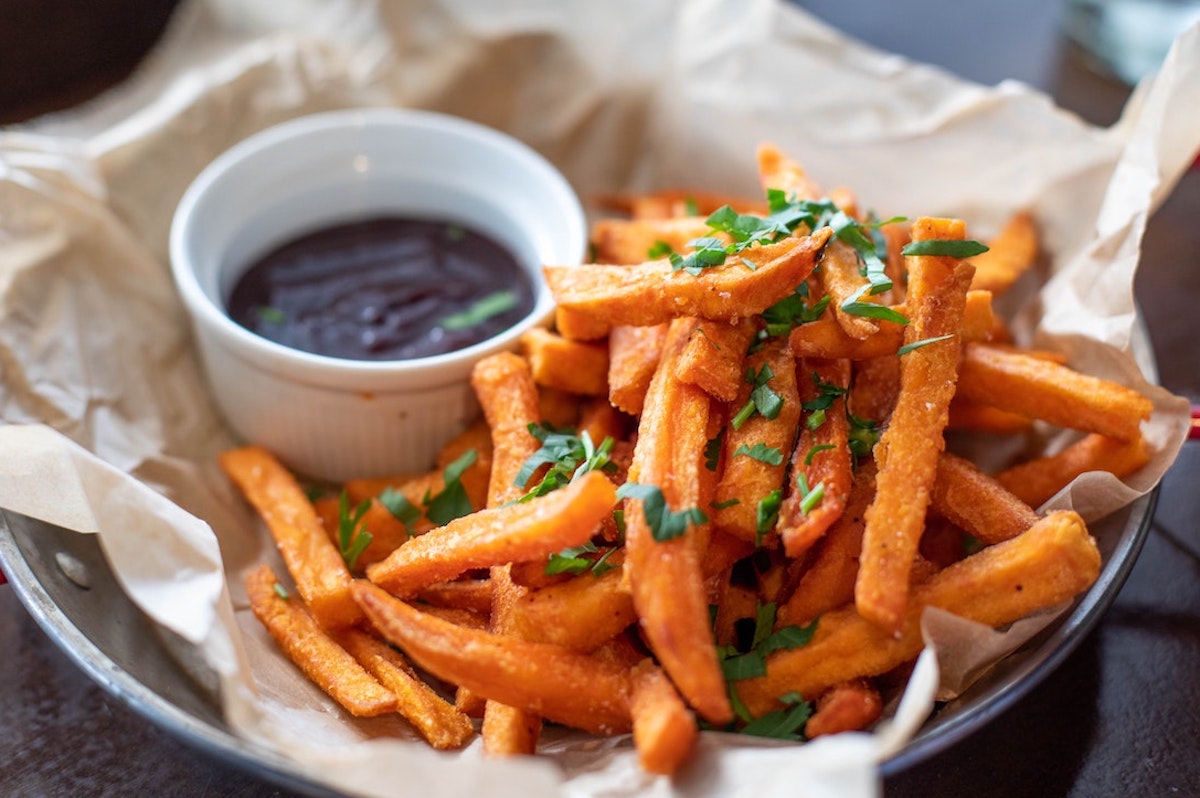
Crispy sweet potato fries are pure heaven. Even better when you can make them yourself at home. We love to make oven baked sweet potato fries.
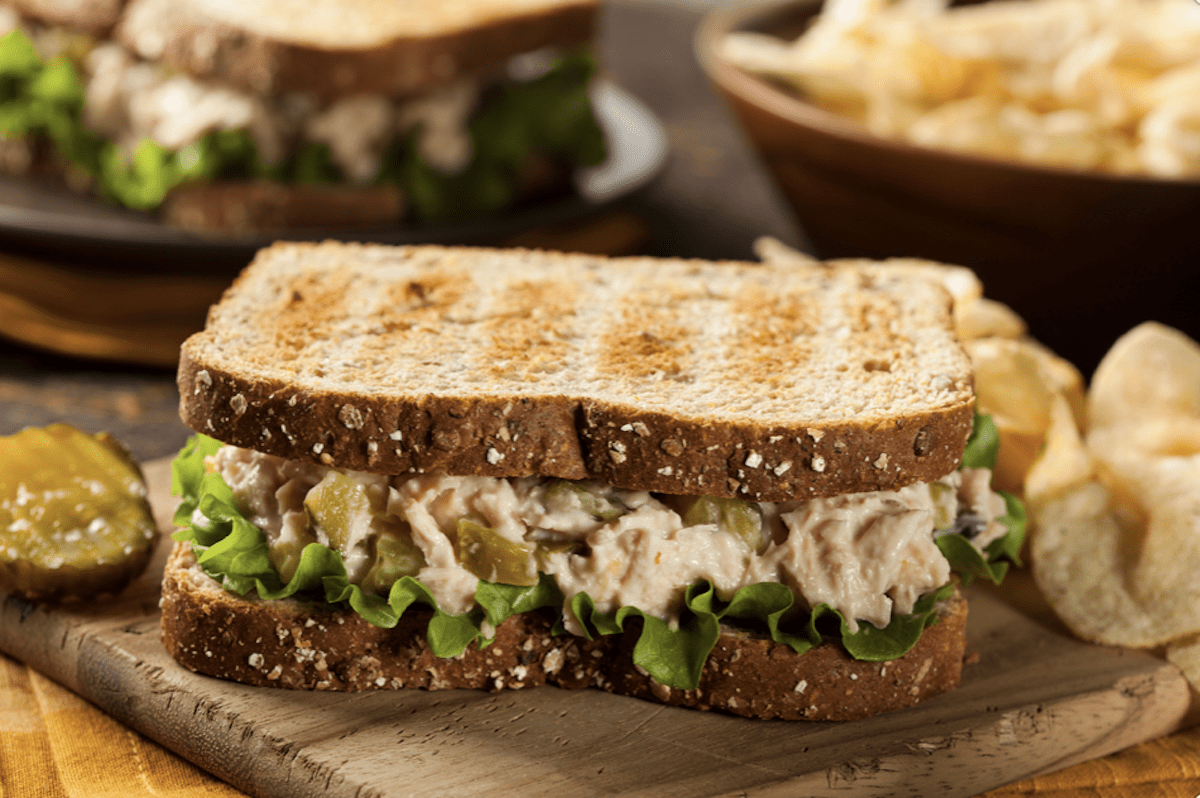
They make a great side dish with just about anything like a burger, tuna melt, or chicken breast.

You can also use them as a base for building loaded sweet potato fries, which can serve as an entire meal at any time of day.
If you want more sweet potato goodness in every bite, you can cut them into wedges.

Using a little olive oil and placing the sweet potato fries in a single layer not touching is the key to making crispy sweet potato fries. If you want to really make them super crispy, you can also coat them with a little bit of corn starch.

We like making oven sweet potato fries crispy and serving them with any sauce you like. You can season them as you like too. They are really versatile.
Whether you enjoy them on the side or as the main event, oven baked sweet potato fries are easy to make and so delicious.
We’ll give you some ideas for blowing out the crispy sweet potato fries in this recipe as well.

Crispy Sweet Potato Fries
Ingredients
1 extra-large sweet potato, peeled and cut into fries or wedges
1-2 Tablespoon olive oil
Dried herbs and spices of your choice. Some good options include garlic, onion, thyme, rosemary, sage, oregano, basil, marjoram, curry, cumin, chili powder, cilantro, or a blend like Italian herbs or no salt mixed blend. You can use fresh herbs but they tend not to stick as well to the crispy sweet potato fries.

Directions
Preheat oven to 400 degrees F.
1. Peel the sweet potato and cut into fries or wedges, as you prefer.
2. Place pieces into a mixing bowl.
3. Add olive oil to coat. You want enough to cover all surfaces of the potatoes, but do not add any extra onto the pan or they will not get crispy. If you want your fries to be extra crispy, you can put cornstarch in a flat bowl or plate and lightly coat the fries after oiling them.
4. Sprinkle whatever herbs and spices you like and toss potatoes to be sure they are all covered with them.

5. Place potatoes on a baking sheet, separated from one another and in a single layer. If one baking sheet is not enough for them to stay separated use two. If they touch or overlap, they will not get crispy. Also, do not pour any excess oil onto the pan or they will not get crispy.
6. Bake in the oven for 15 minutes or until they begin to get darker.
7. Flip potatoes onto the other side so that the top sides are now touching the baking sheet. Don’t worry if you don’t get every one, just try to flip most of them. Using a spatula or tongs can help.
8. Bake for another 8 -10 minutes or until they look cooked and darker. Be careful not to burn the ends.
9. Remove from oven, let cool for 2 minutes. Sprinkle with salt or seasoned salt if desired, then serve.

You can serve crispy sweet potato fries with ketchup, barbecue, spiced mayonnaise, honey mustard, or any sauce you like.
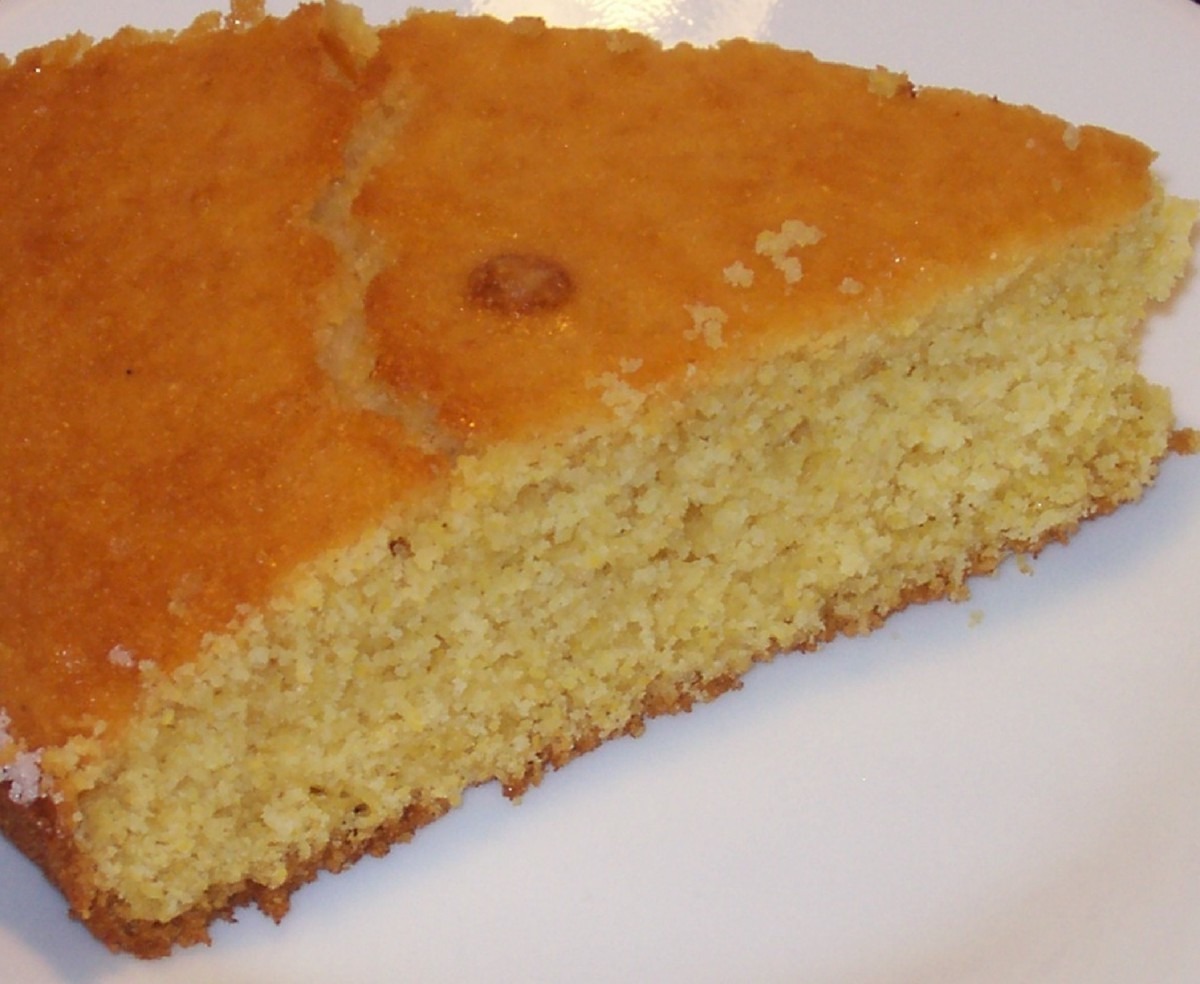
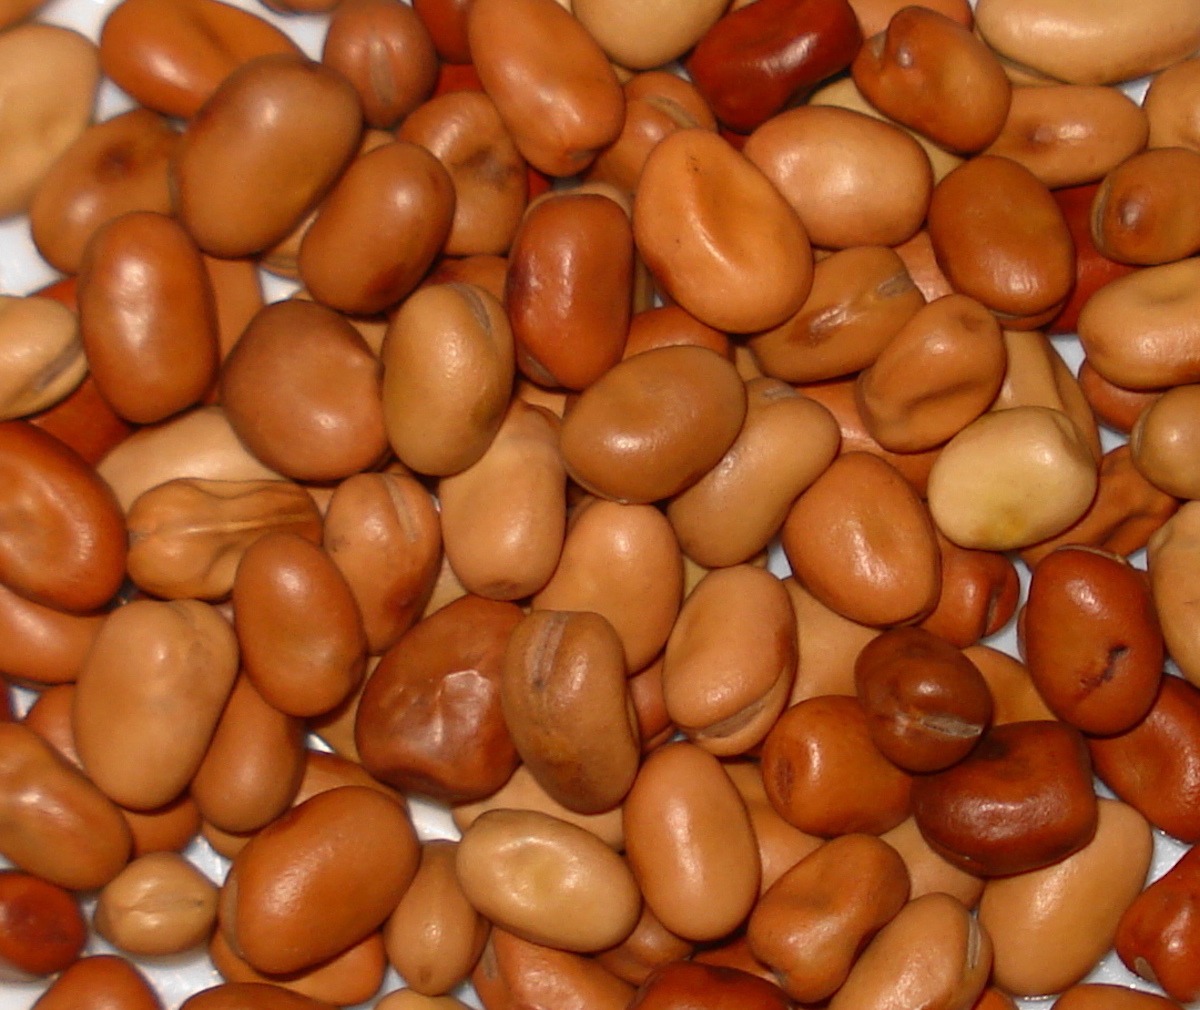
It’s also fun to make loaded sweet potato fries with your favorite toppings. Anything goes here. You can top with cornbread, black beans, bbq sauce, and shredded cheddar cheese. Add a fried egg on top. Or use sour cream, avocado, salsa, corn, and pinto beans for a Mexican version. Add sloppy joe sauce and dill pickle chips or chili and cheddar cheese. The possibilities are endless. Just use your imagination, what you have in your pantry, and let your tastebuds be your guide!

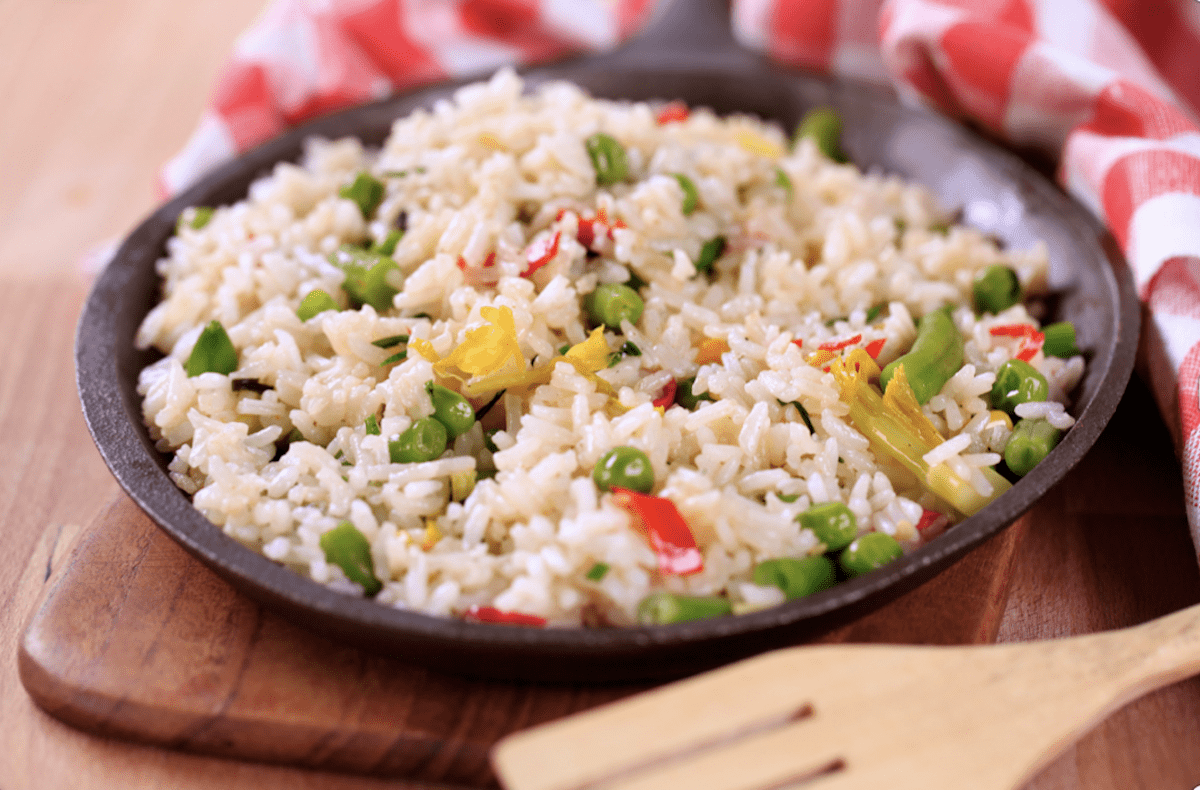
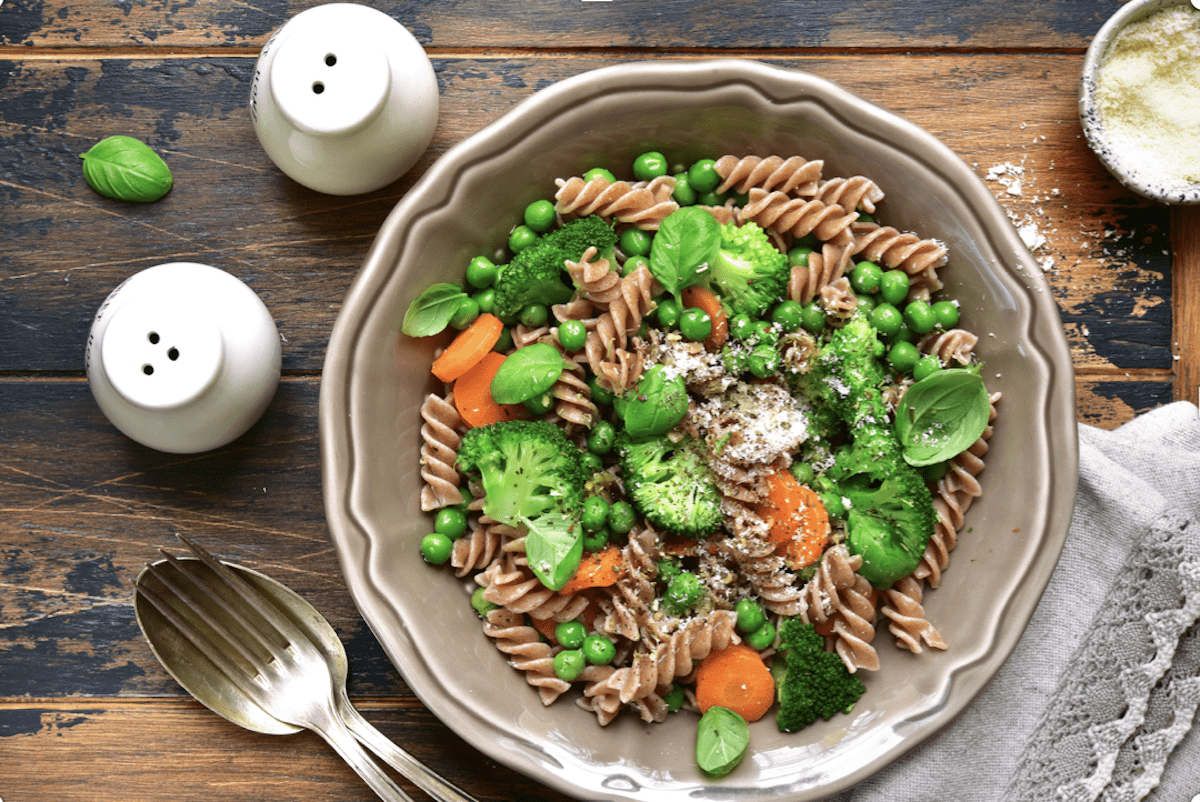
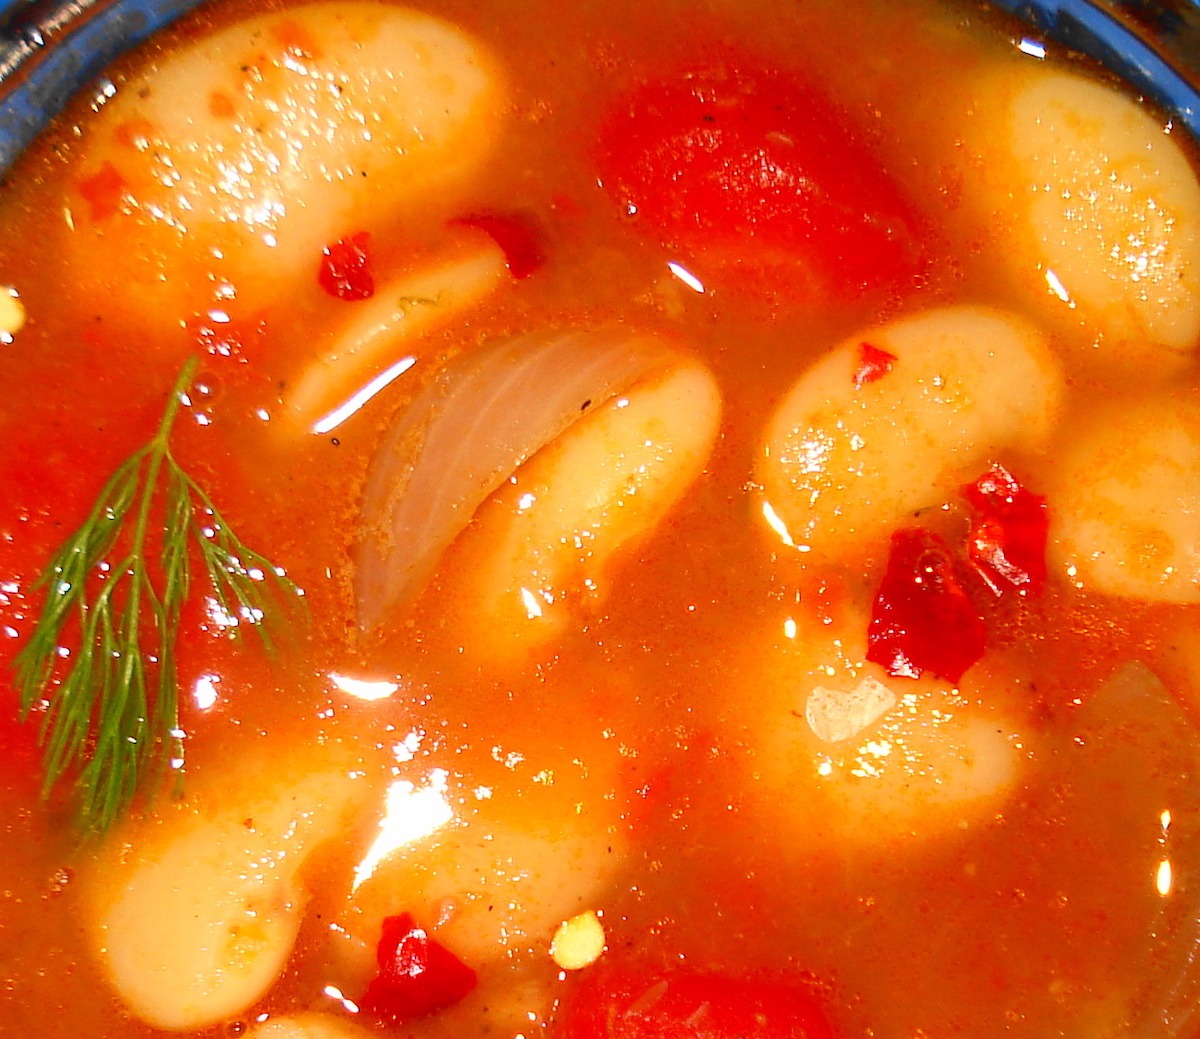
We hope you like this super simple recipe for crispy sweet potato fries. If you’ve got other items around your kitchen or in your pantry that you’re looking to use, check out our other Pantry Cooking recipes like our Baked Italian Rice Balls, and Easy Butternut Squash Soup.
Pin to your favorite recipe boards on Pinterest
 .
. 


 .
. 


 .
. 


 .
. 


 .
. 


 .
. 


 .
.